

Hot Ceramics & Pottery How-Tos

How To: Make a miniature polymer clay ladybug
Learn how to sculpt a miniature ladybug out of polymer clay with this free video art lesson. While this tutorial is best suited for those with some familiarity of polymer clay sculpture, novice sculpters should be able to follow along given a little effort. For specifics, including step-by-step instructions, and to get started making miniature polymer-clay ladybugs yourself, watch this sculpture tutorial.
How To: Make a polymer clay colored pencils & artist pallete
Learn how to sculpt colored pencils out of polymer clay with this free video art lesson. While this tutorial is best suited for those with some familiarity of polymer clay sculpture, novice sculpters should be able to follow along given a little effort. For specifics, including step-by-step instructions, and to get started making your own polymer-clar colored pencils, watch this sculpture tutorial.
How To: Make a polymer clay pig
Learn how to sculpt a pig out of polymer clay with this free video art lesson. While this tutorial is best suited for those with some familiarity of polymer clay sculpture, novice sculpters should be able to follow along given a little effort. For specifics, including step-by-step instructions, and to get started making your own polymer clay piggies, watch this sculpture tutorial.
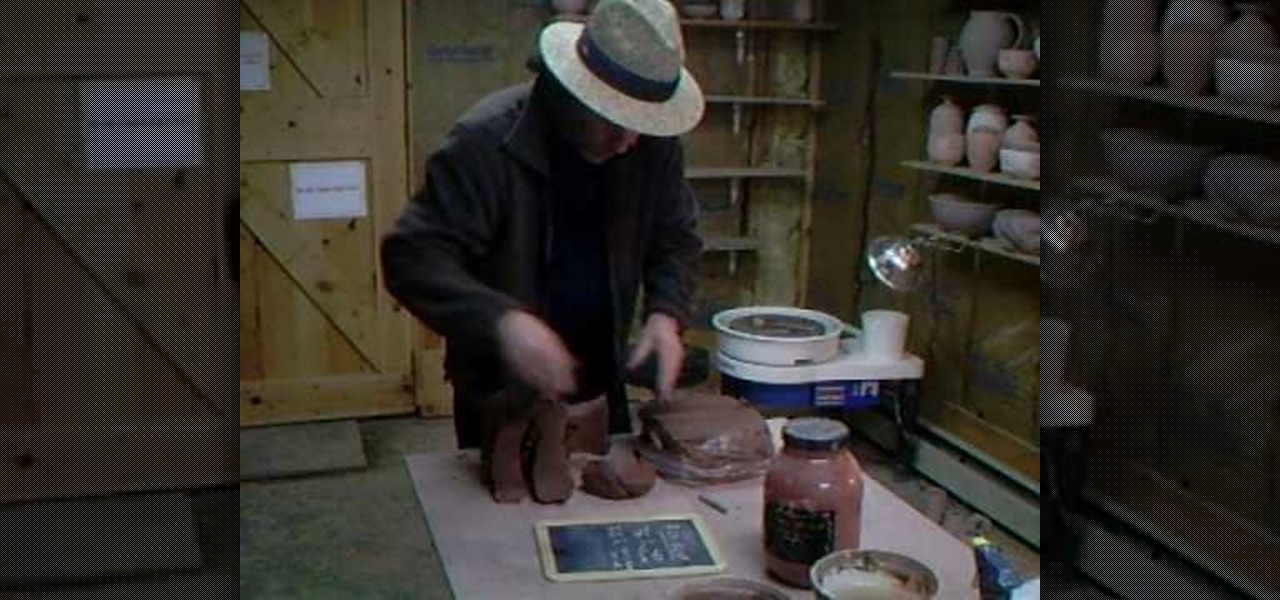
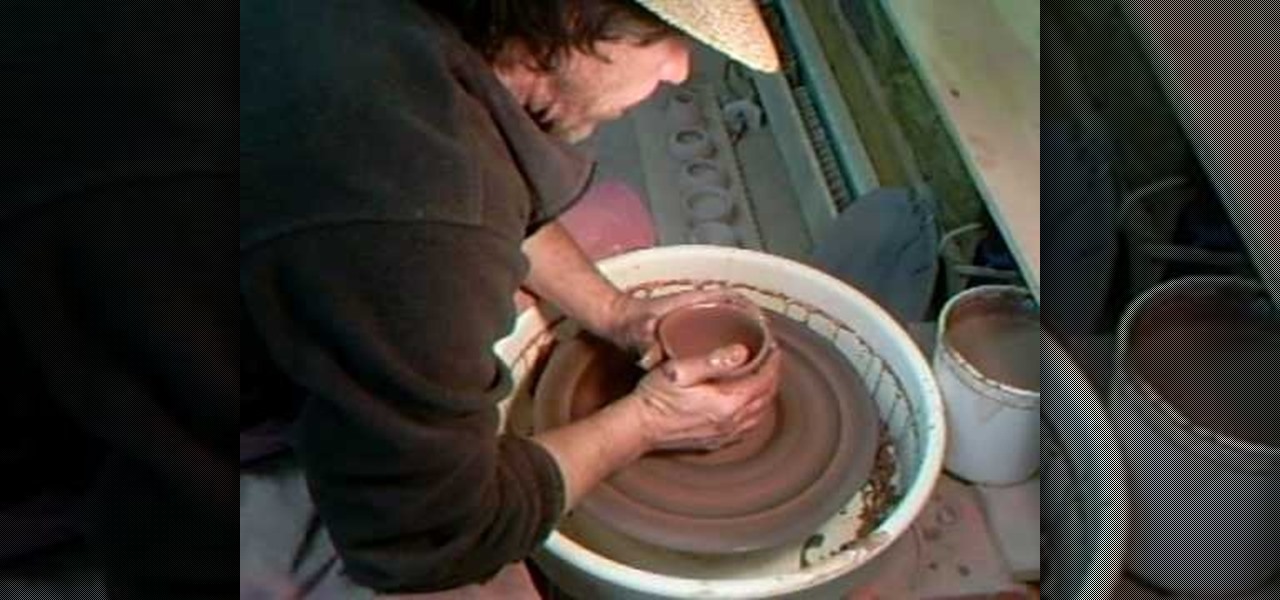
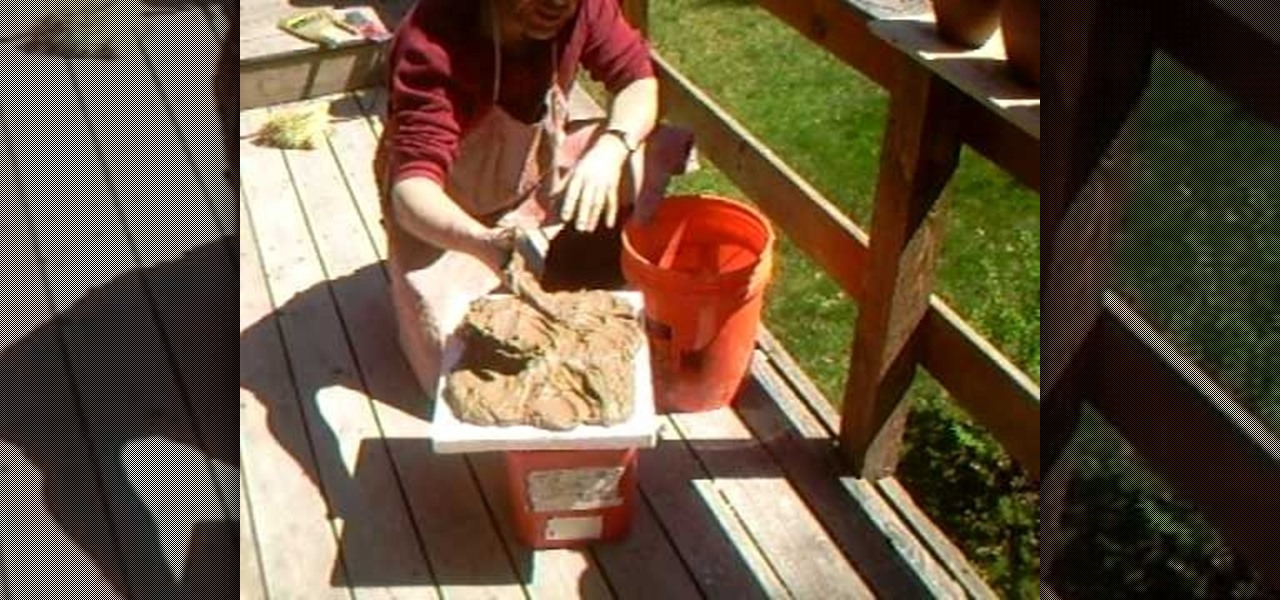
How To: Dig clay for flower pots and make red iron oxide slips
Simon Leach gets back to basic in this installment of his ceramics instruction video series. He teaches you first how to find places todig clay, then how to apply a red iron oxide slip to some flower pots he's working on. Multiple lessons in one video! This one is sure to teach you some interesting new pottery techinques.
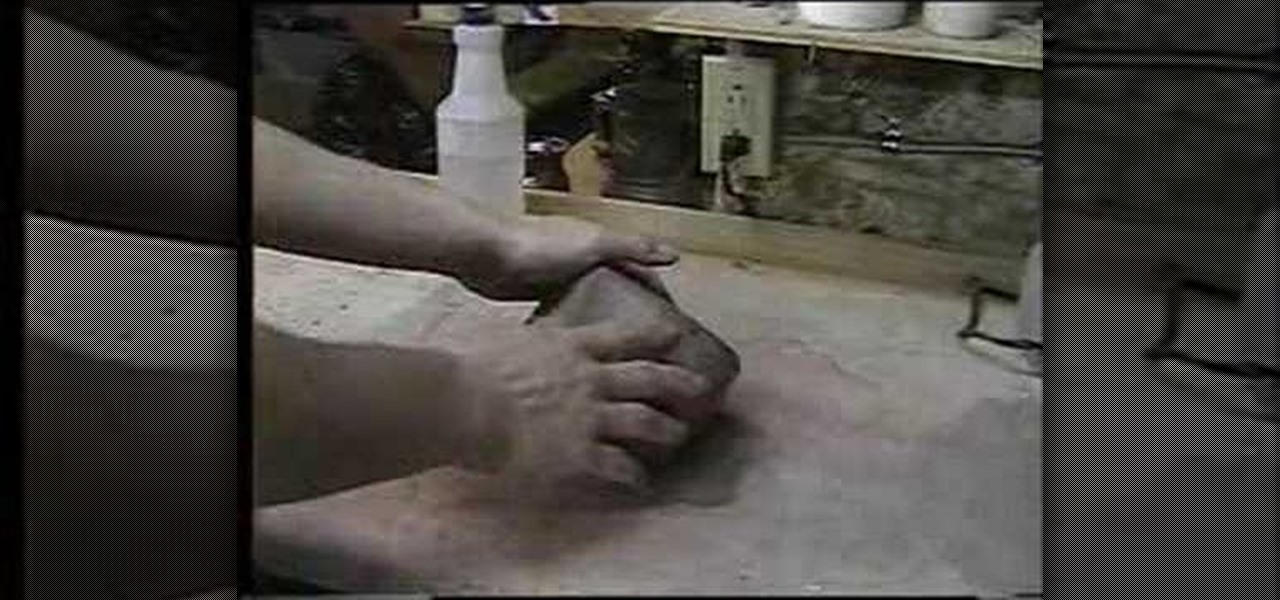
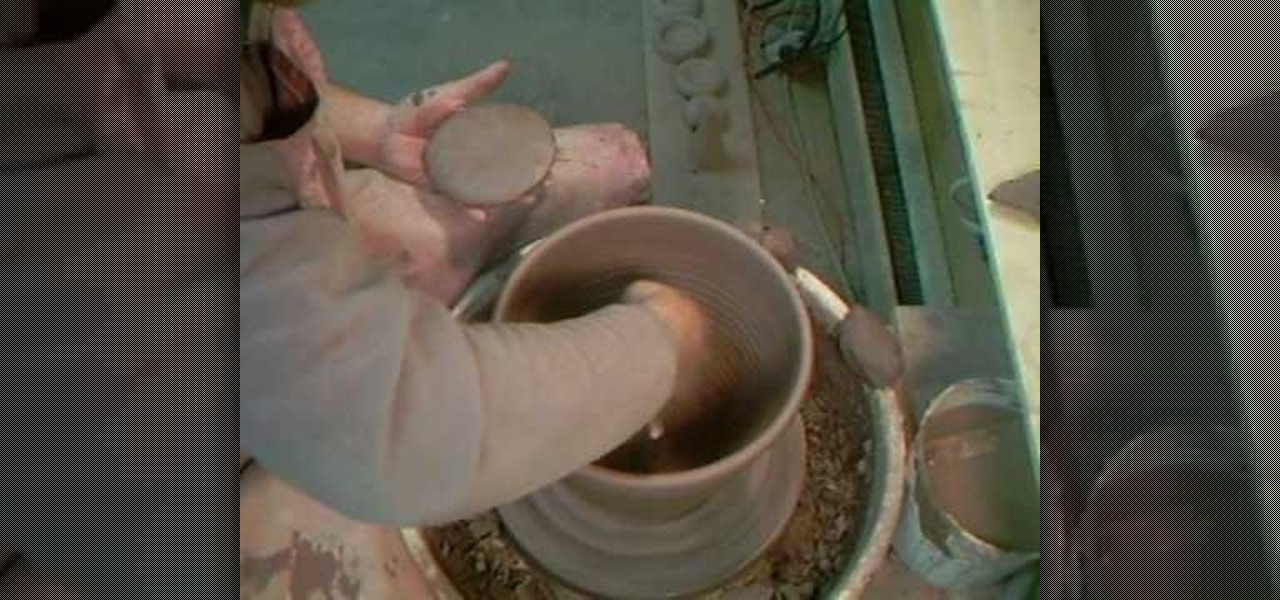
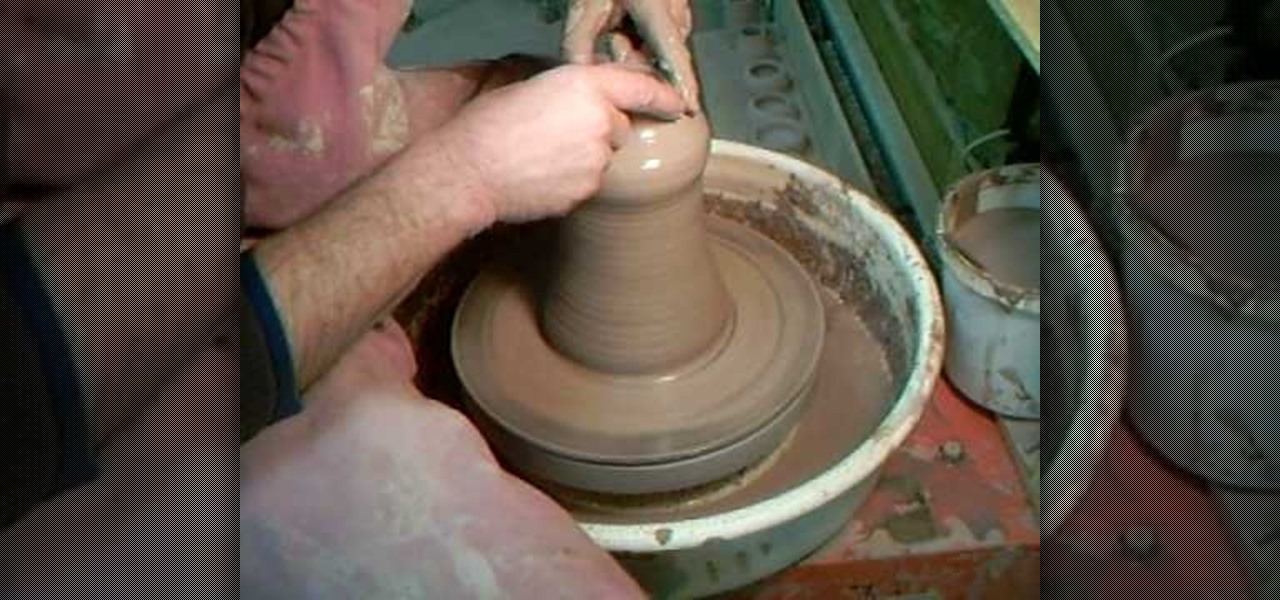
How To: Knead clay for flower pots and then make them
Simon Leach, the worldwide leader in free bilingual ceramics instruction, spends this installment of his video series first kneading clay in preperation for potting, then throws said clay into some flower pots on his wheel. Pottery lessons at their finest.
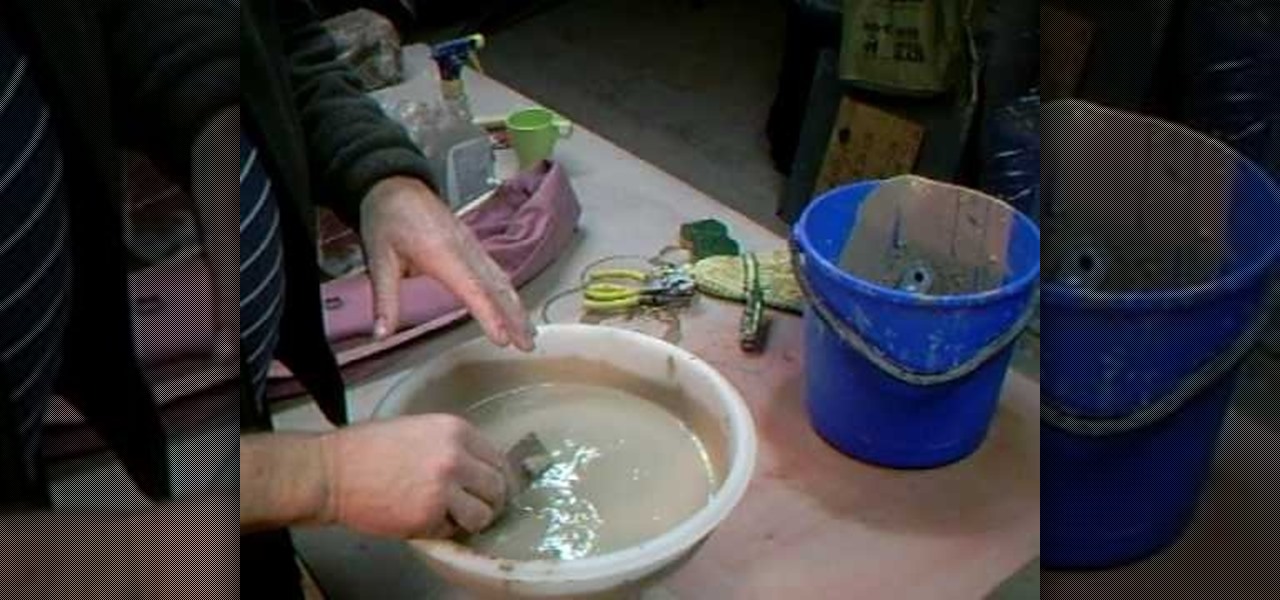
How To: Sieve white slip to be used to adorn pots and vases
This Simon Leach video features him demonstrating to potters everywhere how to sieve a white slip that he will use later to adorn some clay vases that he has thrown previously. Slips can really make your pots distinctive, but be subtle! You don't want them to take attention away from the flower that the pots are for.
How To: Make white slips for wall vases and other pots
Adding slips to your vases gives them a subtle artistic flair without detracting from the beauty of the flowers within. Simon Leach is here to teach you how to add a white slip to your ceramics, using the wall vases that he has been working on as examples. You may not be able to do it so effortlessly, but as Simon always says, keep practicing!
How To: Make ceramic handles for hanging wall vases
Simon Leach is in the house, or rather on his deck, teaching us how to fashion and then attach handles to ceramic hanging wall vases he threw previously. If you make pottery, and want to attach your ceramic works to your wall, this video will show you how to do it.
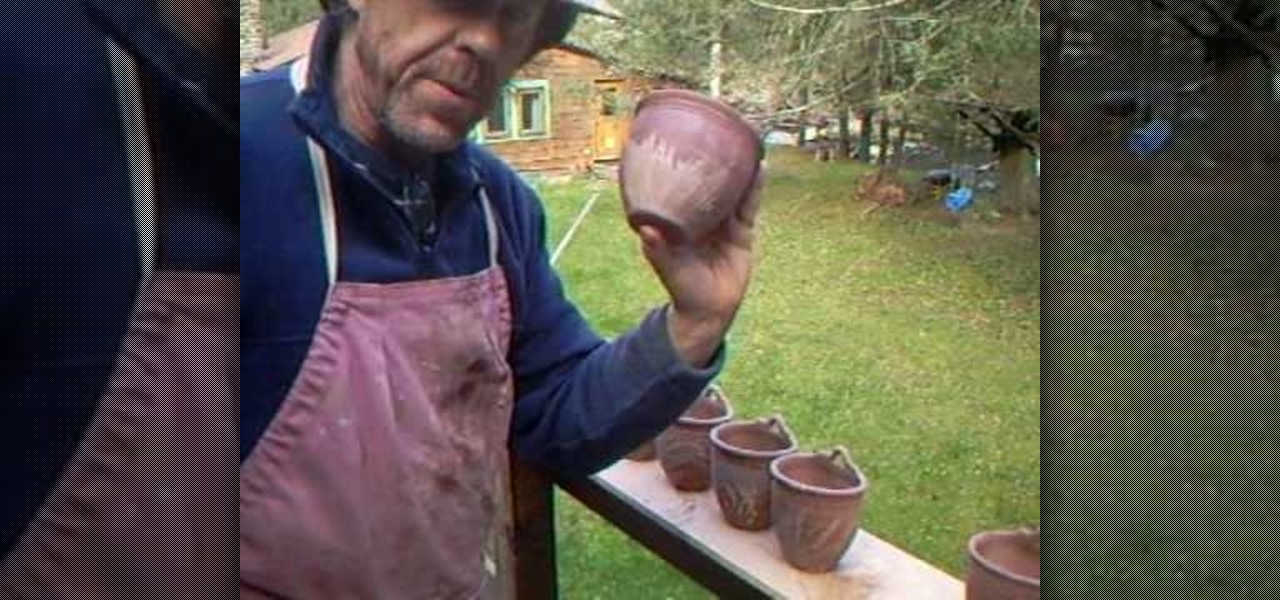
How To: Decorate ceramic wall vases and dry clay
Simon Leach's series of high-quality pottery videos marches on. In this installment he teaches us how to dry some high-quality clay that he has just acquired from a cement works, and also how to decorate some hanging clay wall pots he made in a previous installment.

How To: Throw a clay corner wall vase with Simon Leach
Making a round clay vase on a wheel that will hang properly in a corner may sound like a challenge, but with Simon Leach to teach you, even an amateur at-home potter should be able to complete this ceramics project. If you want to avoid griping like he does throughout this video, make sure not to use a plastic bat!

How To: Apply a terra cotta slip to a pot
A terra cotta slip can add flair and durability to any pot that you've made at home, and also allow you to make up for inconsistencies in the composition of your clay. This video from Simon Leach shows you how to apply just such a terra cotta slip to a clay pot, an important technique to improve you pottery and ceramics skills.
How To: Throw a false bottom on a ceramic flower pot
If you are a homemade ceramics enthustiast, chances are at some point you've thrown a pot where the bottom has come out too thin. This video from Simon Leach teaches you how to throw a false bottom for just such a pot so that the precious time you've invested into th piece of pottery doesn't go to waste.
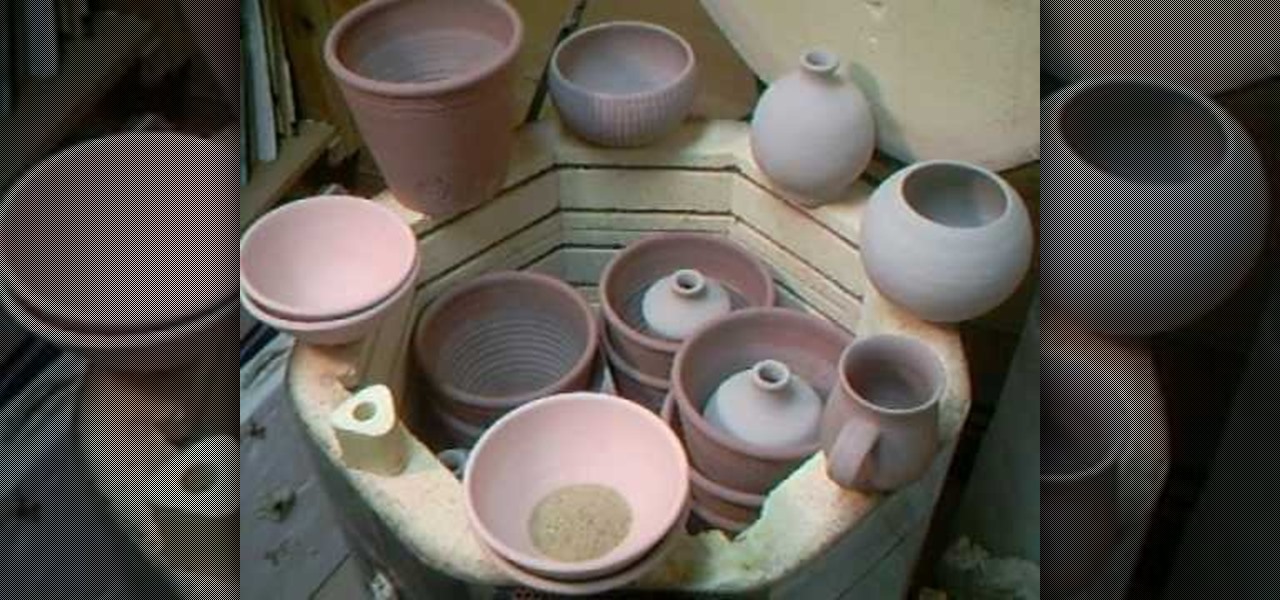
How To: Pack an electric kiln with pottery
Any prolific potter will know that fitting all of you creations into your electric kiln can be like putting a jigsaw puzzle together, except the pieces are pieces of your heart. This handy video from Simon Leach offers advice on techniques for and a demonstration of packing your kiln properly to avoid damaging any of your precious pots while still firing them successfully.
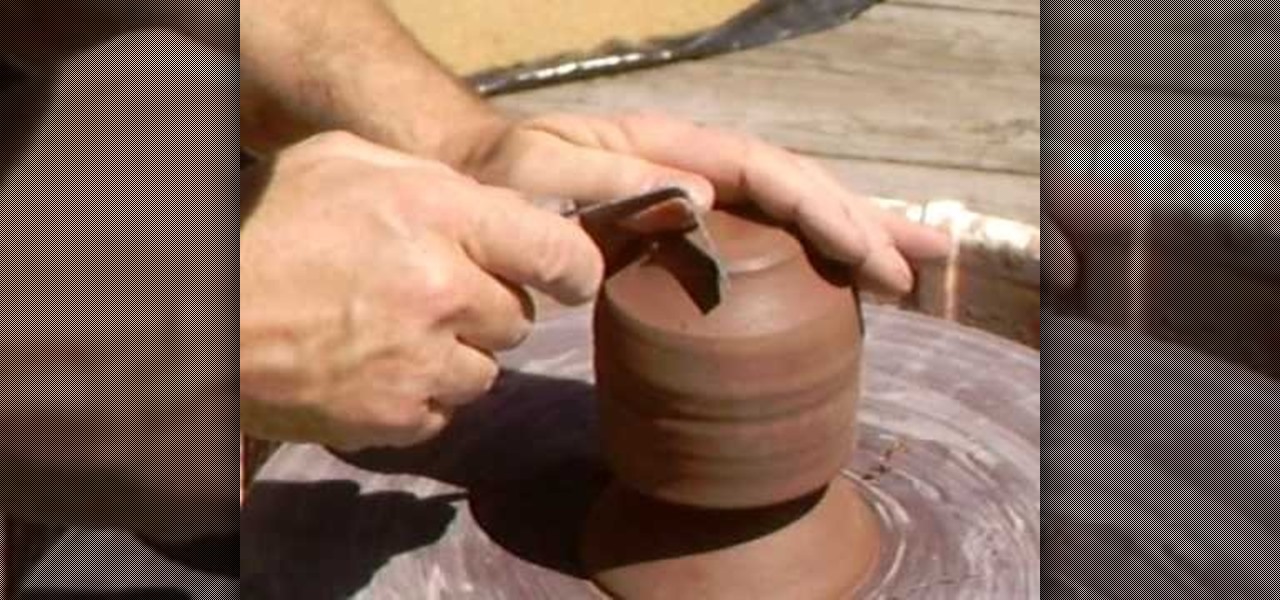
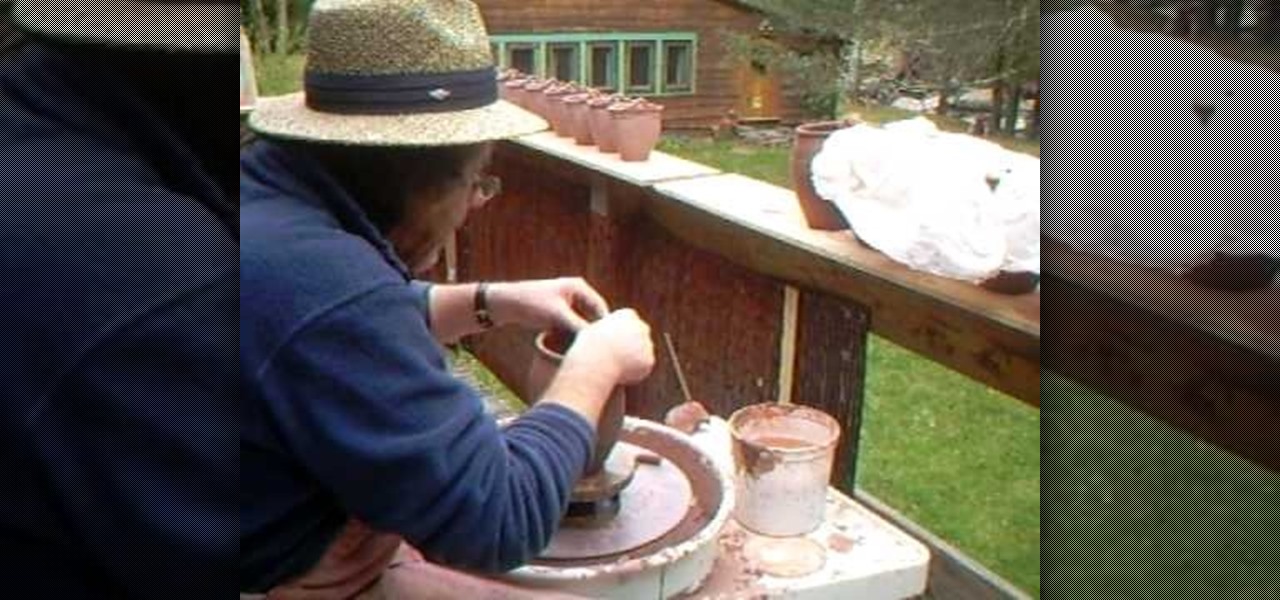
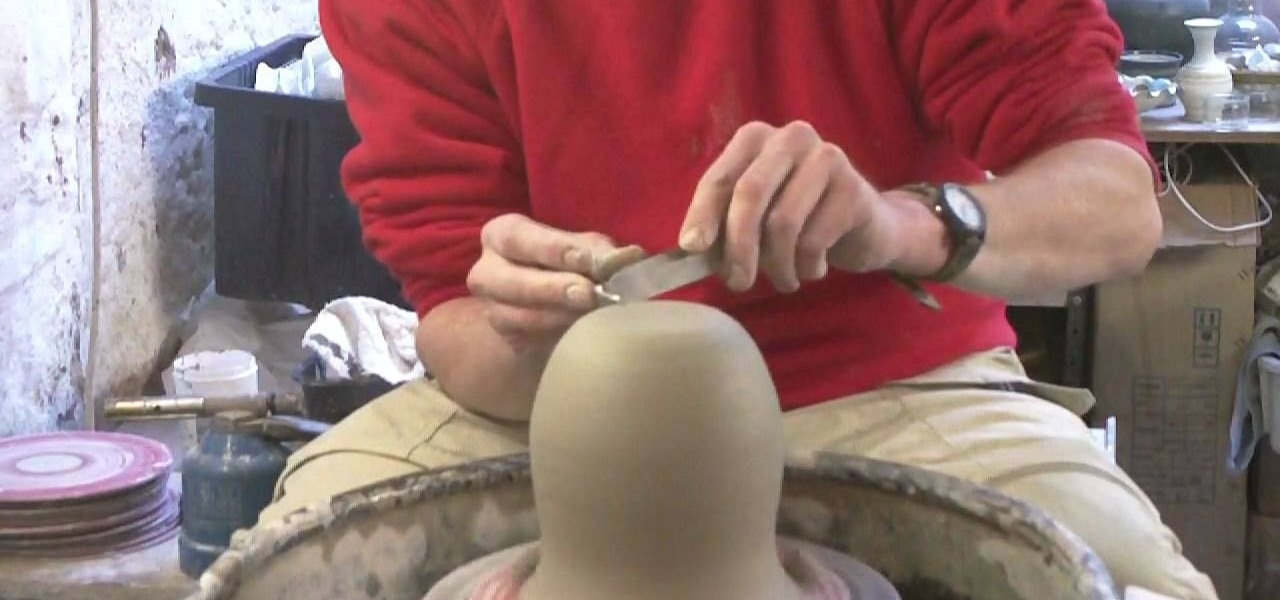
How To: Trim a ceramic pot on a wheel
English pottery instructor Simon Leach has stepped out onto his lovely deck to teach us how to trim our ceramic pots on the wheel. His example piece is small cup or pot that begins the video as plain as vanilla and ends it as a wonderfully detailed piece after only 10 minutes or so of work.
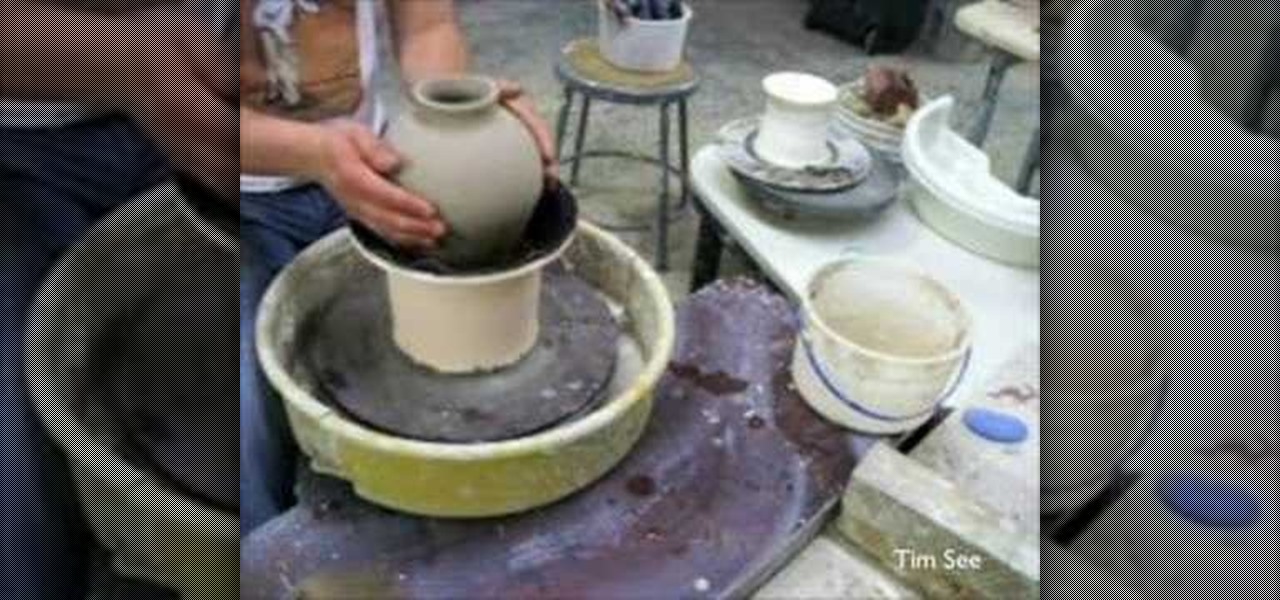
How To: Throw a lamp base
You all the know the scene from Ghost? Where Patrick Swayze and Demi Moore are sitting and they are trying to make something using the machine? It's one of the most iconic scenes out there. Anyways, this video isn't about ghosts, or either of those actors, but rather that machine and what it can do. This tutorial will show you how to throw a lamp base easily. Enjoy!
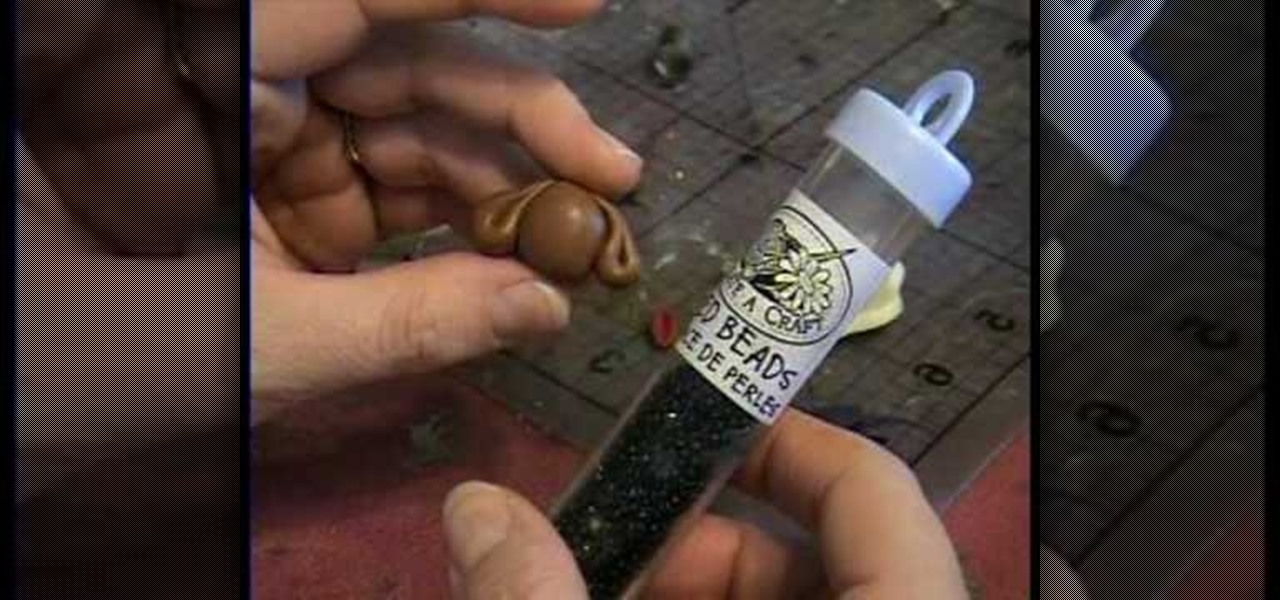
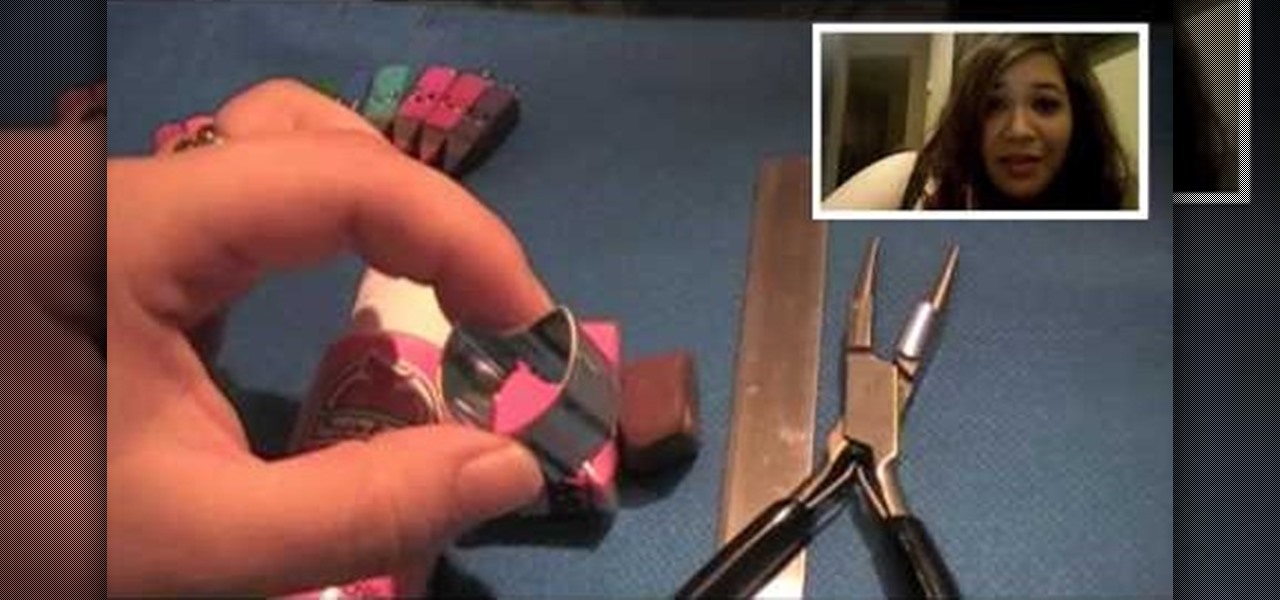
How To: Make a polymer clay dog bead
If you are making a funky homemade charm bracelet or necklace, have a look at this tutorial. In it, you will learn how to make a polymer clay bead shaped like a cartoon dog. This is a great bead to use for a gift for the dog lover in your life. It won't take long to make this cute little guy and whomever you make it for will really appreciate it. This little bead has tons of personality. So, why not grab some clay and get molding.. this puppy can't wait to meet you!

How To: Make coils with clay
In this how to video, you will how to create clay coils. You will need clay about the size of your fist, water, and a knife. Pound the clay 200 times to get all the air out. Cut a slice from the clay and roll it in your hands. It should be a log shape. Now place it on a surface. Roll it back and forth until it is to the thickness you want. Water the clay coils and score the ends of it. Push the ends together and rub all the cracks out with water so that it sticks. Wet the sides of the two coi...

How To: Make a polymer clay rose
Here is another great video that is perfect for teacher's or parents looking for a way to keep their kids entertained. In this video the main ingredient that is really needed is polymer clay. It's fun to play with and easy to use. Find out how to use it in order to make a cool polymer clay rose. Enjoy!

How To: Make a polymer clay spider
This cool tutorial is perfect for teachers or parents interested in keeping their little ones entertained. You'll be finding out how to make a polymer clay spider with ease. These spiders are cute and sure won't scare anybody since they're fake and too big to be real spiders. Enjoy!

How To: Make miniture roses for craft projects
In this video hosted by Paper Cat Designs, learn how to make adorable miniature paper roses to add to your spring arts & crafts projects. Apply these little paper roses to your scrapbooks, mini albums, favor boxes, journal pages, or even as wine glass charms to add a small touch of beauty! Get creative this spring with help from this video demonstraton.
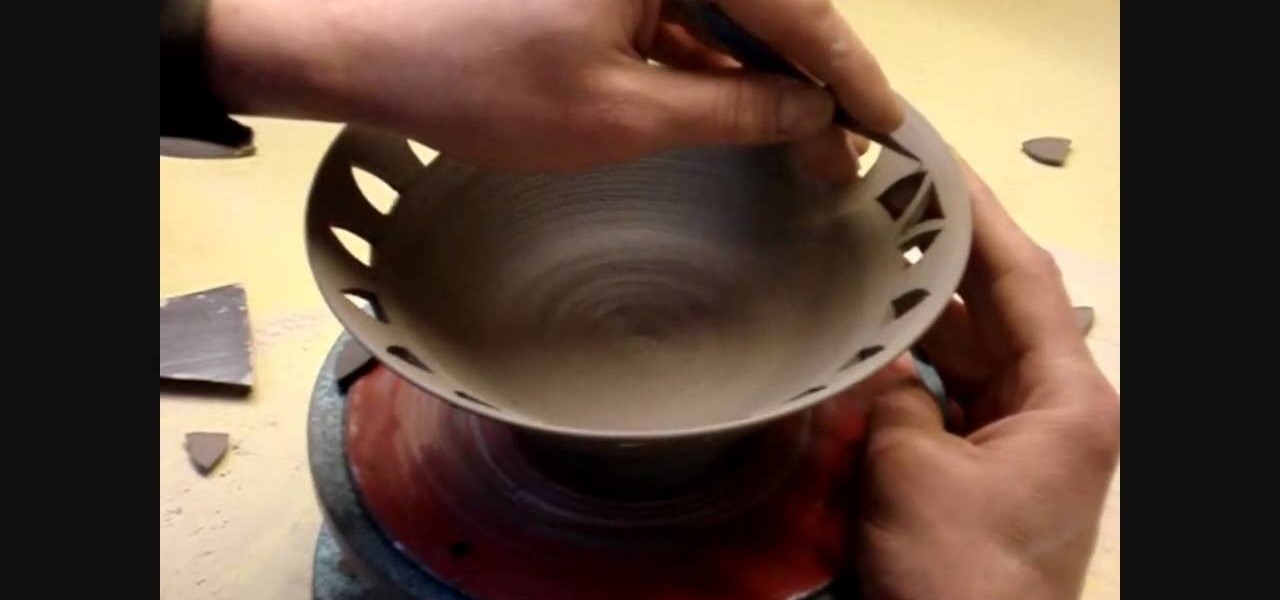
How To: Pierce carve a clay pottery bowl
Ingleton Pottery demonstrates how to pierce carve a clay pottery bowl. First, form your bowl on a potter's wheel. Then take a blade to the undried clay bowl and score your design into the bowl using the piercing technique. Gently press out the design so that the clay is removed from the negative space created by the scoring marks. Continue making the design around the bowl. You can make intricate designs around the bowl using the piercing and scoring technique. Be careful not to damage the bo...
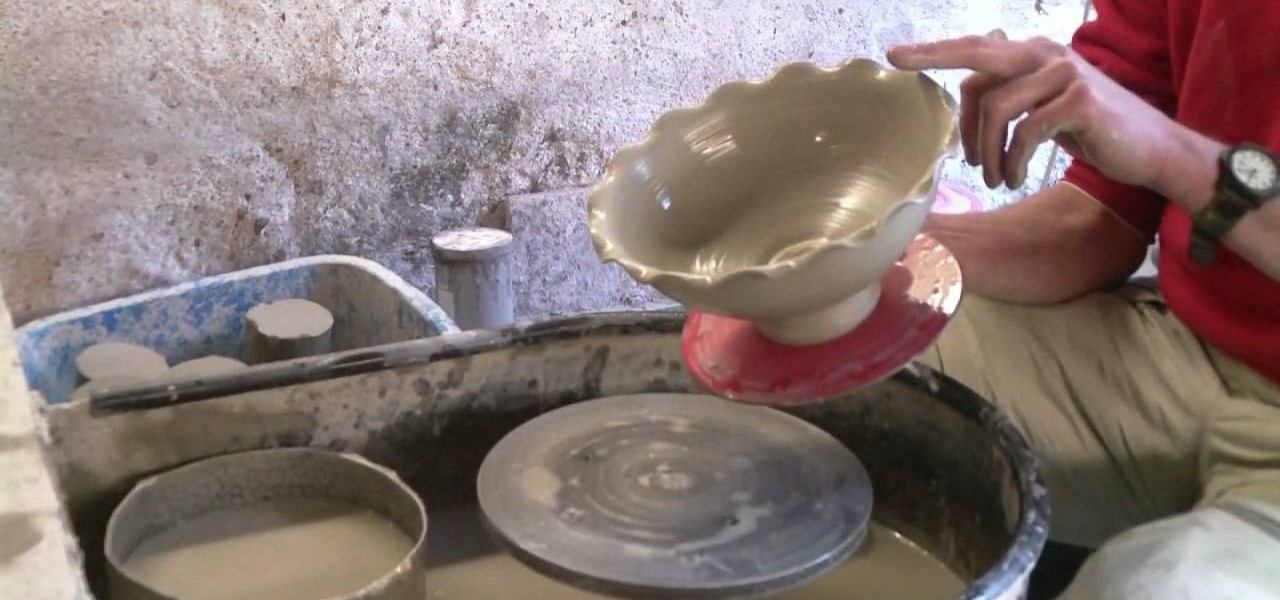
How To: Throw a giant clay pottery novelty goblet
IngletonPottery demonstrates how to create a giant clay pottery novelty goblet in less than eight minutes in this video. The goblet can be used as a decorative piece or it can be used to drink from. The choices are endless for this giant piece of art. The giant goblet begins as a big blob of clay. A portion of the clay is wet and the spinning table begins. While the clay is wet it is placed on the spinning table and then the molding process begins. To mold the clay requires concentration and ...
How To: Throw a wavy edged pottery bowl
This video illustrates the method of throwing a wavy edged pottery bowl. This process comprises of the following stepsStep 1This process needs clay, pottery wheel and water in a bowl.Step 2Place the clay on the moving wheel.Step 3Now give the clay a desired shape with the help of your hands.Step 4keep wetting your hands at desired intervals and insert your fingers inside the clay so that it gives you the shape of a bowl.Step 5When your desired shape and size is ready take the clay bowl out of...
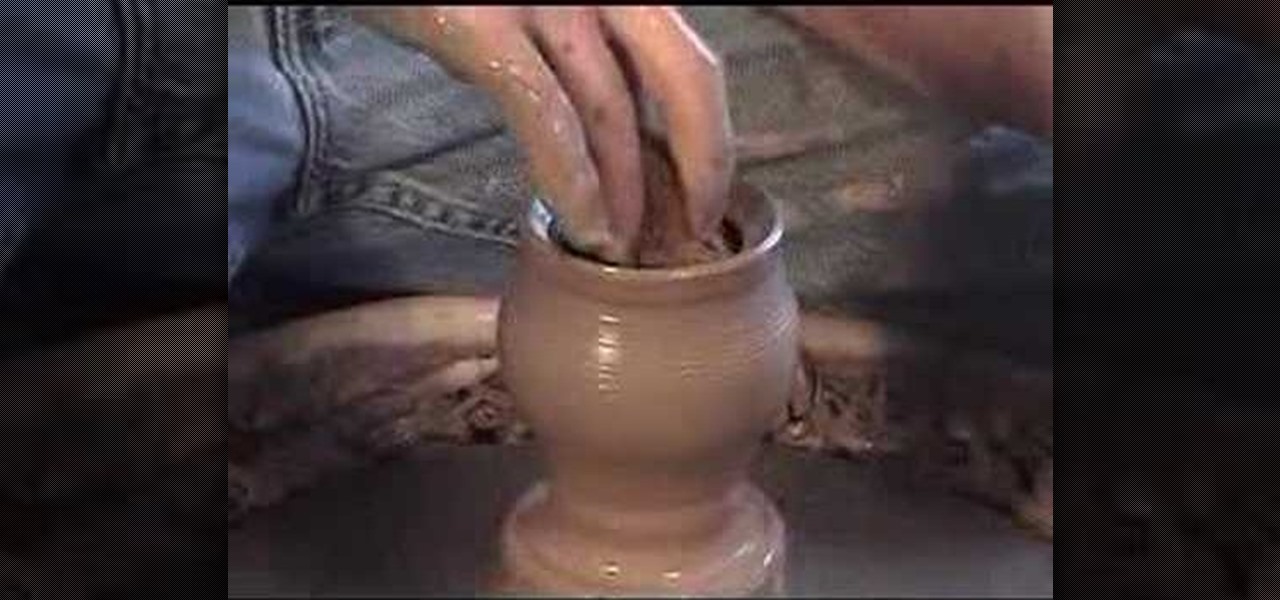
How To: Throw a simple small flattened pottery salt holder
This video demonstrates how to throw a simple clay pot: a flattened salt holder. In order to throw this simple clay pottery piece, you will need: clay, a pottery wheel, and water.
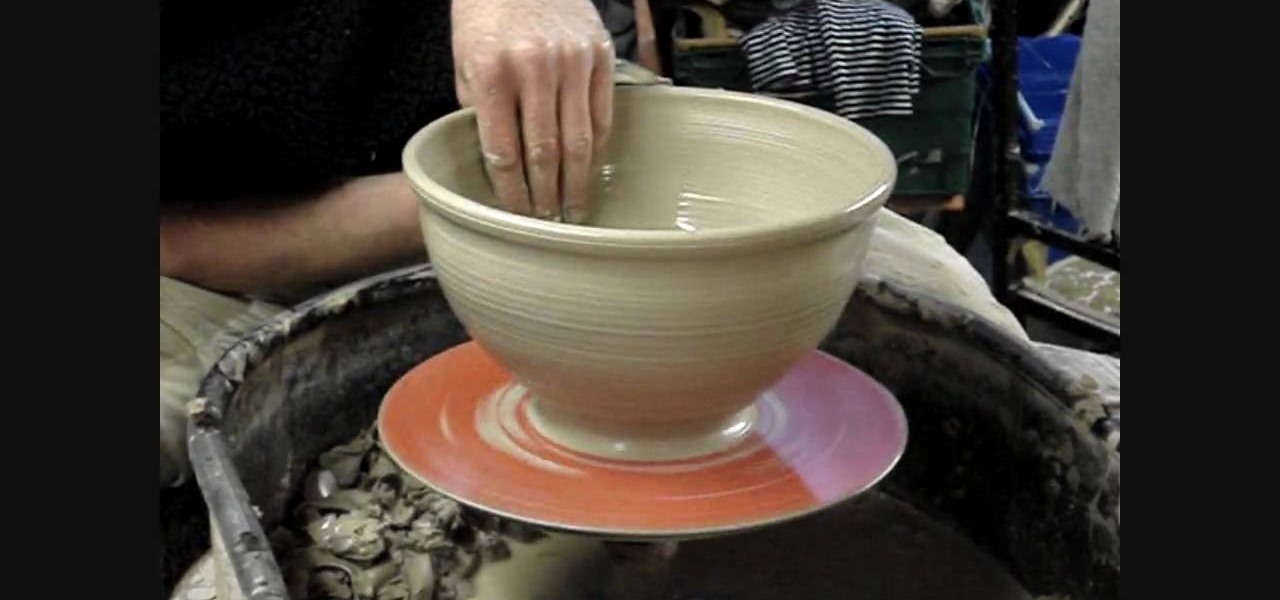
How To: Throw a big pottery mixing bowl
First of all you have to put some clay over the potter wheel. Now add some water and then press hard with your fingers at the bottom. Now slowly release the pressure of your hands and bring your hands upwards while slowly releasing the pressure. This shall form an inverted cone shape. Now apply pressure with your thumbs at the top to depress in the top and then wash your hands with water. Now use your thumbs to make this hole bigger. Now put a little water in this hole and then use your finge...

How To: Throw a simple terracotta wall hanging vase
In this how-to video, you will learn how to create a simple terracotta clay wall hanging vase with a pottery wheel. Begin by throwing a piece of clay on the pottery wheel. Now, make a circular shape with the clay. Next, widen the shape and then make a bowl shape inside. Now, bring the shape up so that it is elongated. Keep doing this until you get to the desired shape. Now, narrow the base of the clay. Make sure that the width tapers smoothly. Now, refine the top and inside of the clay. Take ...
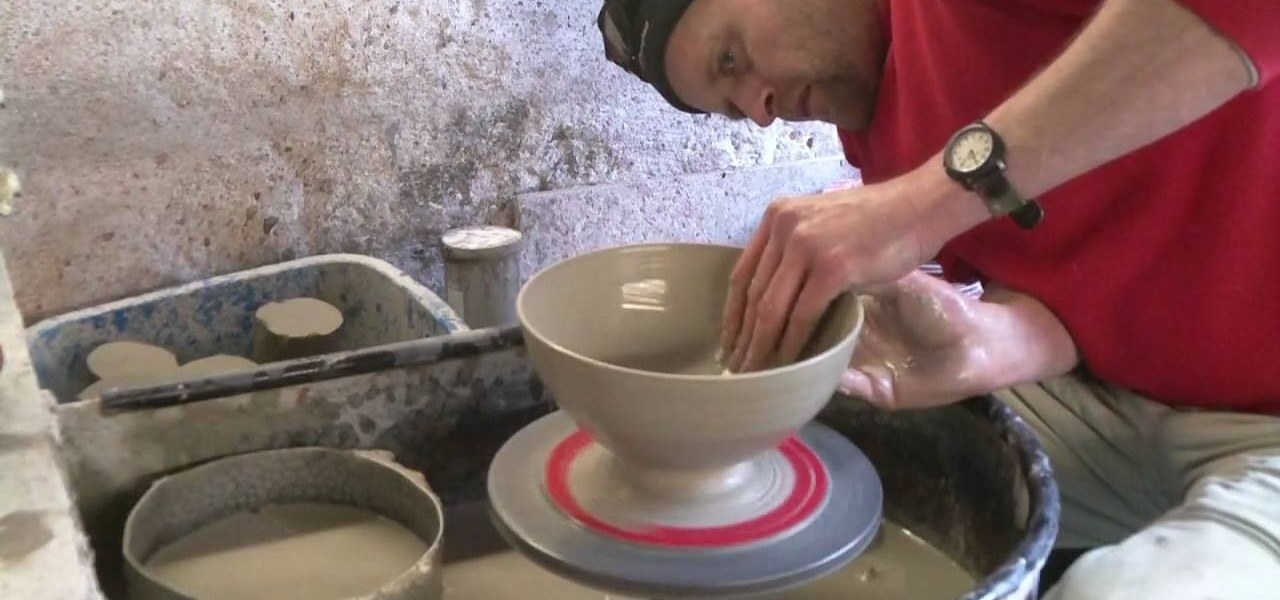
How To: Throw a clay pottery fruit bowl
To throw a clay pottery fruit bowl, place a lump of clay on the potter's wheel and wet it with water. Use the foot pedals to spin the wheel while shaping the clay with your hands. Draw the clay up and then use your thumbs to create an indentation in the center of the clay. Apply slight pressure and the clay should assume a bowl form. Use water as necessary to create the right clay consistency. Draw the clay up to make the bowl walls thin. While shaping the bowl walls with one hand, create a r...
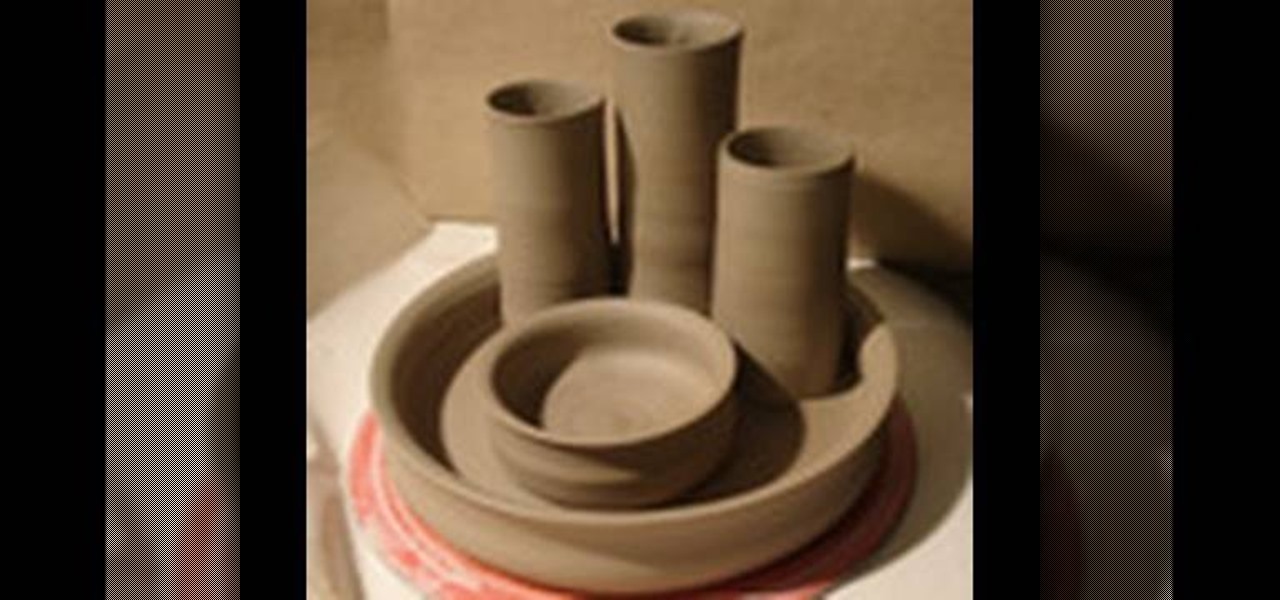
How To: Make a desk organizer out of clay
This video illustrate us how to make a desk organizer out of clay. Here are the following steps:Step 1: First of all take clay in different colors and now shape them round.Step 2: Now take one ball and press it into a flat sheet.step 3: Now take another ball and shape them in cylinders.Step 3: Now place these cylinders on the flat sheet keeping space between them.Step 4: Now take two balls and make small vessel out of these two balls .Step 5: Place these vessels between the cylinders, these v...

How To: Use a pugmill in pottery throwing
This video shows the method to use a puggmill in pottery throwing. Take the two packets of clay and take the clay out on the table. Take a thread and cut the two pieces of clay in the middle to form four bricks. Put the bricks in the puggmill one by one and wait for it to come out. The pugged clay comes out from the bottom in a cylindrical shape. Take out the four cylinders from the four bricks of clay. After this, put the cylinders in the pugmill again so that they are pugged thoroughly. Put...
How To: Throw and carve a double walled pottery vase
This video illustrate how to throw and carve a double walled pottery vase. Here are the following steps.Step 1: First of all take a potters wheel.Step 2: Now take clay and put it on the wheel and rotate the wheel.Step 3: Make inner and outer partition and slowly shape the inner clay into long vessel shape.Step 4: Now take the outer clay and shape it into vessel, now join the neck of this vessel to the inner vessel and shape it into a vase.Step 5: After the pot has half dried cut the outer bou...

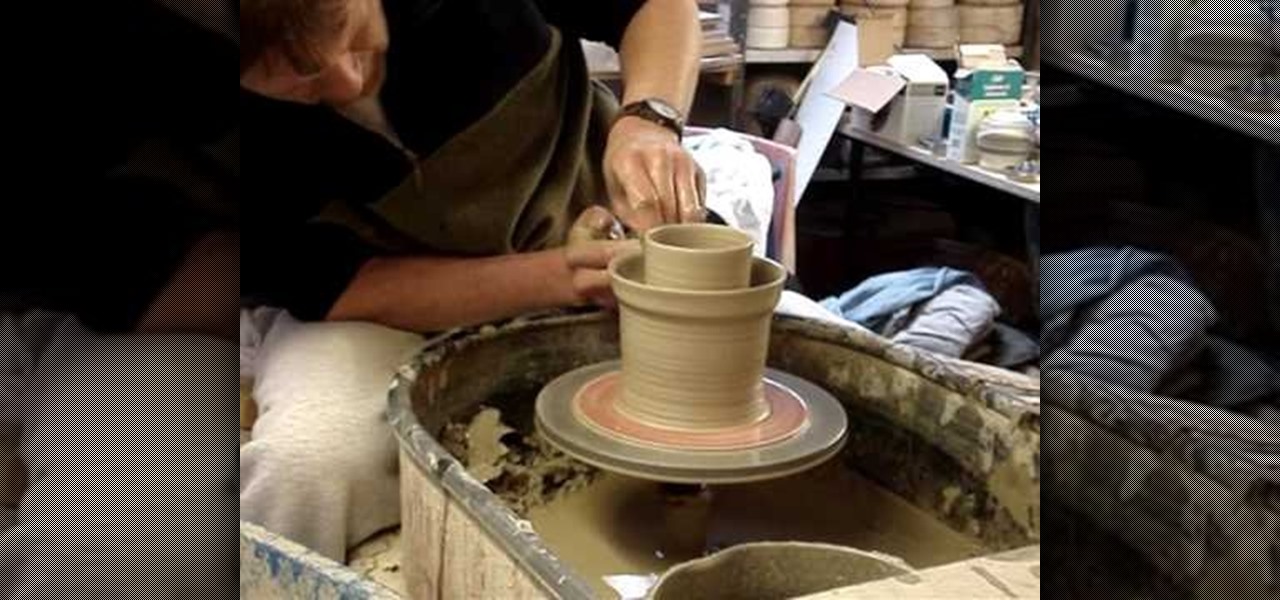
How To: Throw a terracotta long tom flower pot
You start out with putting a rater big lump of clay on the potter's wheel (the turn table if you want) and make sure you got water close by. By using your hands and your fingers you then start to shape the clay lump into the size you want it. Keeping both the clay and the hands wet all the time. Once the pot starts to get the size you want it to be, you start to give it a more detailed shape. In this case it is a bit wider in the top than in the bottom. Once your satisfied with the shape, you...
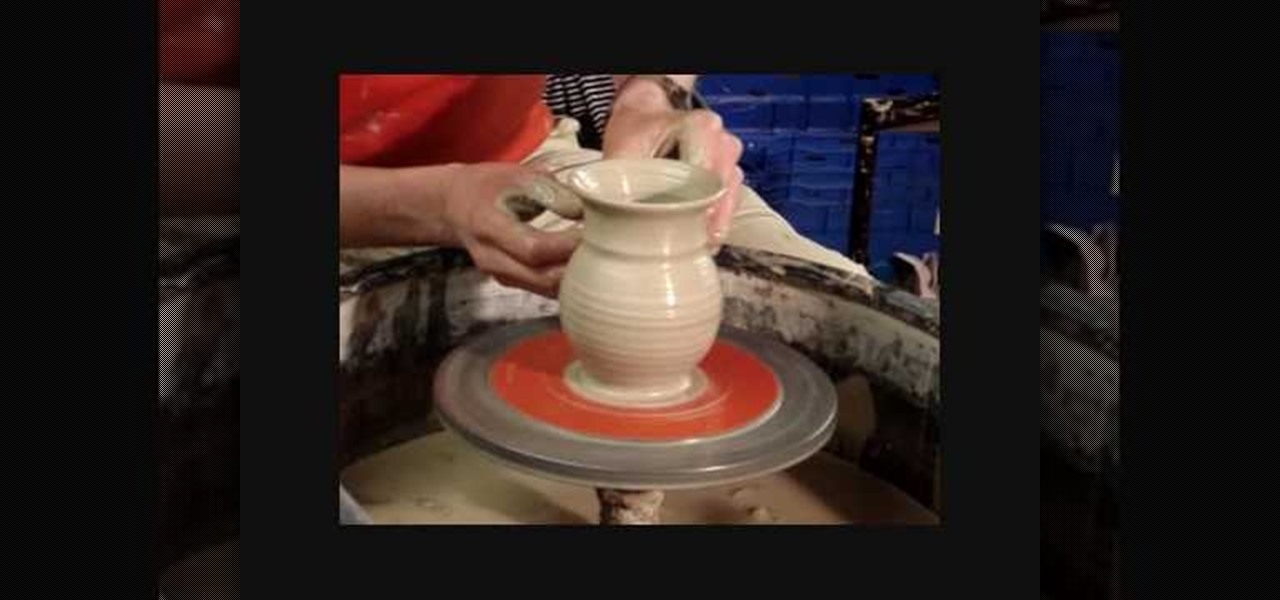
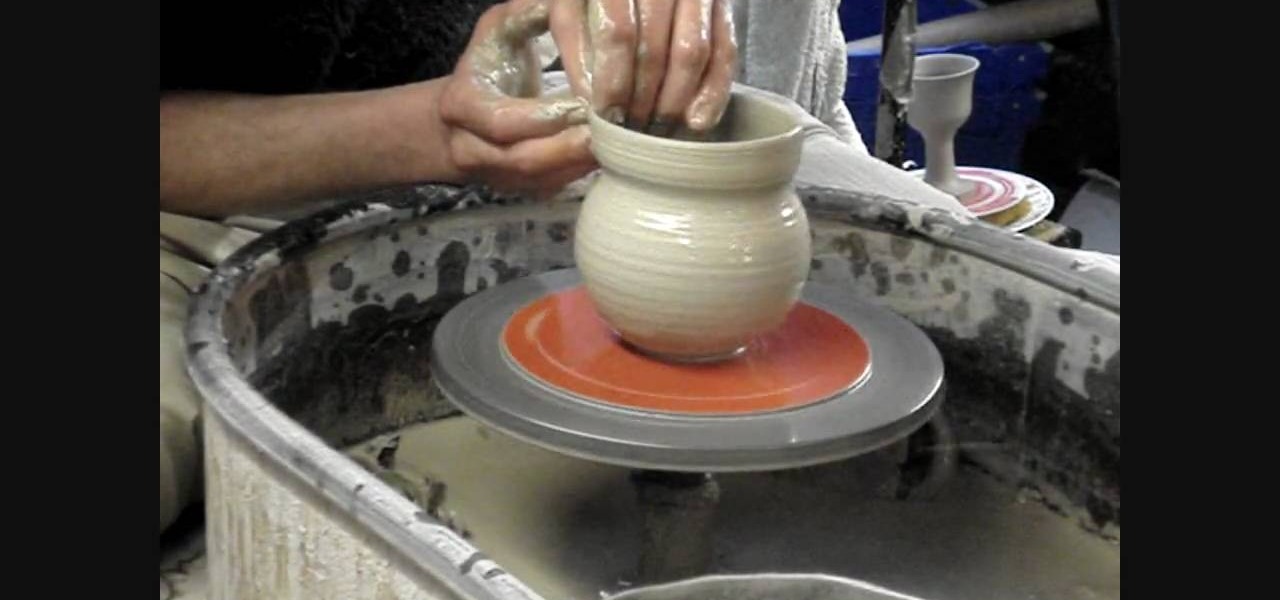
How To: Throw a small jug and handle
In this how-to video, you will learn how to make a small jug with a handle using a wheel. Place the clay onto the wheel and start spinning it. Grasp it with your hands as it spins and make a vertical shape. Use your thumbs to make the interior bowl shape. Now, use your hands to make the clay more vertical. Keep doing this until you get the desired height. Now, insert your hand into the interior to widen the shape. Make the top more narrow with your fingers. Make the edge stick out as well wit...
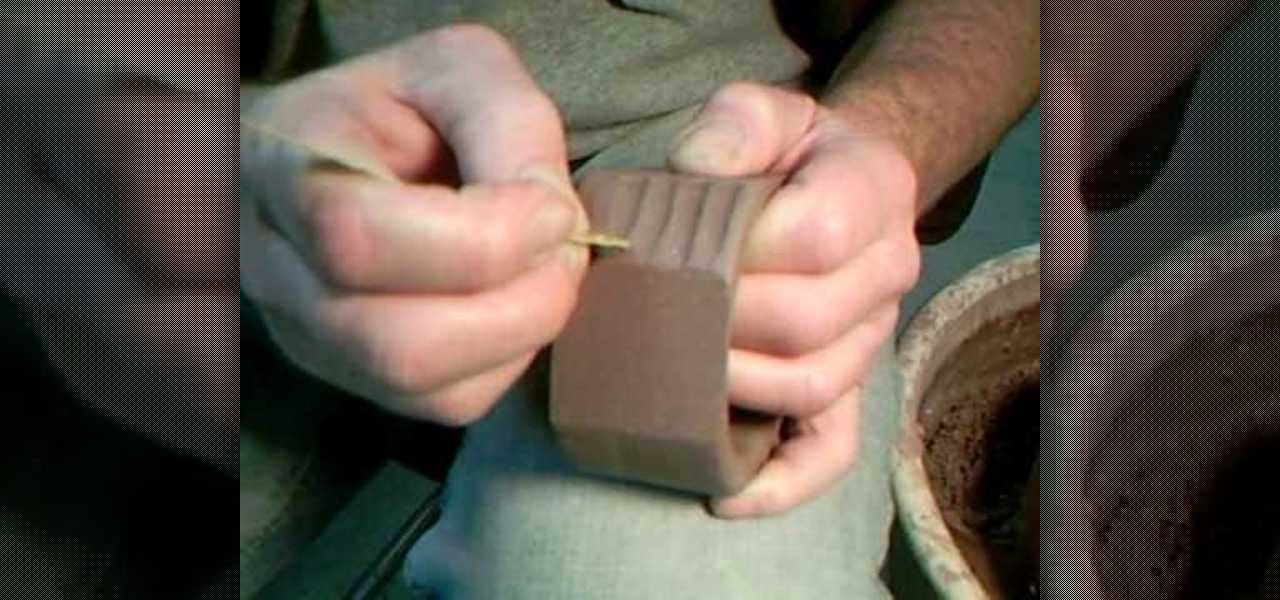
How To: Have two faceting techniques with Simon Leach
In this video, ceramic artist Simon Leach demonstrates and shows you two different faceting techniques, when potting. The first technique is complete shaving to add more dimension to, your ashtray or small bowl. The second is a half way shave, for a different yet fun look to your pots.

How To: Make ceramic coggles (small wheels) with Simon Leach
This excellent three part series takes you from beginning to end on how to make ceramic coggles, or small wheels. You'll learn how to properly spin your glan, glaze your result, as well as how to properly light your kiln. This series is great for any ceramic student, at any level.
How To: Make a mini polymer clay birthday cake for a dollhouse
Garden Imagination shows viewers how to make a polymer clay mini birthday cake for your dollhouse. First you will want to start off with yellow clay and roll it out on your pasta machine at level 1. Fold this yellow clay in half and use a shape cutter to cut out the cake. You can find a shape cutter at Hobby Lobby and use a circle scare or any shape you want. Cut out two pieces - one for the top and one for the bottom. Next, you will want to use size 8 font on your computer and type "Happy Bi...

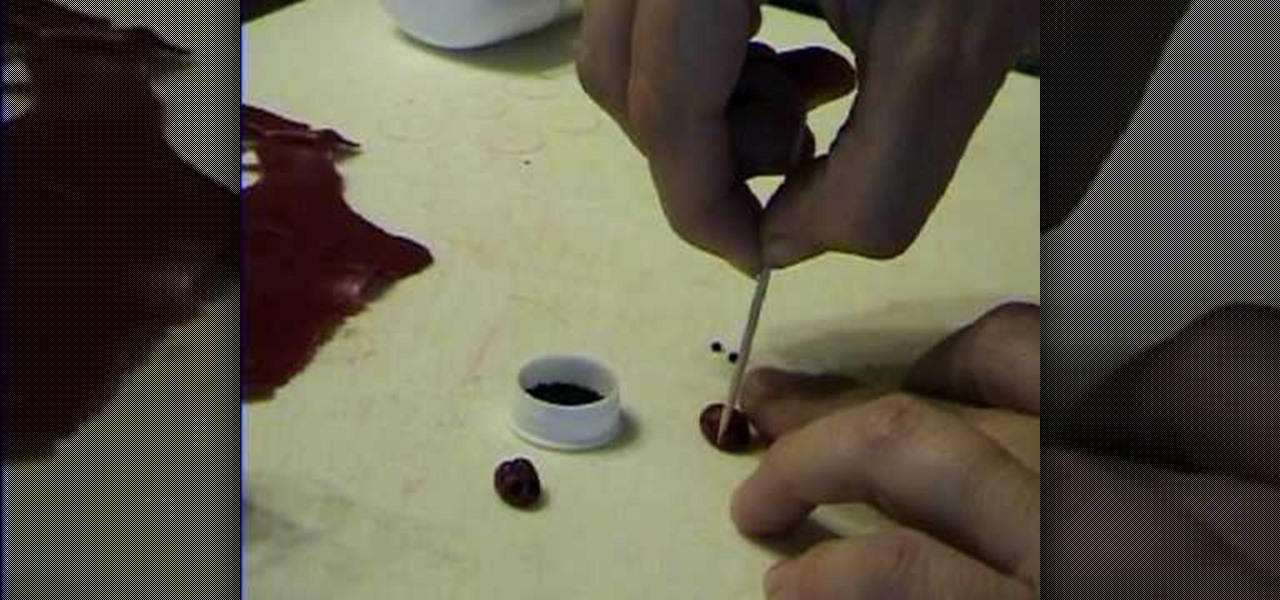
How To: Make a bunny bead out of polymer clay
This art and craft video shows you how to create a bunny head out of polymer clay. You start it by creating a round ball for the bunny head. You can then make it into a bead by using a small screwdriver (if you wish it to be a bead). You then take some additional clay and shape it into flat ears, fold them over to make them look floppy and attach them onto the round ball (head). The presenter then shows you how to add eyes, by pressing beads onto the face of the bunny using a needle. You can ...

How To: Make a baby girl or baby boy polymer clay bead
This video shows how to make a bay girl and boy head made of clay. The first thing you need to do is get a small round ball of clay that is a skin color color. Then you get the small black beads and place it firmly on the ball they will act as the eyes. Then make the eye creases on the side of both eyes. After that you add the other physical features like nose, mouth, ears, and eyebrows. The last thing you do is fold two square pieces of clay into the shape of a bow then place it on the top o...
How To: Make a polymer clay rainbow cane
This video explains how to make a polymer clay "rainbow cane," which, amongst other things, can be used to make jewelry or pendants. First, you must run a conditioned piece of each color of clay through a pasta machine. Then, cut each color into a square, and from there cut each square diagonally, creating triangles. Arrange the triangles side by side and attach them together, so that you create a large rectangle of the colors. Run this rectangle through the pasta machine several times, until...

How To: Make a polymer clay zebra bead
This video demonstrates the making of zebra beads presented by Garden of Imagination. To make zebra beads, take white and black clay. First take the white clay and flatten it and then do the same with the black clay. Arrange them in five flatten layers one white strip and other black strip respectively. Cut it with cutter and fold around (up, down, right, left) the round bead of white clay and roll it in your palm to make it round. To make it as a bead poke it with pokeyard from both the side...
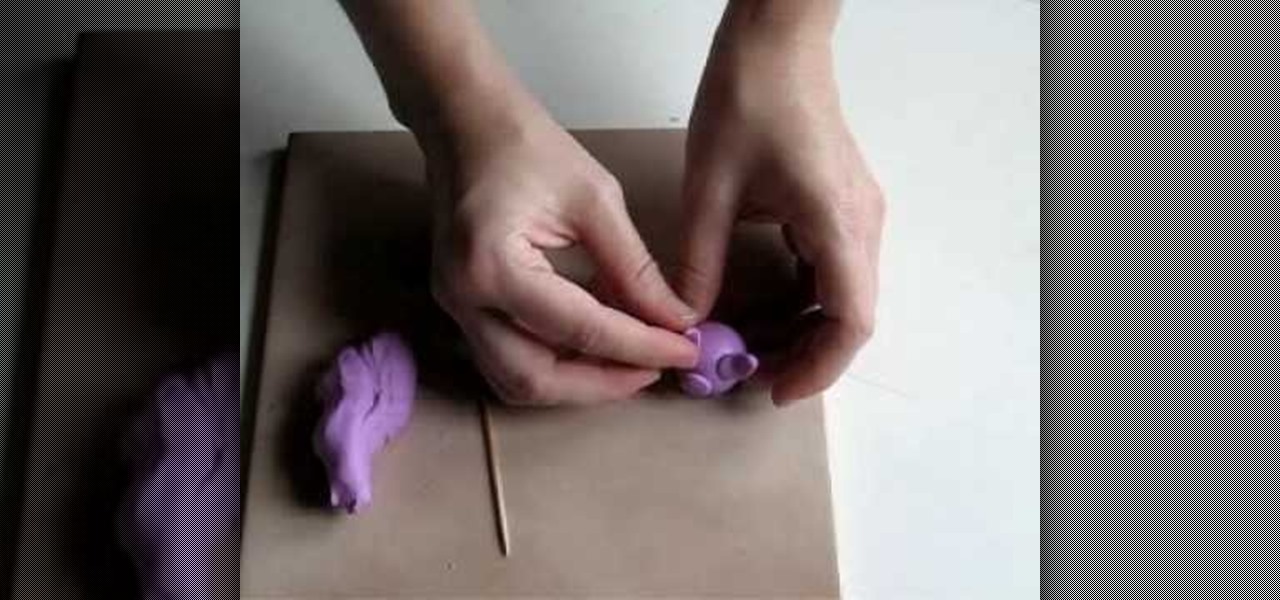
How To: Make a steampunk bunny
This video teaches you how to make a steampunk bunny. You want to start off by making a blob with a fairly light color. Then you want to use a sharp stainless steel tool to create a round head. Make sure to make the head of the bunny is forwarded a little bit so that it looks like a bunny. Next, using your hands create a tail in the back of the bunny. Insert one of the bigger eyes using the little wire. Go ahead take your tool and carve out the nose, the cheeks and the mouth. Next you want to...