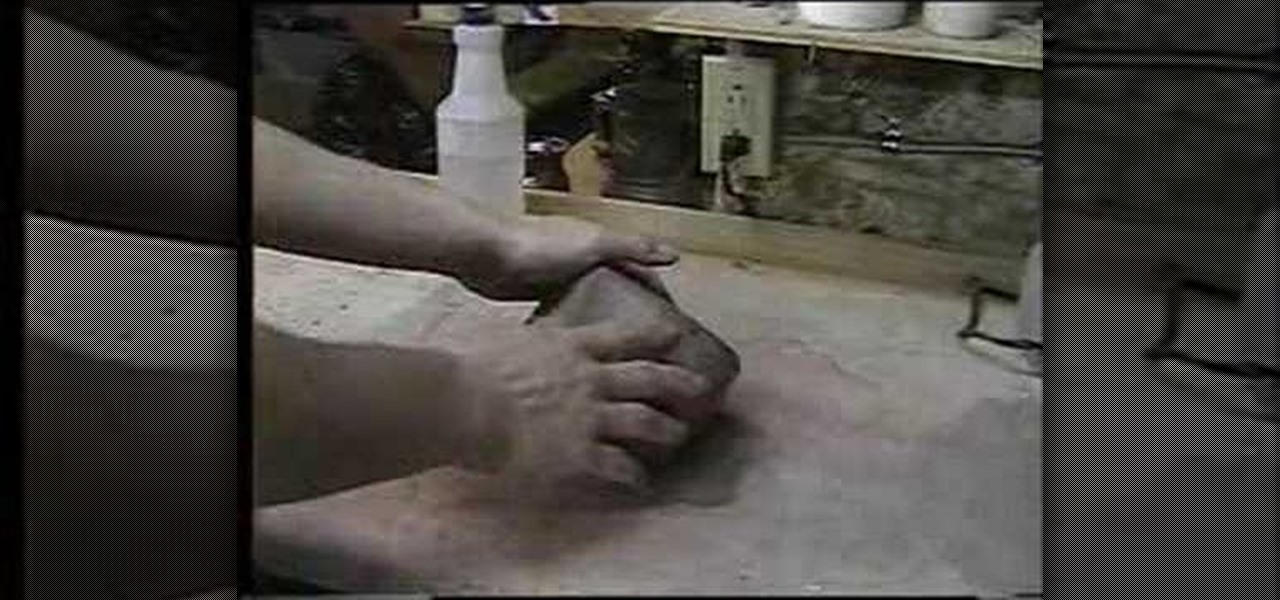
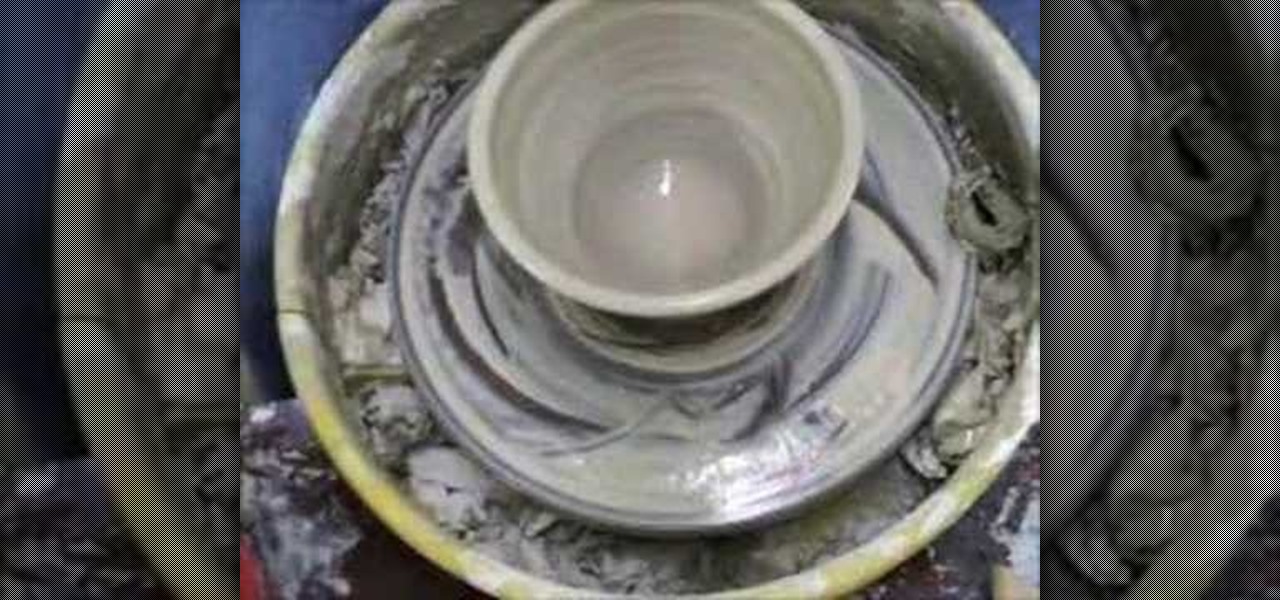
How To: Make a large soup bowl
Watch this ceramics tutorial video to learn how to throw a large soup bowl using 2.5 pounds of clay and a pottery wheel. The detailed instructions in this helpful how-to video will allow intermediate potters to easily make large soup bowls.
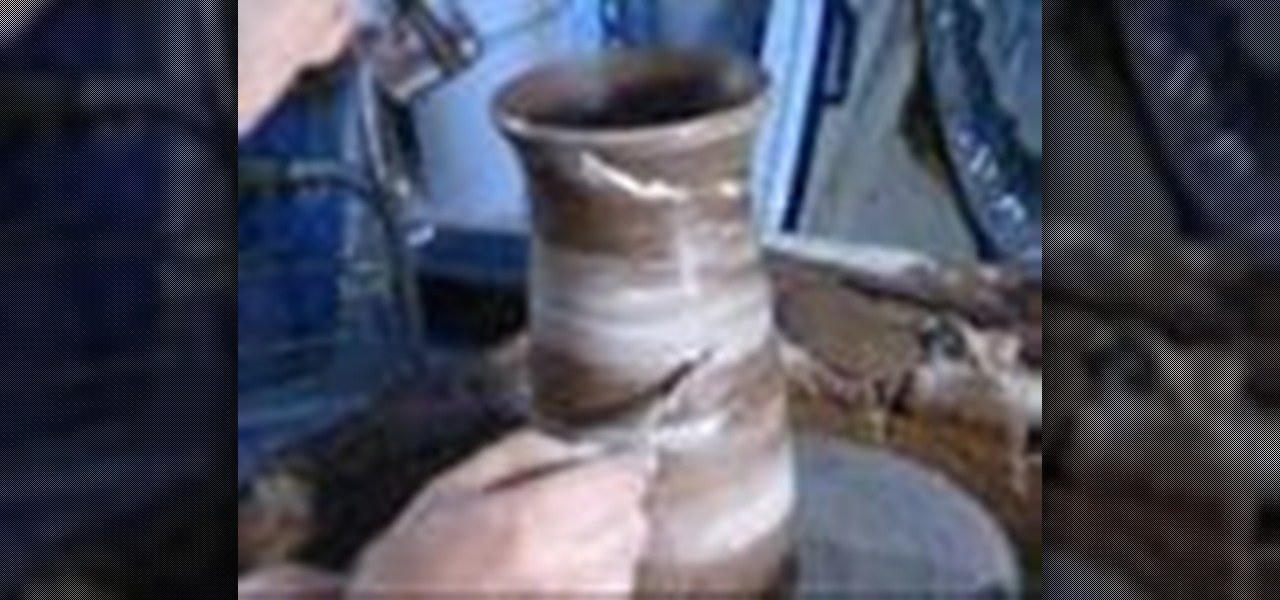
How To: Decorate earthenware with porcelain slip and paper
Shredded paper is a great way to create a design on an earthenware piece, as it will burn away during the firing process. Porcelain slip can be simple throw water from old porcelain pottery projects. Learn how to decorate earthenware pottery projects with porcelain slip and shredded paper by watching this video ceramic design tutorial.
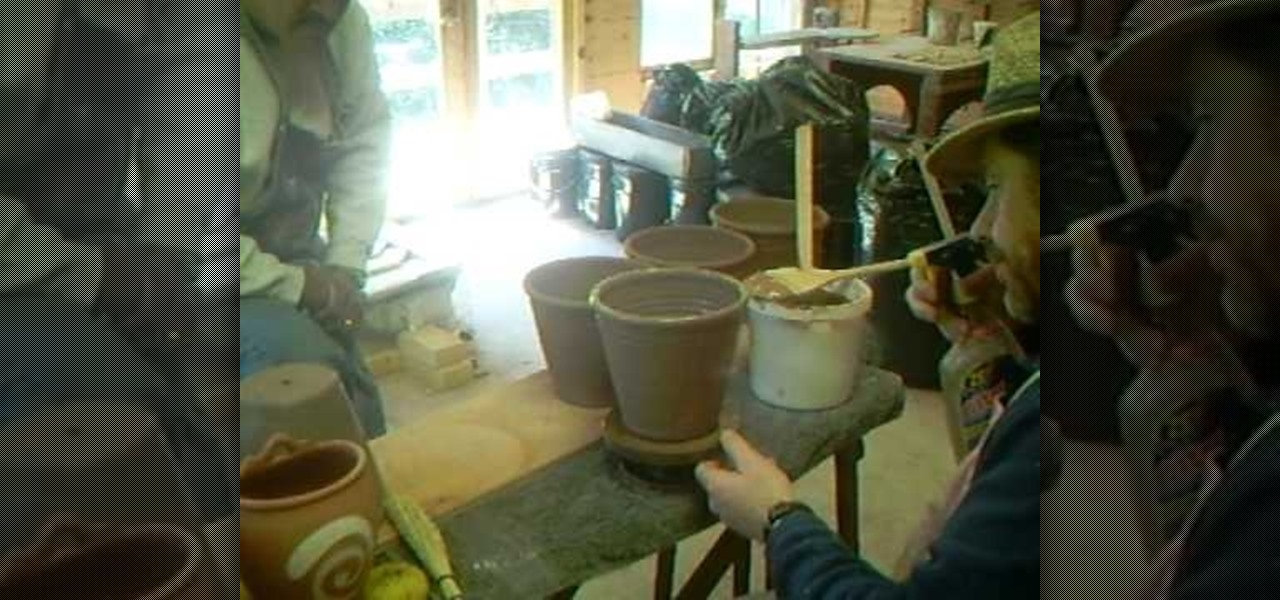
How To: Use wood ash to prep pots for the kiln
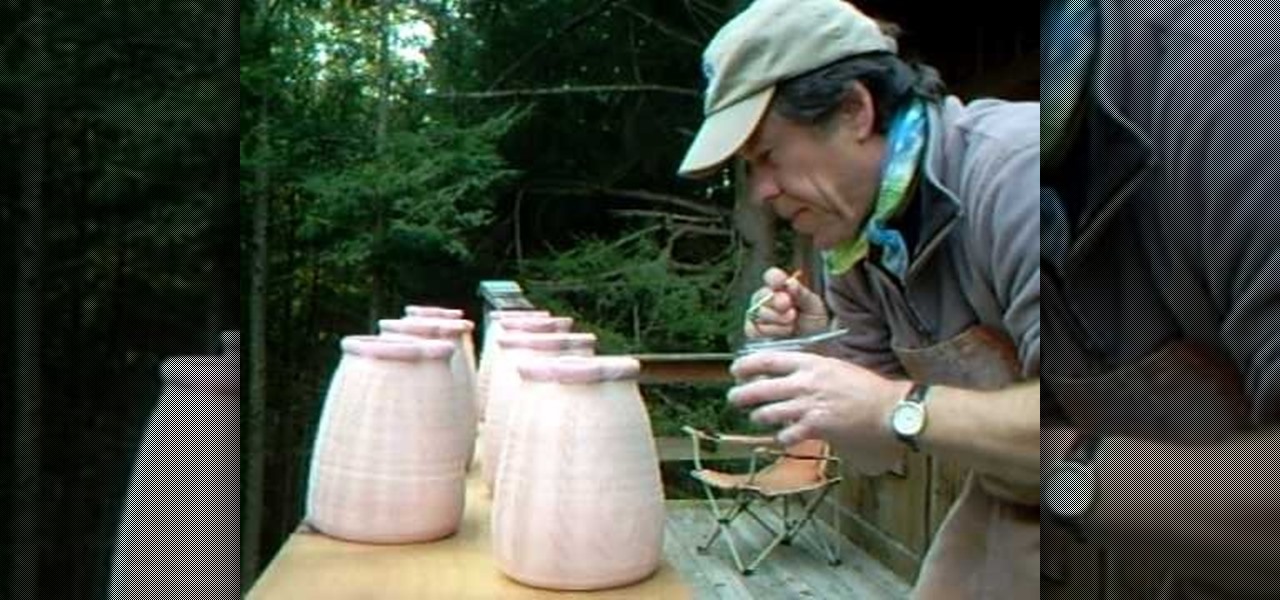
In this video, we learn how to use wood ash to prep pots for the kiln. First, grab wood ash and place it into a container that sprays. After this, blow in the appropriate hole and hold the container so the ash gets all over your pots. Continue to do this all the way around the pots. You will get out of breath while doing this, so take your take and take breaks to breathe. Make sure you do this in a quick amount of time so the ash inside the container stays ready to be blown. After this, the p...
How To: Make a "hakeme" brush for slip decorating your pottery
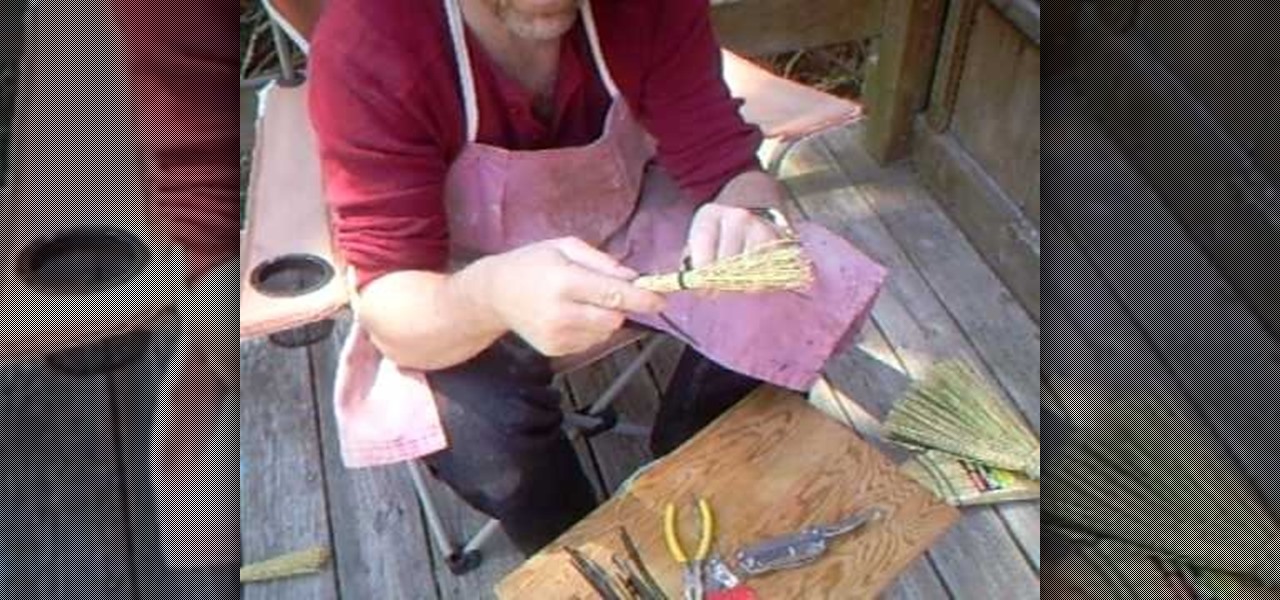
In this video, Simon Leach steps away from his wheel for a few minutes to teach potters everywhere how to make a "hakeme" brush at home out of basic items. This brush can then be used to slip decorate your pottery and other ceramics.
How To: Trim raku pieces
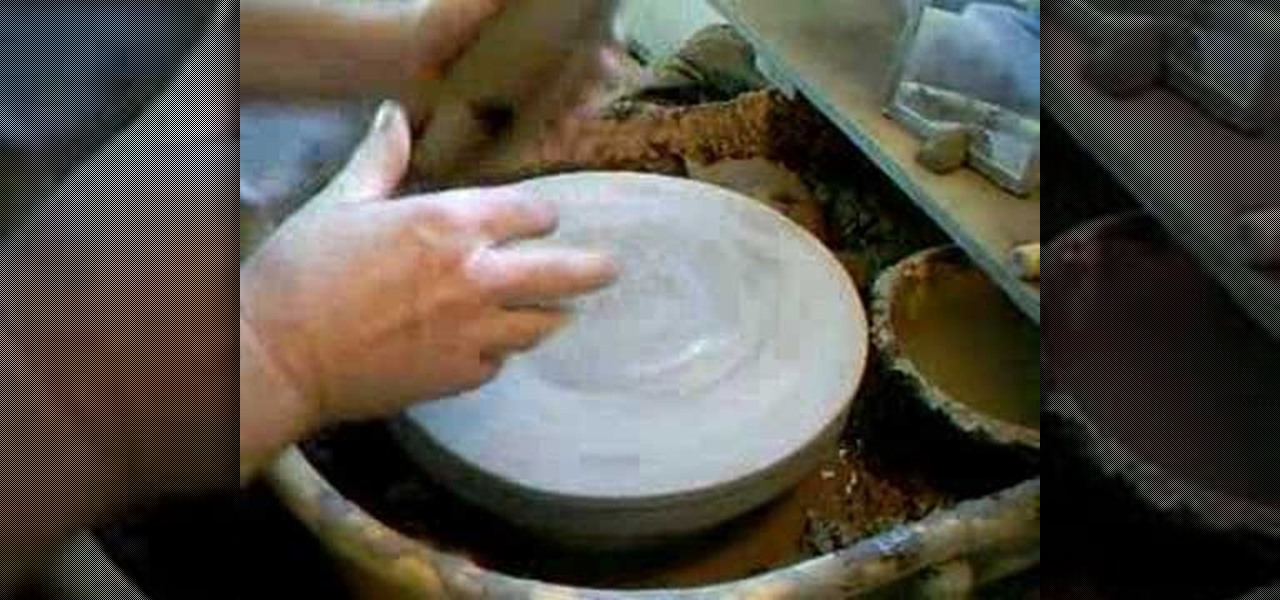
Watch this ceramics tutorial video to learn how to trim your raku pieces. This how-to video is best for potters with some experience with the pottery wheel. The tips in this instructional video will help you easily trim your raku pieces.
How To: Use aluminum cans as armatures for shaping and baking polymer clay
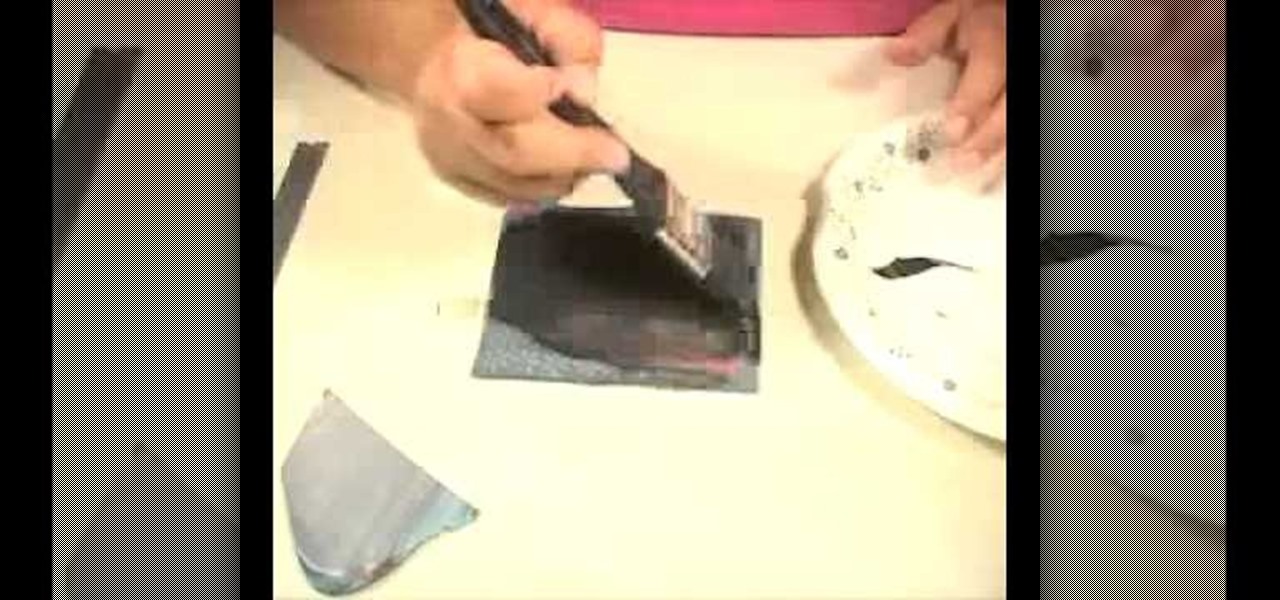
You're probably wondering why in the world you would throw an aluminum can into an oven to bake, but differently shaped aluminum cans are actually a polymer clay hobbyist's best friend when it comes to shaping clay and making the shape stay.
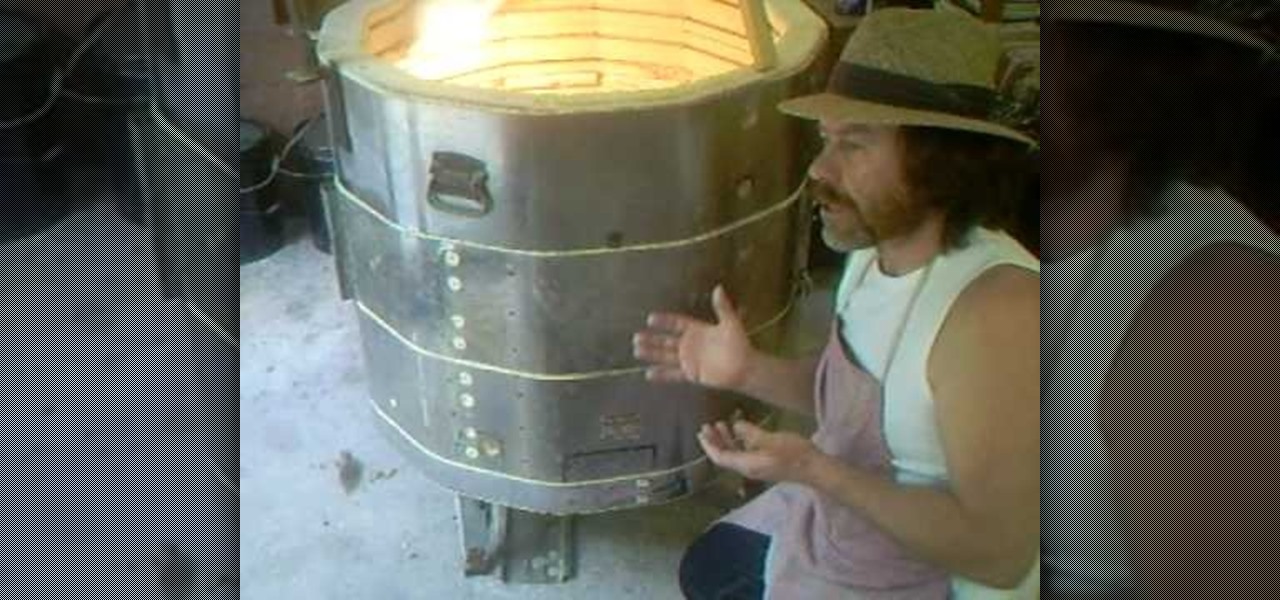
How To: Convert an old electric kiln into a propane gas kiln
You may love your old electric kiln like a child, but it's time to get in touch with the times and update that sucker! Watch this ceramics tutorial by potter Simon Leach to learn how to turn your old electric kiln into a snazzy new propane gas kiln.
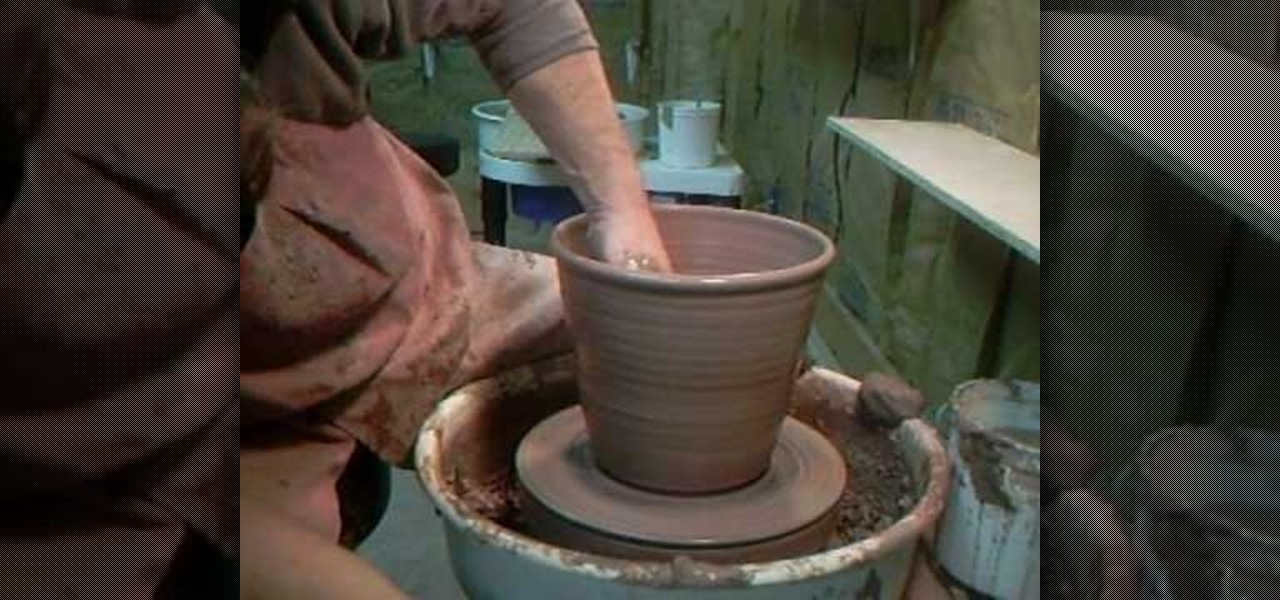
How To: Throw a 7 pound flowerpot with Simon Leach
Simon Leach has taught us a lot about ceramics and pottery in his many videos. In this concise one he demonstrates for all you at-home potters out there how to make a 3 kilogram (6 pound 10 ounce) flowerpot on the wheel. As you can see at the end of the video, that is a pretty large pot. If you can throw this, you are well on your way to being an advanced ceramics enthusiast.
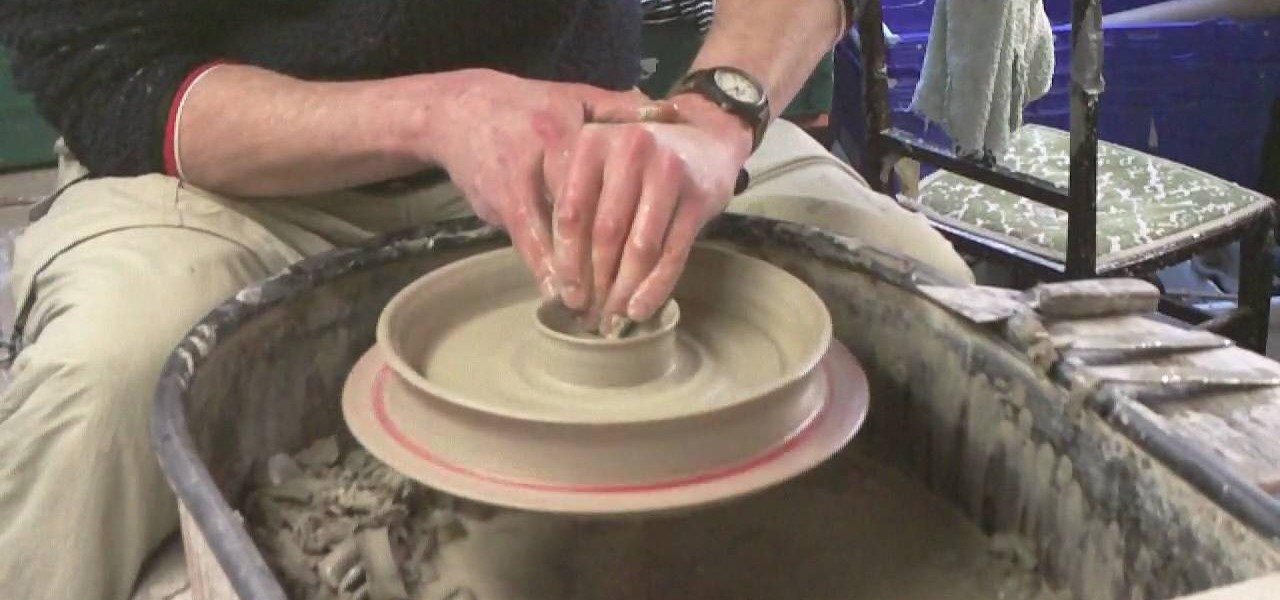
How To: Throw a chip and dip pottery plate
Ingelton Pottery demonstrates how to throw a chip and dip pottery plate. First, well a ball of clay and put it on a pottery wheel. Use your hands and ample amounts of water to depress the sides of the clay forming an indented rim with a raised center. Use your thumb to define the center hub. Create a thin side to the plate. Wet your hands and press down on the center hub, creating a depression. The plate should now have a two bowls with one sitting inside of the other one. Use a blade to scra...
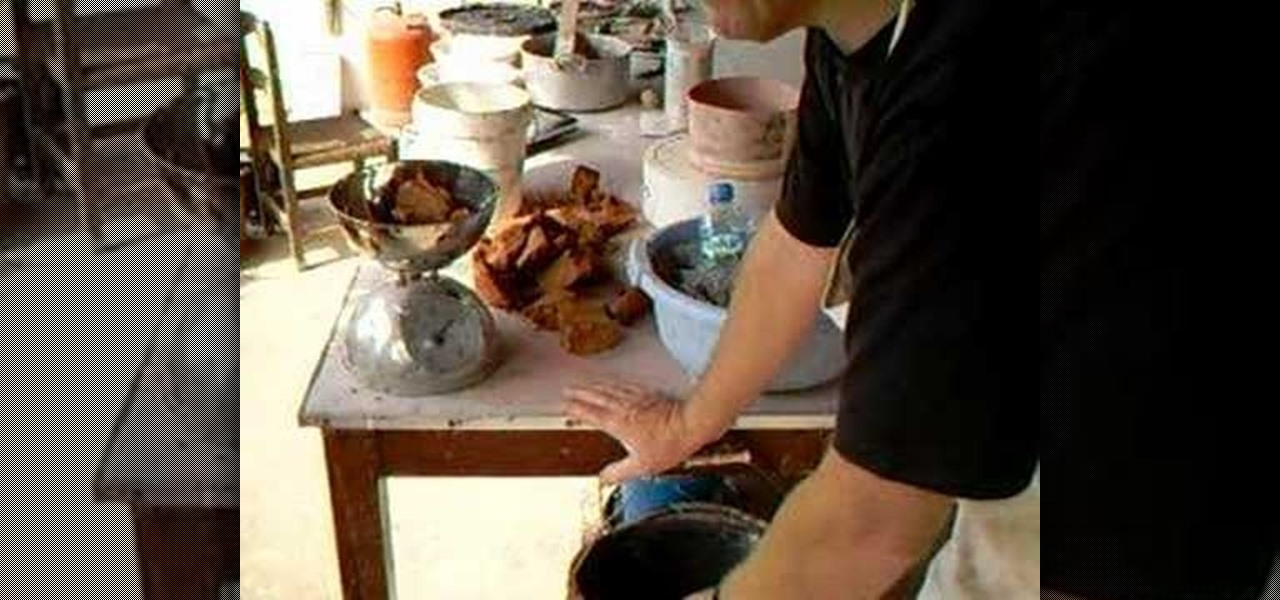
How To: Make a simple clay and ash glaze
This method of making glaze utilizes environmental supplies. That way there's no need to rely on a clay supply store, so it's great to save money or time if it's a distance to the nearest supplier. Watch this video pottery tutorial and learn how to make a simple ceramic glaze for firing out of clay remnants and wood ash. It's appropriate for use on raw glazing projects as well.
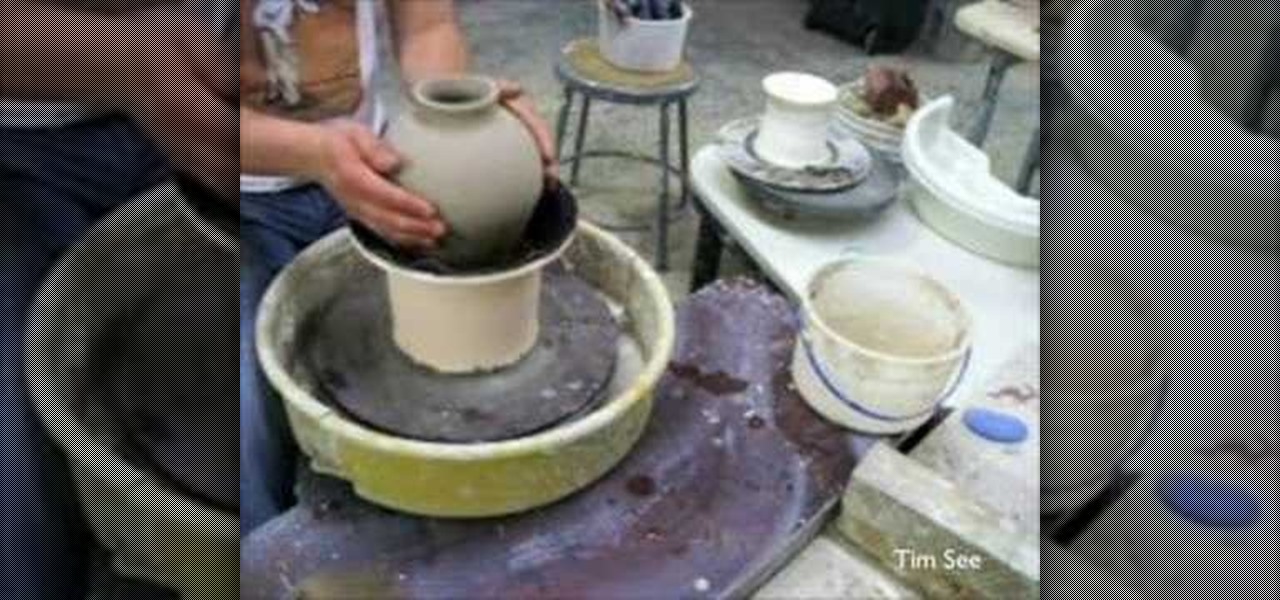
How To: Trim pieces with small necks with a chuck
Watch this ceramics tutorial video to learn how to use a chuck to trim your small-necked pottery. The detailed instructions in this helpful how-to video are best for intermediate potters with some experience.
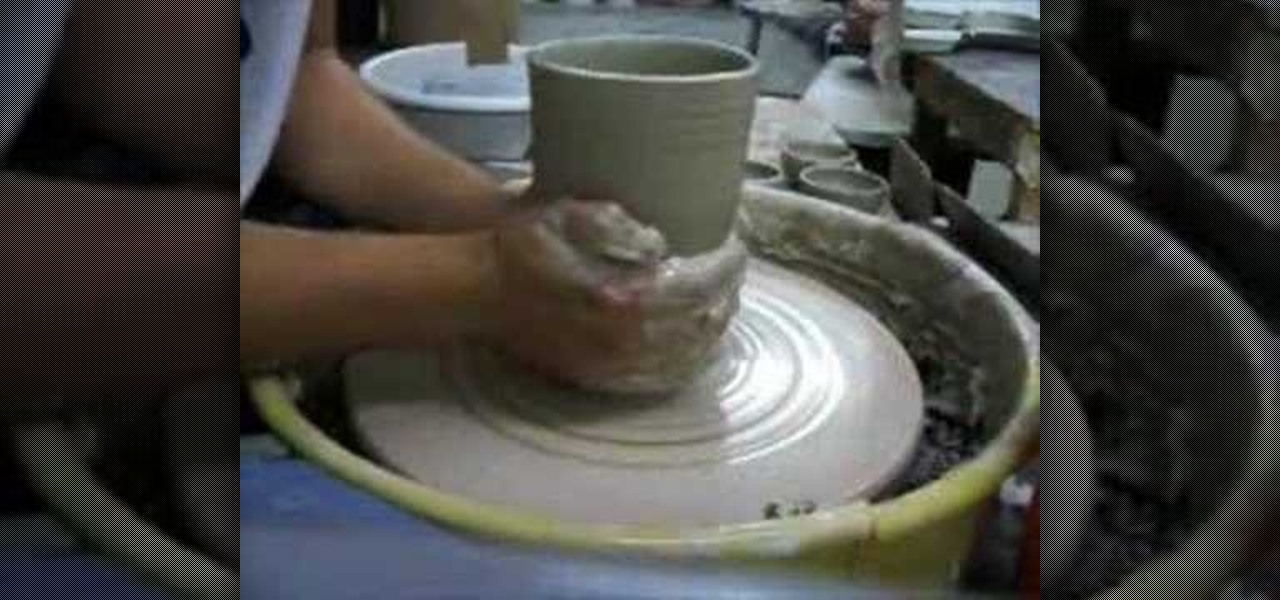
How To: Throw a simple ceramic vase on a pottery wheel
This simple vase is thrown on a pottery wheel from the same piece of clay in under six minutes. See as the clay takes shape to make a vase. Watch this video pottery making tutorial and learn how to quickly throw a simple ceramic vase.

How To: Join two pieces of leather-hard clay together
Check out this video to learn scoring techniques of joining two pieces of stiff leather-hard clay. Following are some steps you will see demonstrated
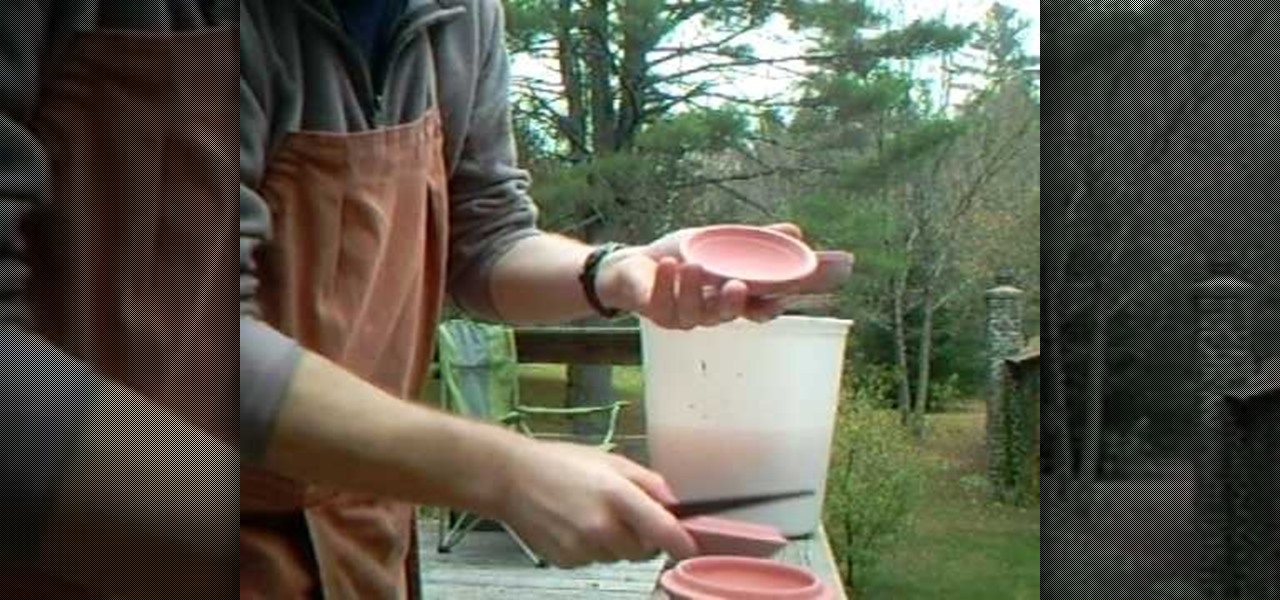
How To: Clean off ceramic pots before firing them
In this video, we learn how to clean off ceramic pots before firing them. First, take a knife to clean off any bits that need to be removed to make the pots completely smooth. After this, dip the top of the pot into glaze and let it dry on a flat surface. For the base, hold with your two fingers on the inside, then dip in the glaze and let dry. Once these are dry, take a knife and scrape the edges where excess glaze may be at. Then, scrape all around the edges and clean the back of the side w...

How To: Make a ceramic slab plate
In this video, we learn how to make a ceramic slab plate. First, roll out the ceramic. After this, place the clay on butcher or newspaper and smooth it out with a plastic card. Repeat this on the other side. Next, use a paper template to help cut your design or use a circular object. Cut slits to help remove the surrounding clay. Use the excess clay to build support pieces then curve the edges of the plate up and place the support pieces underneath. Use a piece of leather to smooth the edges....
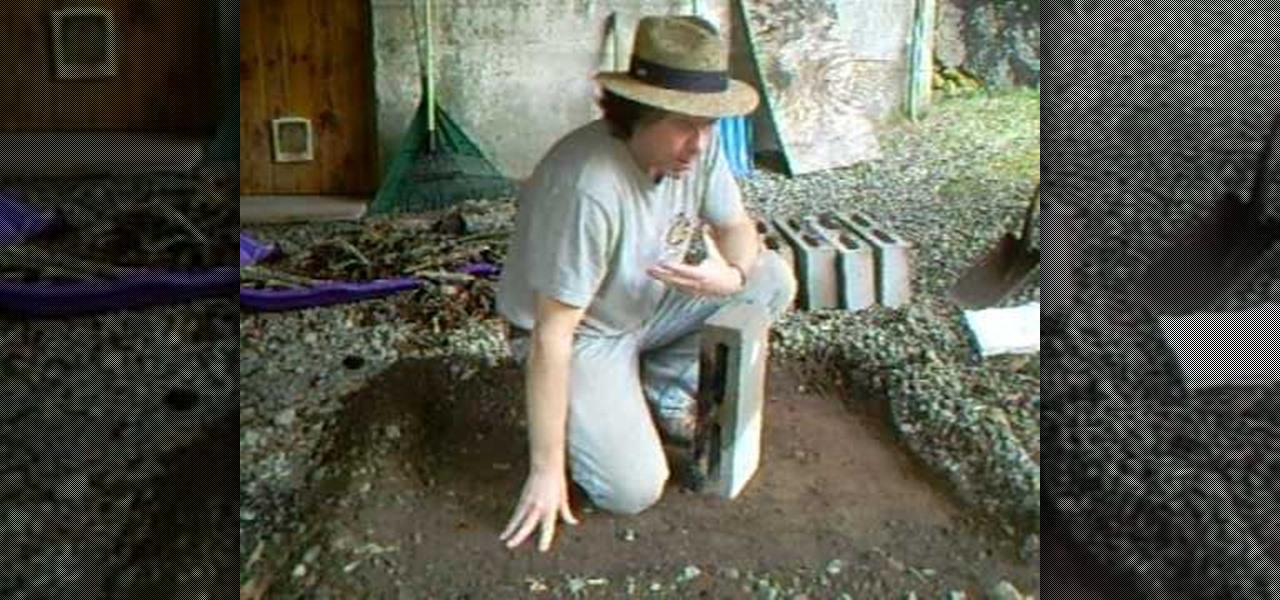
How To: Build a small downdraft kiln with Simon Leach
In this 2 part how-to video, Simon Leach, who normally shows you how to make pottery, instead shows you something else. In this tutorial, Leach shows you how to make and build a small propane downdraft kiln. Follow along with Simon Leach, and you too could be building your own kiln in your backyard.
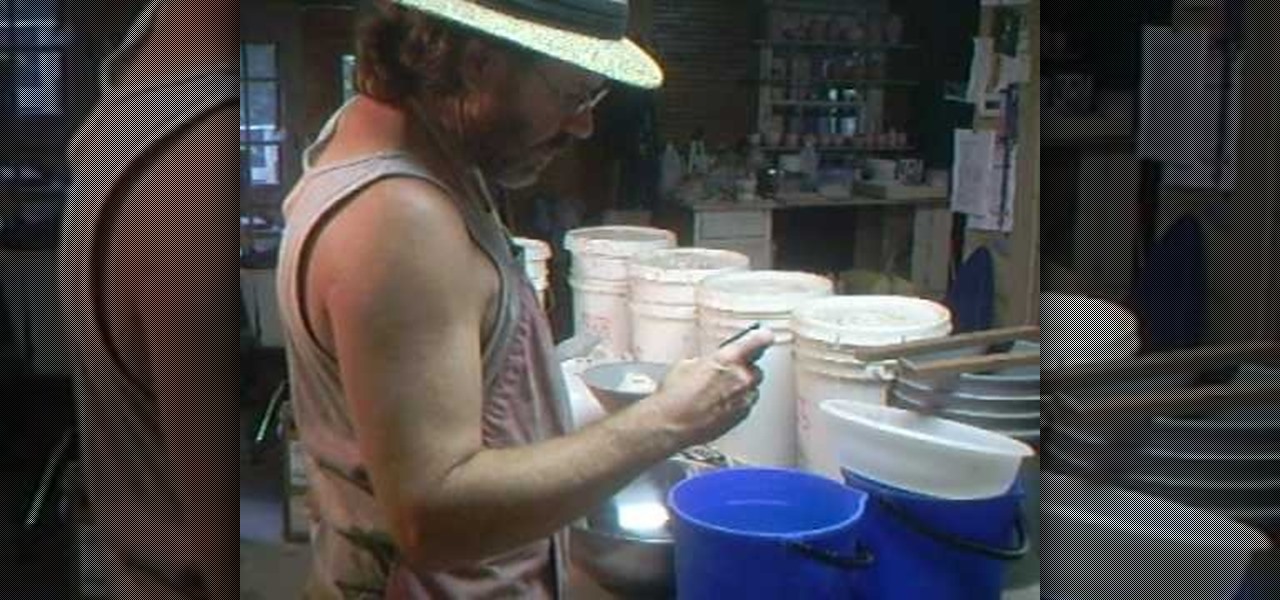
How To: Make a Japanese Shino glaze with Simon Leach
A Shino glaze is an umbrella term for a category of pottery glazes that range in color from milky white to orange and even charcoal gray. Chino glazes add a very pretty luster to pottery pieces and are made using a carbon trap, or trapping carbon in the glaze during kiln firing.

How To: Glaze pots in Shino with Simon Leach
So after much hard labor and patience, you've finally thrown your first vase, fired it carefully in the kiln, and let it harden to a fine finish. What to do next in your pottery making journey? While a beautiful vase is a beautiful vase no matter the finish or color, applying a glaze is like putting on makeup: sure, you don't NEED it, but having it on dramatically improves and accentuates your features, making cheekbones more sculpted, eyes wider and brighter, and lips more well defined. In t...
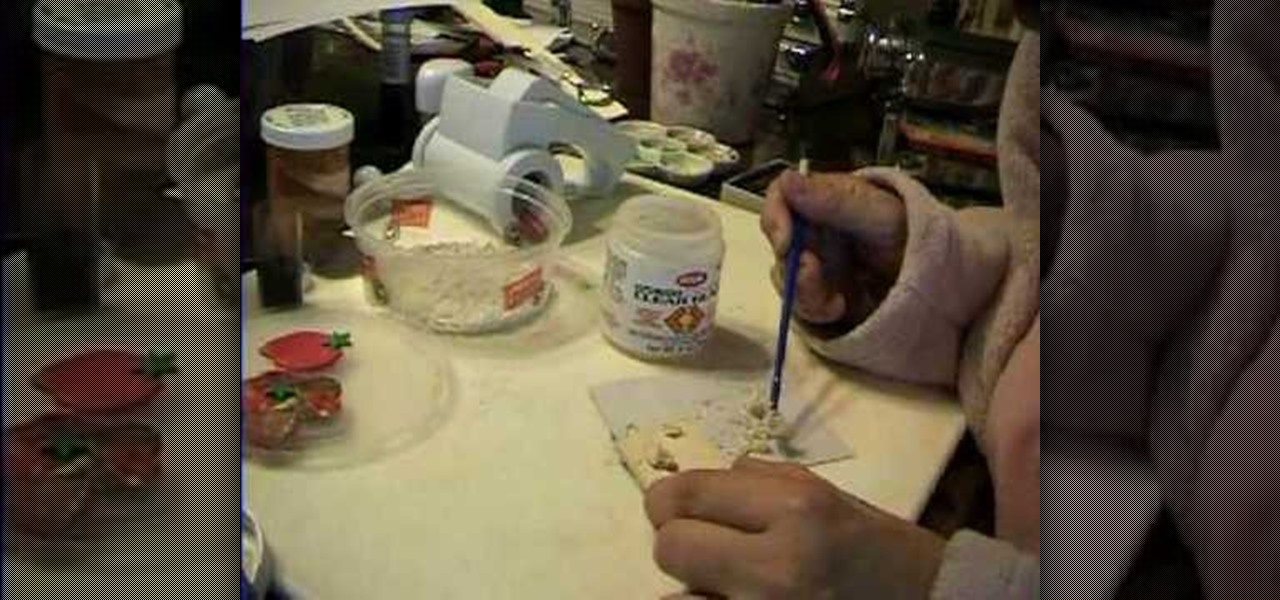
How To: Make miniature macaroons from polymer clay
See how to sculpt miniature macaroon charms out of polymer clay with this free video art lesson. While this tutorial is best suited for those with some familiarity of polymer clay sculpture, novice sculpters should be able to follow along given a little effort. For specifics, including step-by-step instructions, and to get started crafting your own doll-sized macaroons, watch this sculpture tutorial.
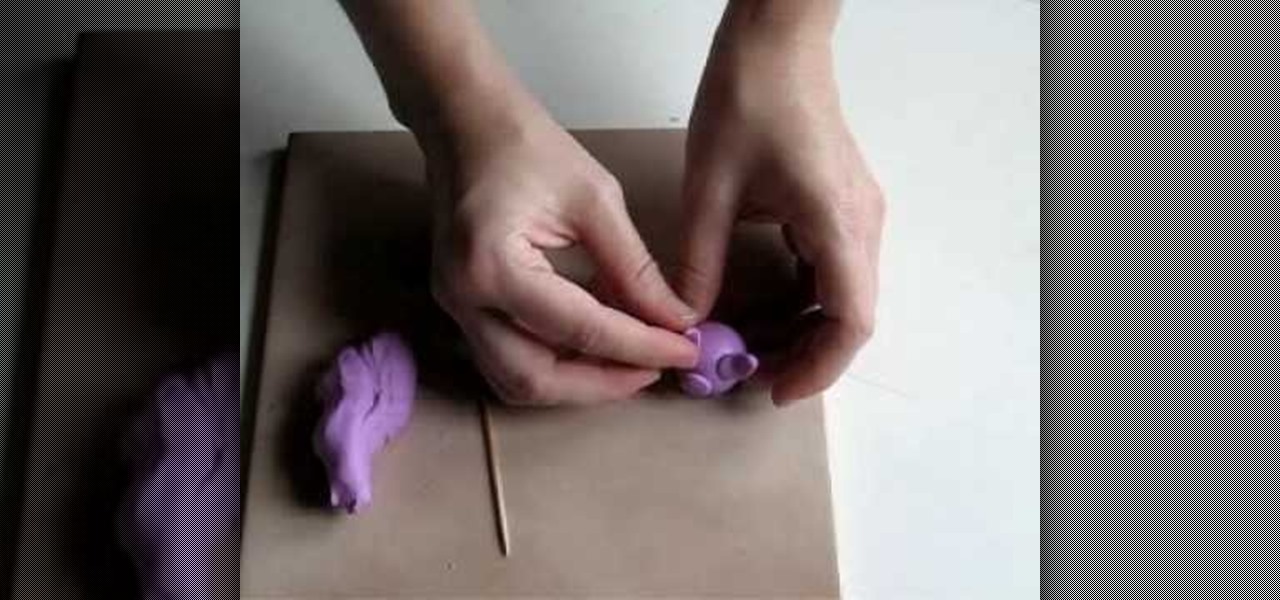
How To: Make a polymer clay pig
Learn how to sculpt a pig out of polymer clay with this free video art lesson. While this tutorial is best suited for those with some familiarity of polymer clay sculpture, novice sculpters should be able to follow along given a little effort. For specifics, including step-by-step instructions, and to get started making your own polymer clay piggies, watch this sculpture tutorial.
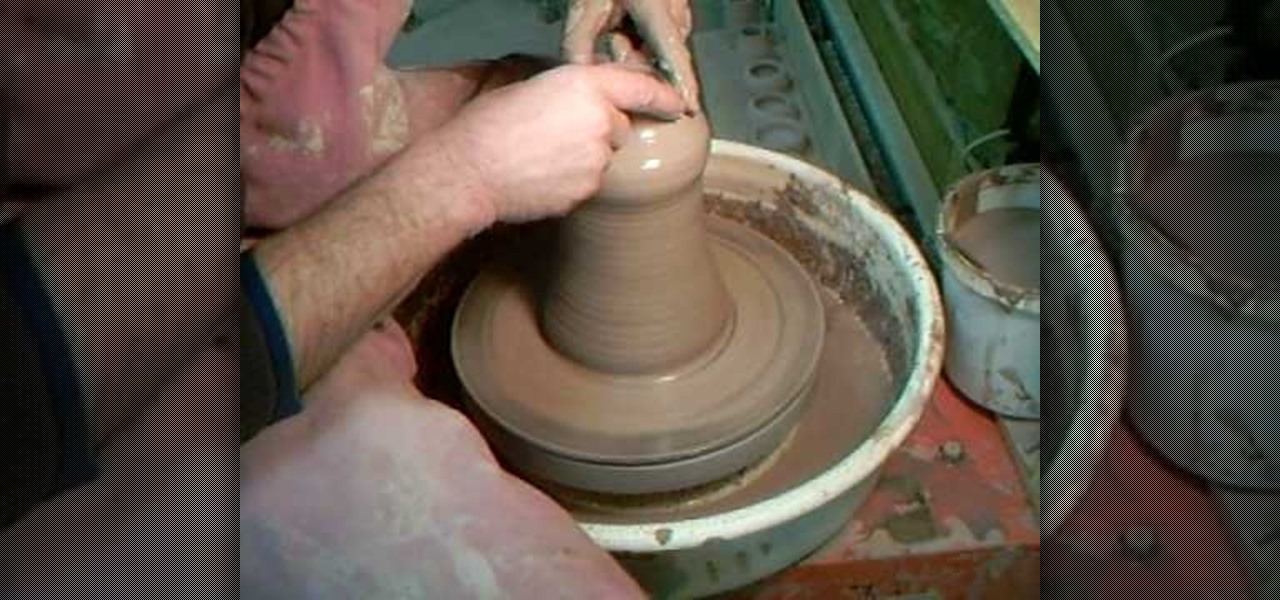
How To: Throw a lamp base
You all the know the scene from Ghost? Where Patrick Swayze and Demi Moore are sitting and they are trying to make something using the machine? It's one of the most iconic scenes out there. Anyways, this video isn't about ghosts, or either of those actors, but rather that machine and what it can do. This tutorial will show you how to throw a lamp base easily. Enjoy!
How To: Make a mini polymer clay hamburger for a dollhouse
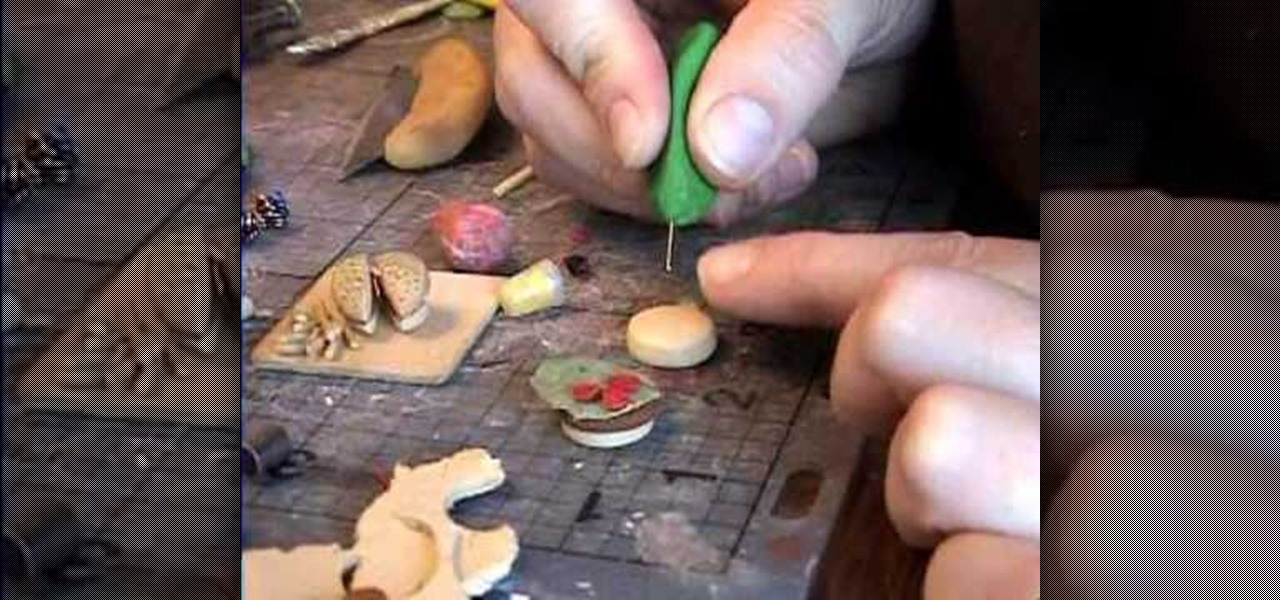
Using multiple layers of clay, garden of imagination shows how to make a hamburger and fries out of polymer clay. This decorative item would then be placed into a miniature dollhouse being displayed as a food item. She rolls a peppercorn on brown clay to give it the texture of meat. She mixes together green and whit clay for lettuce, and uses another piece of clay to ruffle the edges of the lettuce. She uses small round cuts of clay for tomatoes. Using an embroidery needle with a clay handle ...
How To: Make a Santa hat bead from polymer clay
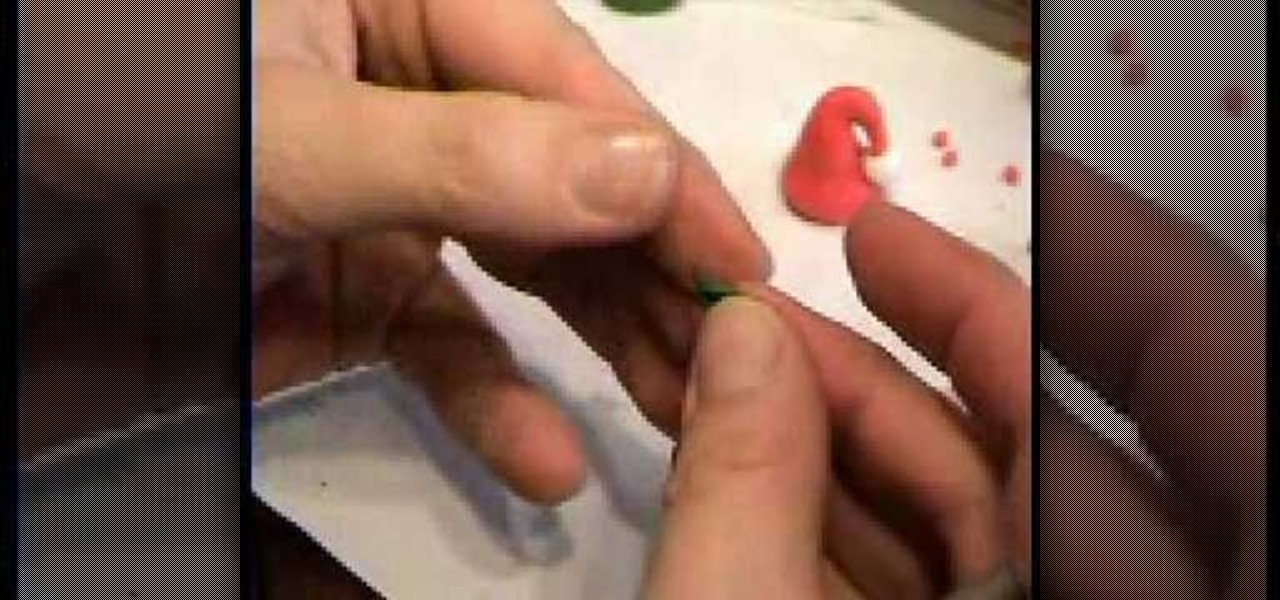
To make a Santa hat bead, begin with red clay and condition it by kneading it with your fingertips. Form the clay into a thick worm shape, with it being the thickest at one end then tapering off. Use your fingertip to make a shallow indentation on the thicker end, and remove any excess clay from the thinner end (total length should only be an inch or two). Curve the thin end over slightly to create a hook shape at the top of the hat. Take a small ball of white clay and make a small hole in it...
How To: Collar a cylinder
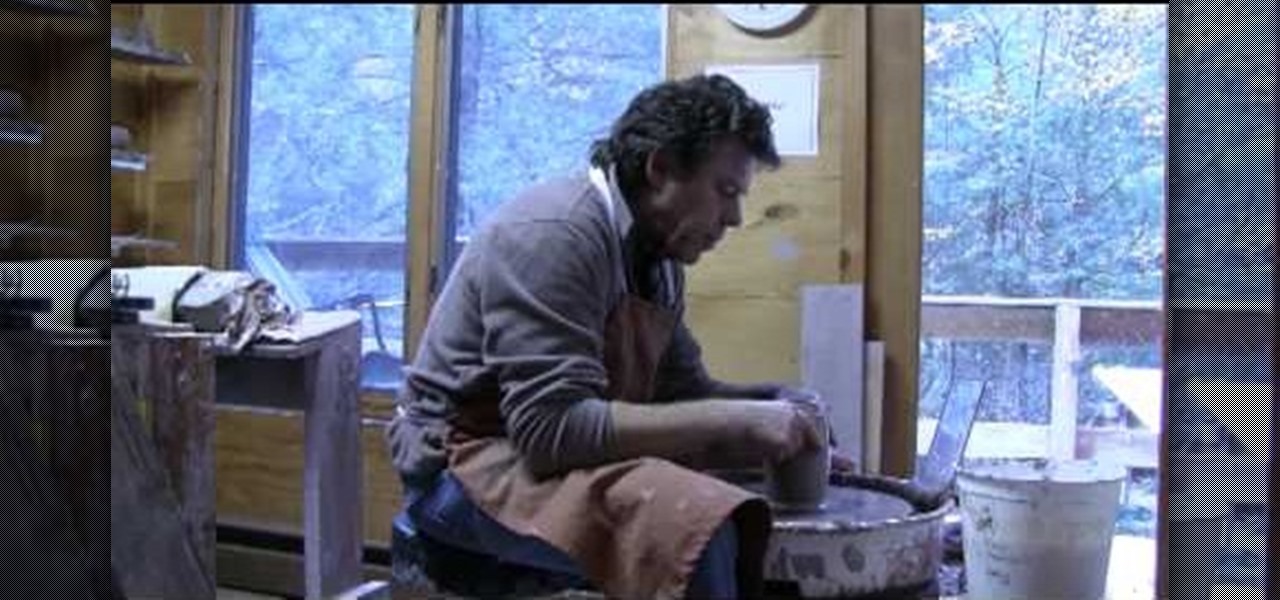
This video shows how to collar a cylinder. The collar of a cylinder is a plate or ring used under the head of the cylinder for a lock. Put the clay on the spinner. Mold the clay while spinning the spinner. Mold it first to the shape you want. Tighten the neck of the vase that you are molding. By tightening the neck of the vase, you are now shaping the collar of the vase. Shape it to the size and design you want. Enjoy making your own vase with the color you want.

How To: Finish a lidded clay box
Simon Leach of Simon Leach Ceramics shows how to finish a lidded box, thrown on a potter's wheel. When cutting into the box, make sure to do so with a cut slanting downwards so that the lid is less prone to falling off. Proceed to smooth off the exterior of the box, beginning where the two halves meet. Once the outside is smoothed, the fit of the two parts is probably not perfect, and so the joint between the two can be smoothed off. Carved features such as scalloped footing may now be added....
How To: Make a ceramic casserole dish
Wedging clay on the pottery wheel should knock out all the air bubbles. See how to wedge potter's clay for throwing a casserole dish on the pottery wheel in this free ceramics video.
How To: Make a clay casserole dish
Clay pottery is a fun and creative art form that can be done with slabs of clay and not only on a spinning wheel. This free video clip series will show you several tips on how to construct a casserole dish and open a world of design ideas for you.
How To: Begin making lids for wheel thrown ceramics
Watch this helpful ceramics video to learn how to throw a few types of lids for wheel thrown pots. Our guide forms a gallery lid, using calipers to measure the inside distance of the rim of the pot. The calipers can then be used to adjust the width of the lid piece.
How To: Attach a handle to a pitcher
Watch this ceramics tutorial video to learn how to put a handle on your pitcher. This part of the process is easy enough for beginners, and the detailed instructions in this helpful how-to video will help potters of any level seamlessly attach handles to their pitchers.
How To: Throw a beer tankard
Watch this ceramics tutorial video to learn how to throw a beer tankard using clay and your pottery wheel. This helpful how-to video contains detailed instructions that are good for beginner to intermediate potters who have used a wheel before but have never thrown a beer tankard.
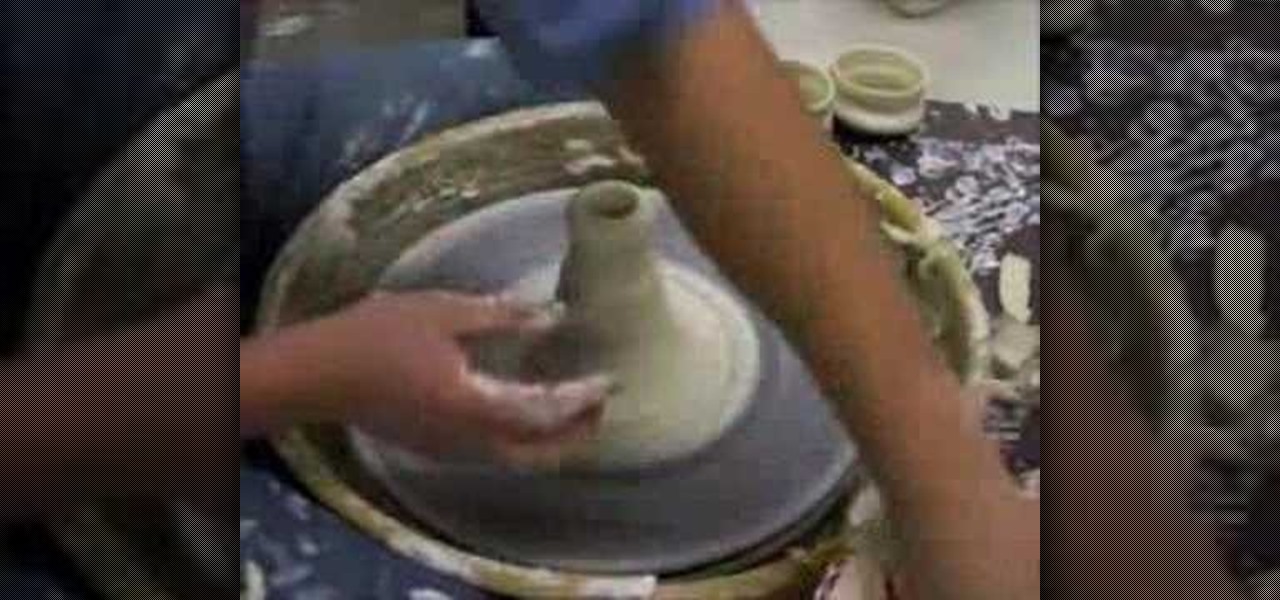
How To: Put lips and rims on your pottery
Watch this ceramics tutorial video to learn how to make some simple lips and rims with cut aways. The detailed instructions in this helpful how-to video will help intermediate potters make different kinds of lips and rims and put them on their pottery.
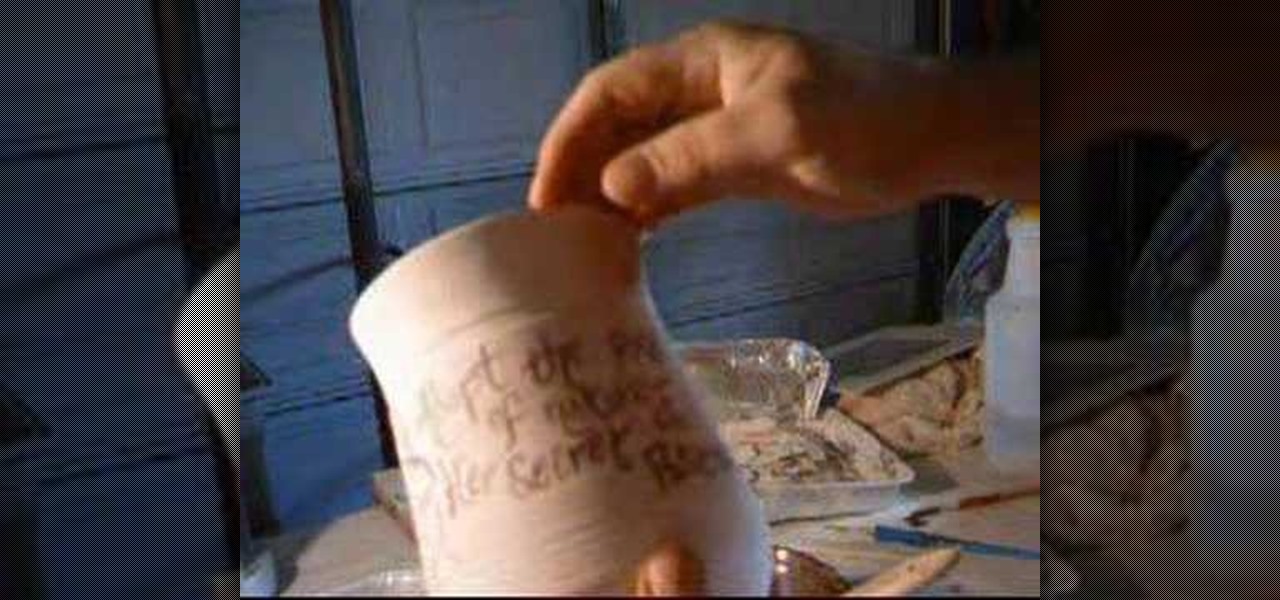
How To: Decorate bisque pottery with red iron oxide
This is a video tutorial of decorating bisque with red iron oxide. Red iron oxide can be layered, fired, watered-down, and used in many ways to add a finish to a piece of bisque pottery. Bisqueware absorbs the color easily, so the two materials work well together. Pick up some new ideas for how to decorate bisque pottery with red iron oxide by watching this video ceramic design tutorial.
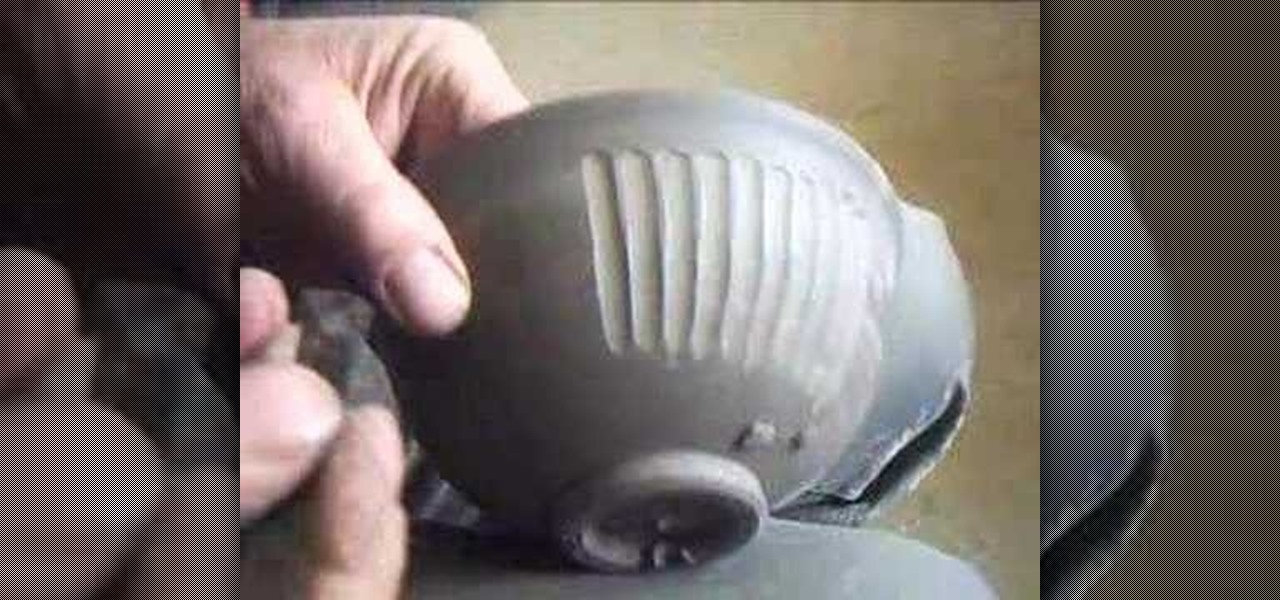
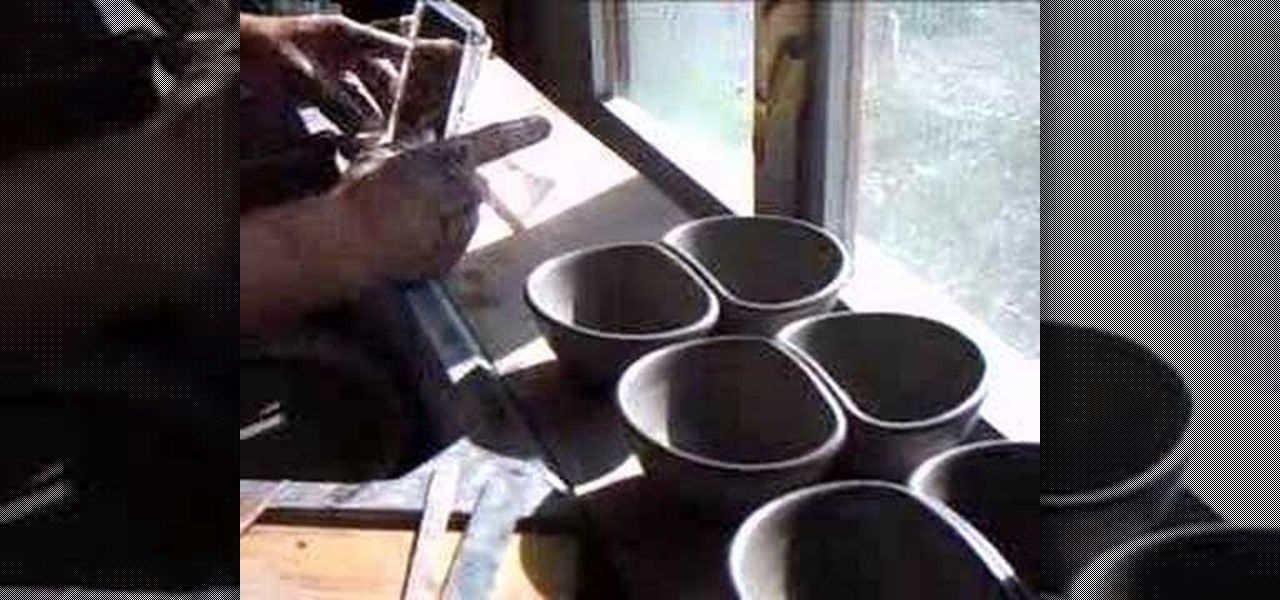
How To: Throw a double bowl
Simon Leach shows us how to make a double bowl on the wheel, in this series. Part 1 of 2 - How to Throw a double bowl.
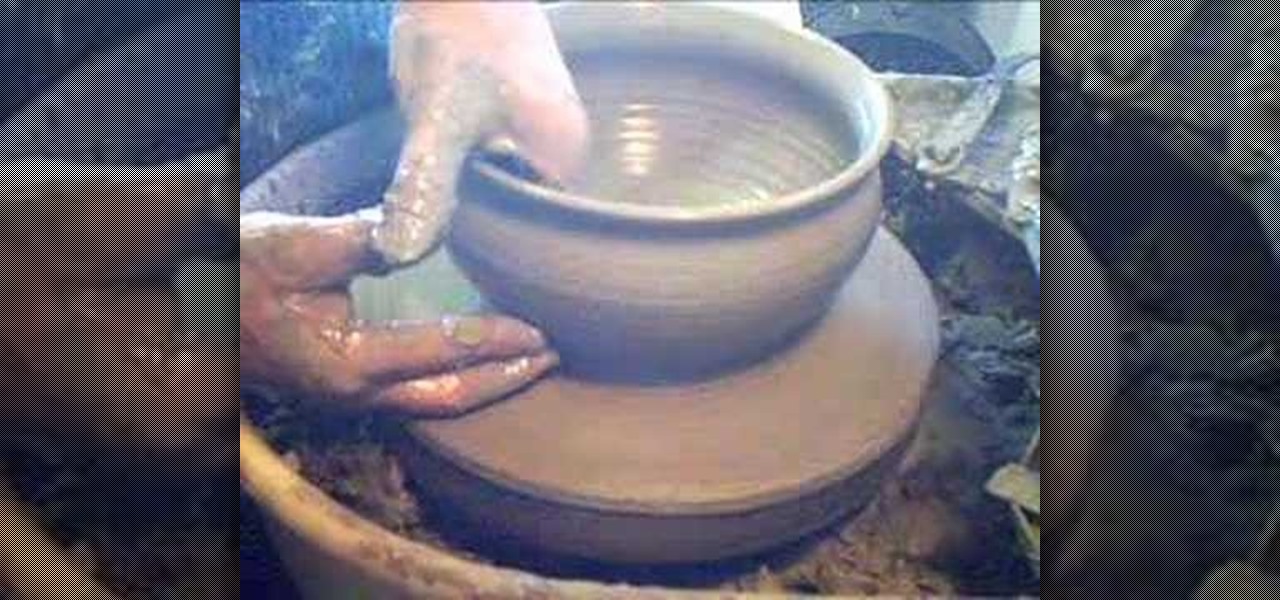
How To: Throw a ceramic casserole dish
Simon Leach demonstrates on the pottery wheel how to throw a casserole dish, and a casserole lid, in this series of videos.
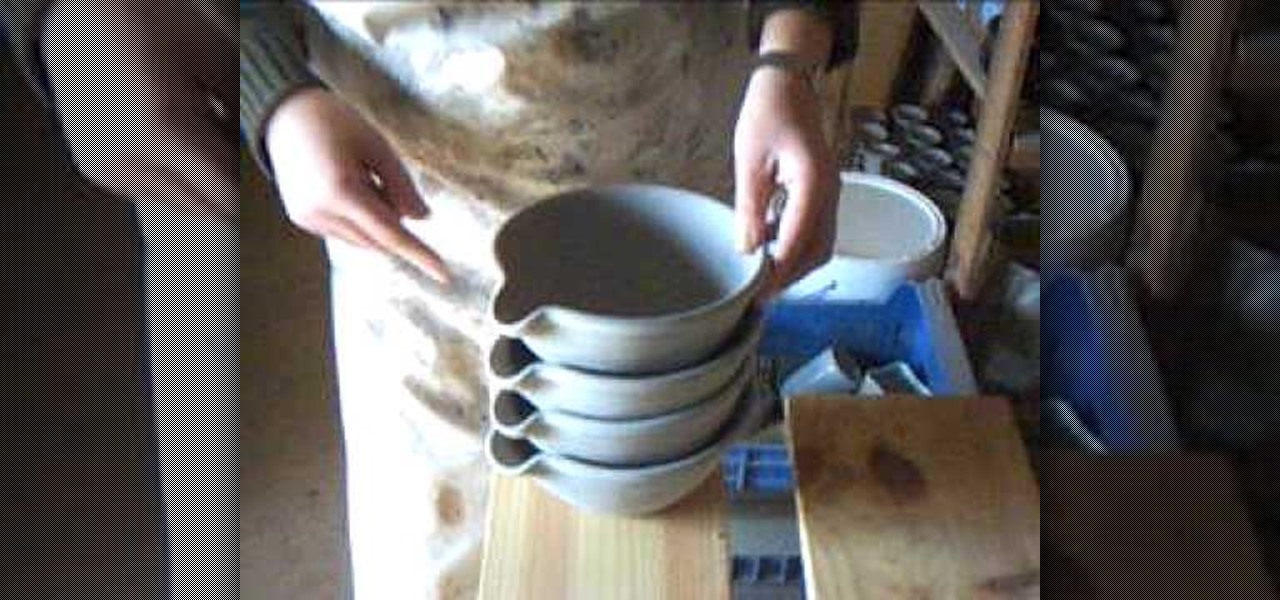
How To: Pack a biscuit kiln
Learn how to pack a biscuit kiln. Simon Leach demonstrates on a small, homemade kiln and explains how the kiln works.
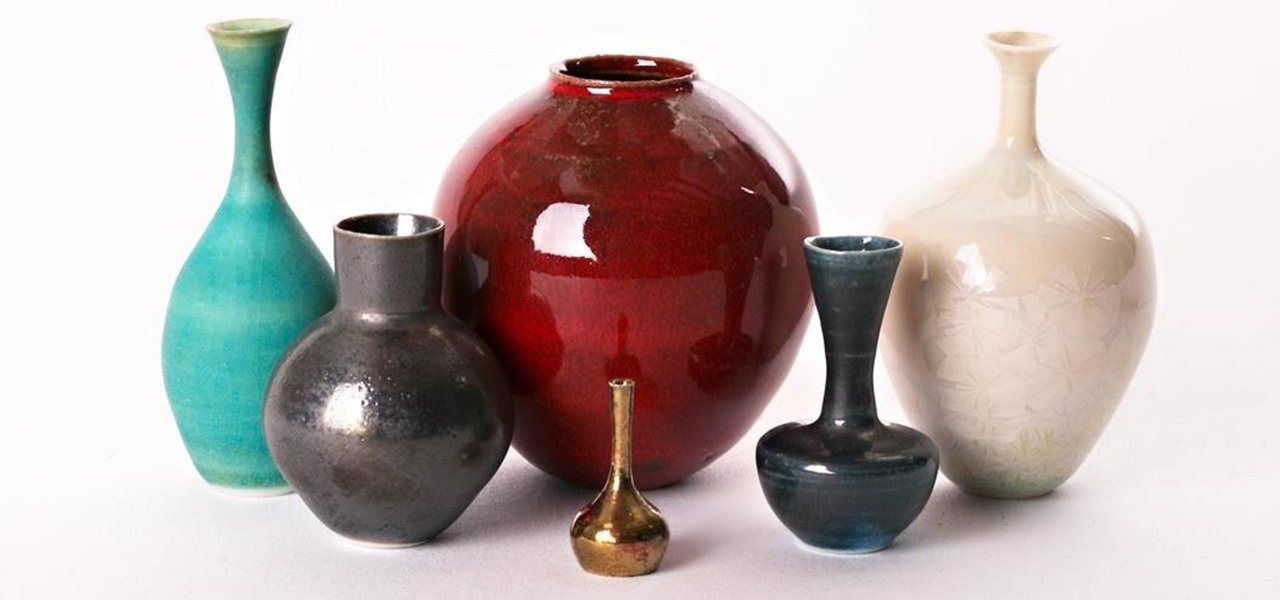
News: These Tiny Pots & Vases Are Made Just Like Big Ones—By 'Throwing' on a Potter's Wheel
From a quick, passing glance at a photograph, you may not notice that Jon Almeda's impressive displays of ceramics mastery are actually the size of coins. It's well-documented how much tiny art is loved by WonderHowTo, but this petite pottery may take the cake as the most impressive display of craftsmanship.

News: Gorcelain, the Bloody Side of Porcelain
One normally thinks of porcelain as decor or dishware for ladies who lunch, but artist Jessica Harrison has injected a horror show twist into the traditional ceramic delicacy.
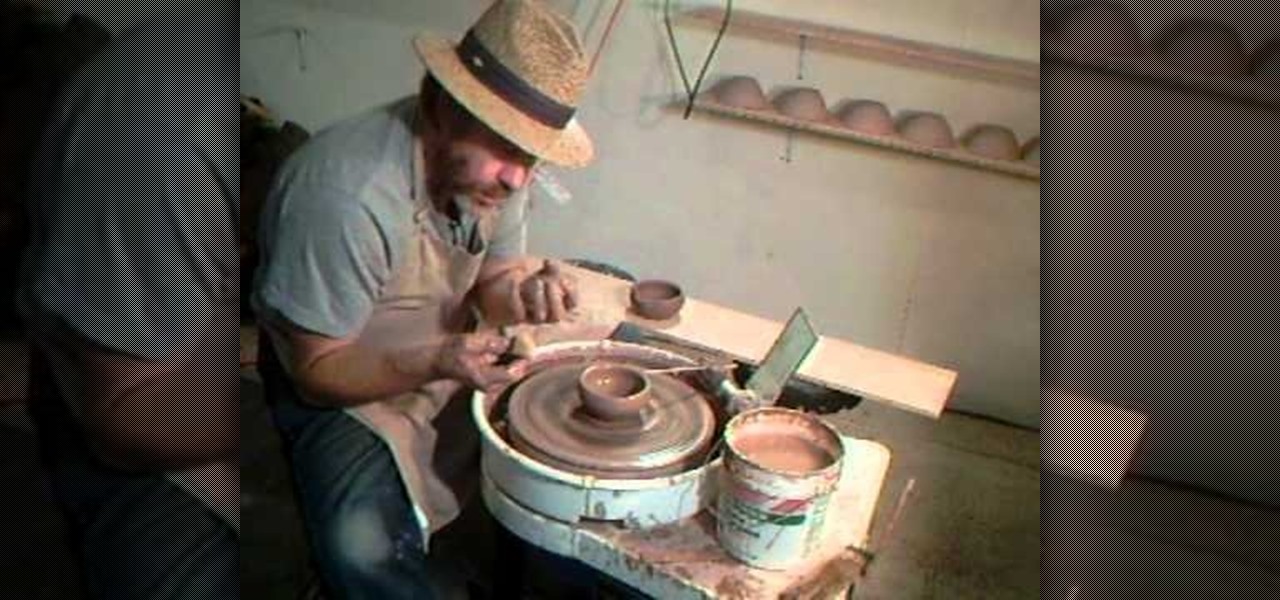
How To: Throw clay mortar and pestles on a pottery wheel
A mortar and pestle is a pair of tools that has been used since antiquity for grinding spices. This tutorial shows you how to turn some raw clay into a ceramic mortar and pestle on a pottery wheel. Make sure to glaze it using non-toxic glaze!
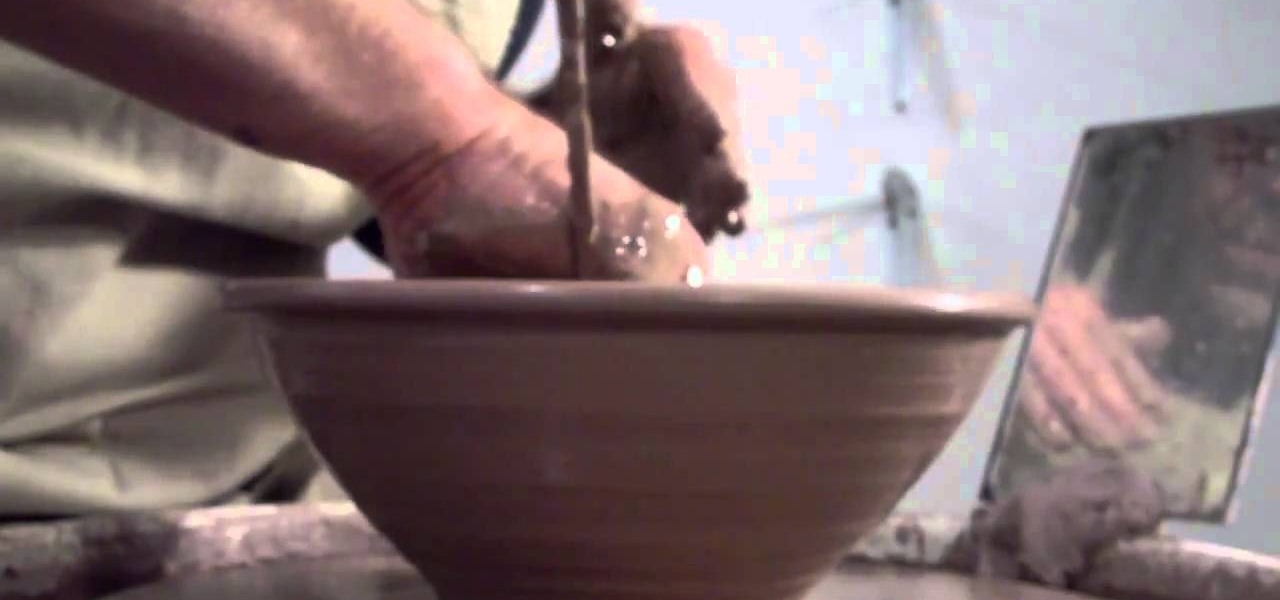
How To: Throw a small ceramic mixing bowl on a pottery wheel
A perfect idea for a gift this holiday season! Throw a mixing bowl or ceramic serving dish on a pottery wheel. Make sure you use a non toxic glaze, with no lead in it, if you're using it to store or serve food!


