

Everything Else


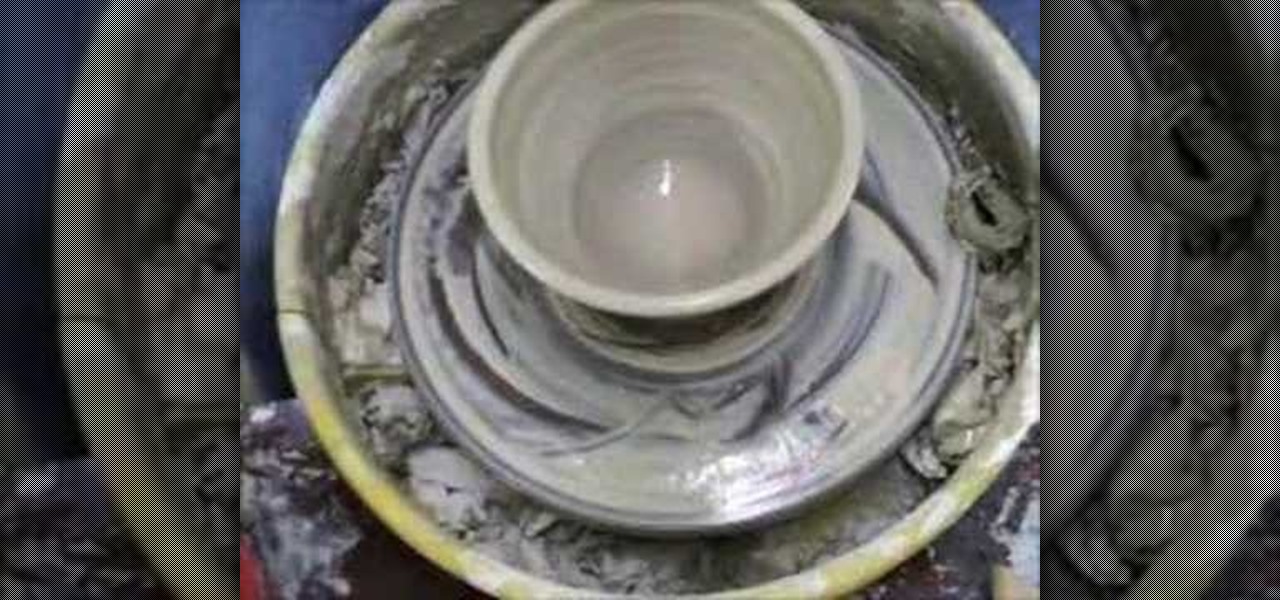
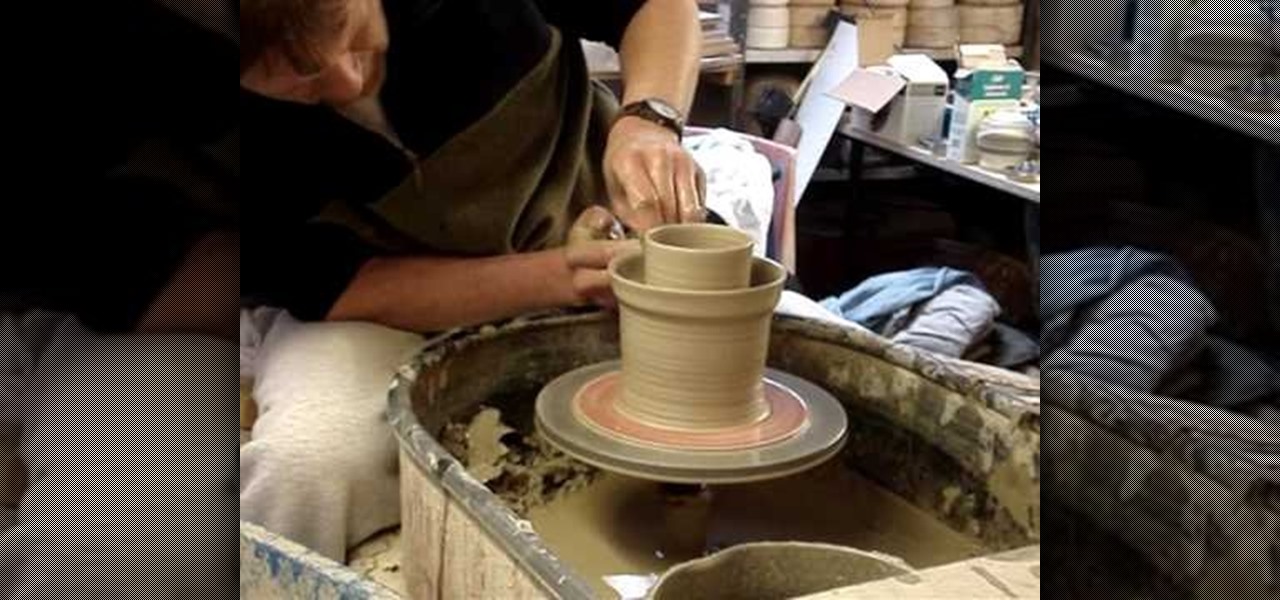
How To: Make a large soup bowl
Watch this ceramics tutorial video to learn how to throw a large soup bowl using 2.5 pounds of clay and a pottery wheel. The detailed instructions in this helpful how-to video will allow intermediate potters to easily make large soup bowls.
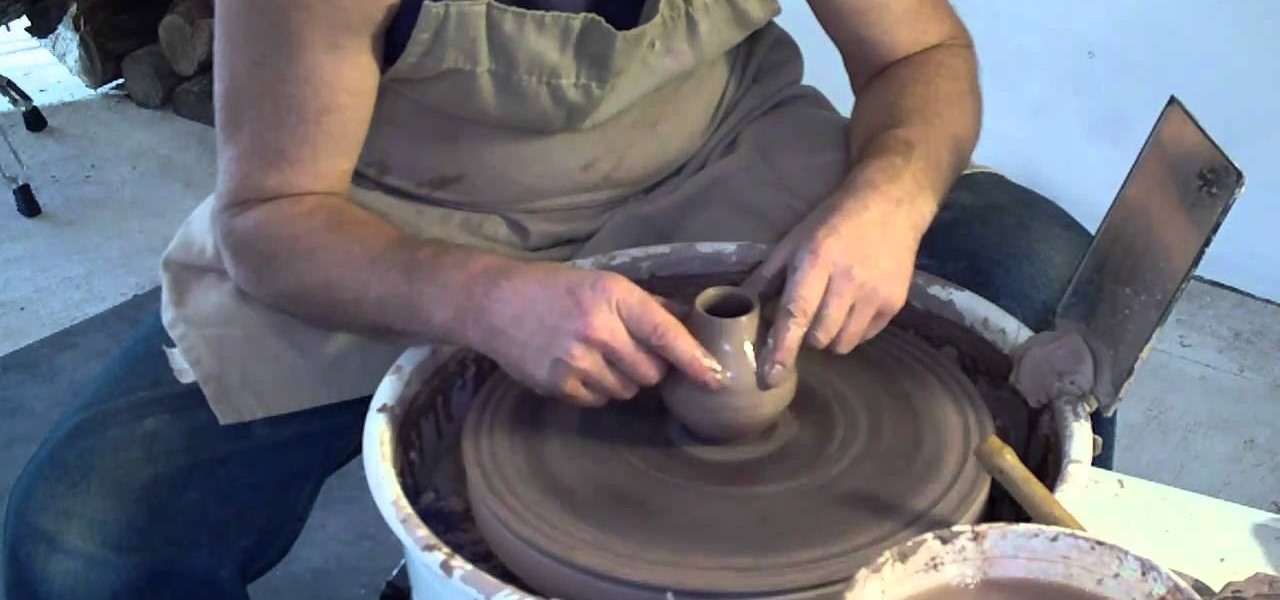
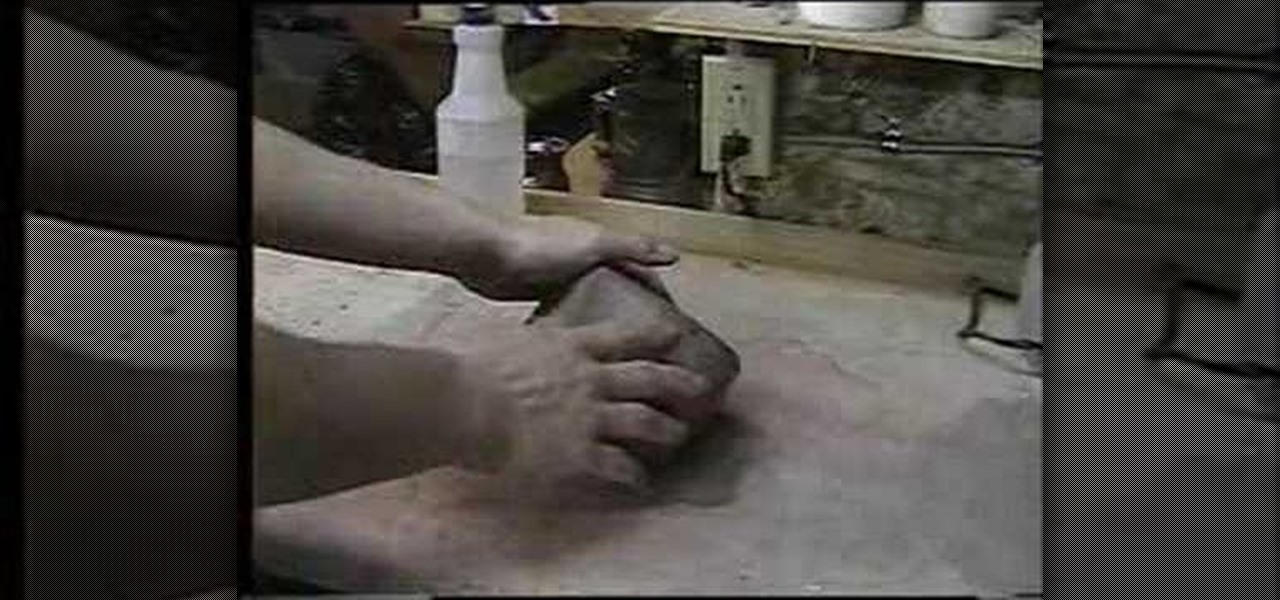
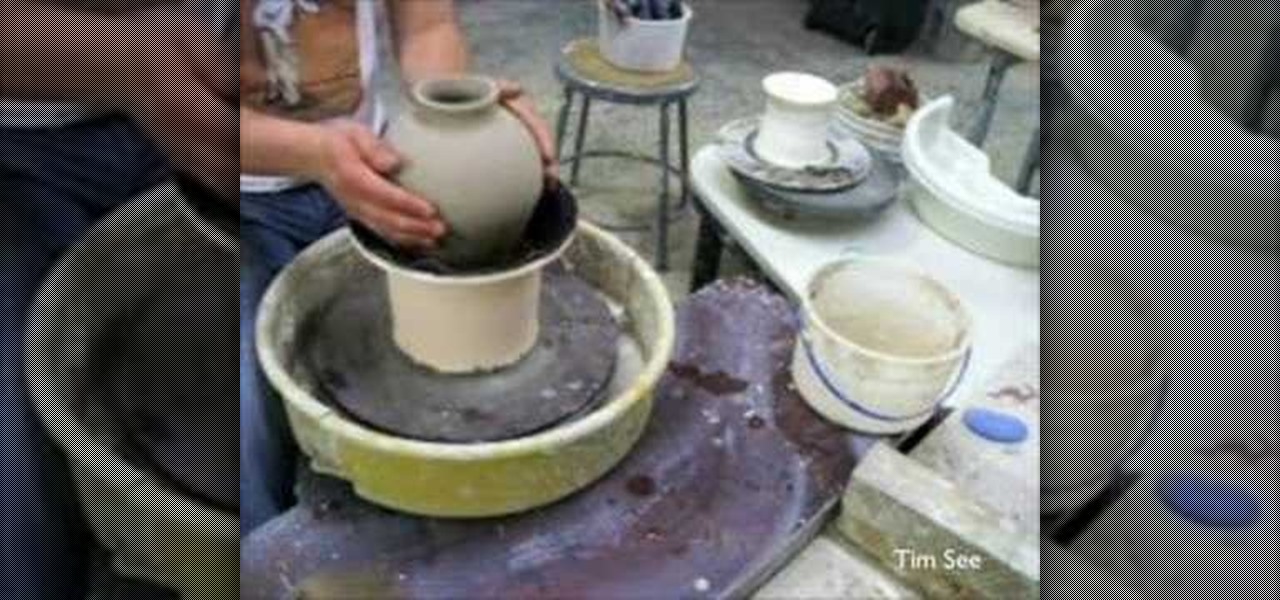
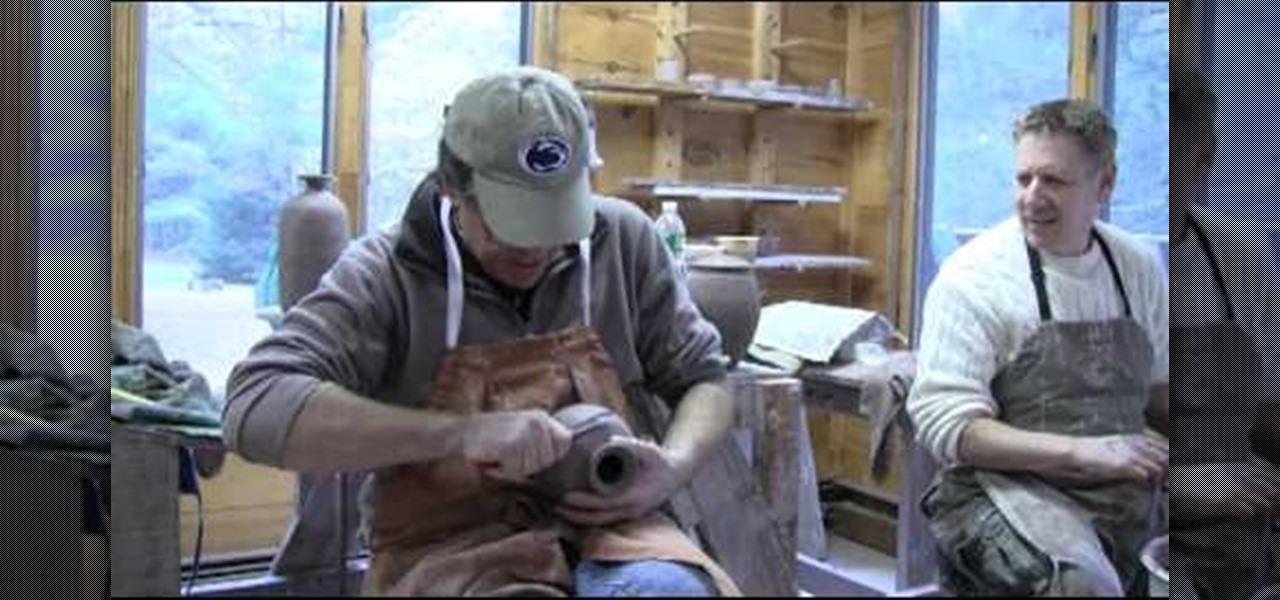
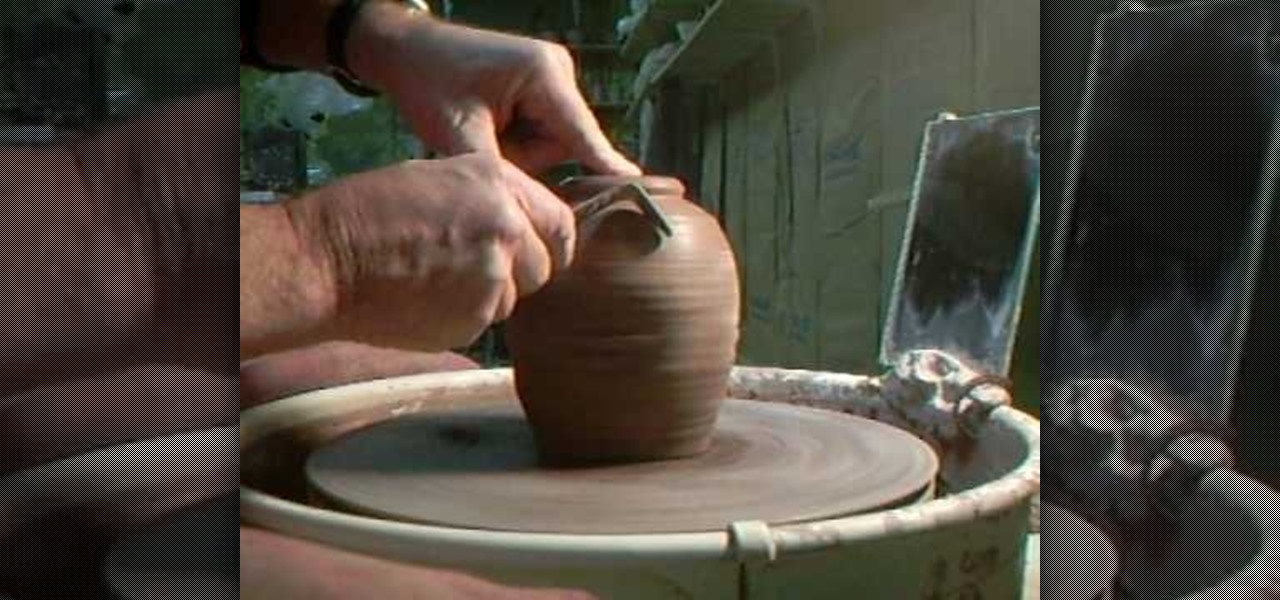
How To: Throw a ceramic bottle or bud vase on a pottery wheel
A bud vase is a small vase, about as large as a bottle, which holds small flowers - or buds. This tutorial shows you a few different methods you can use to throw one of these small vases on a pottery wheel.
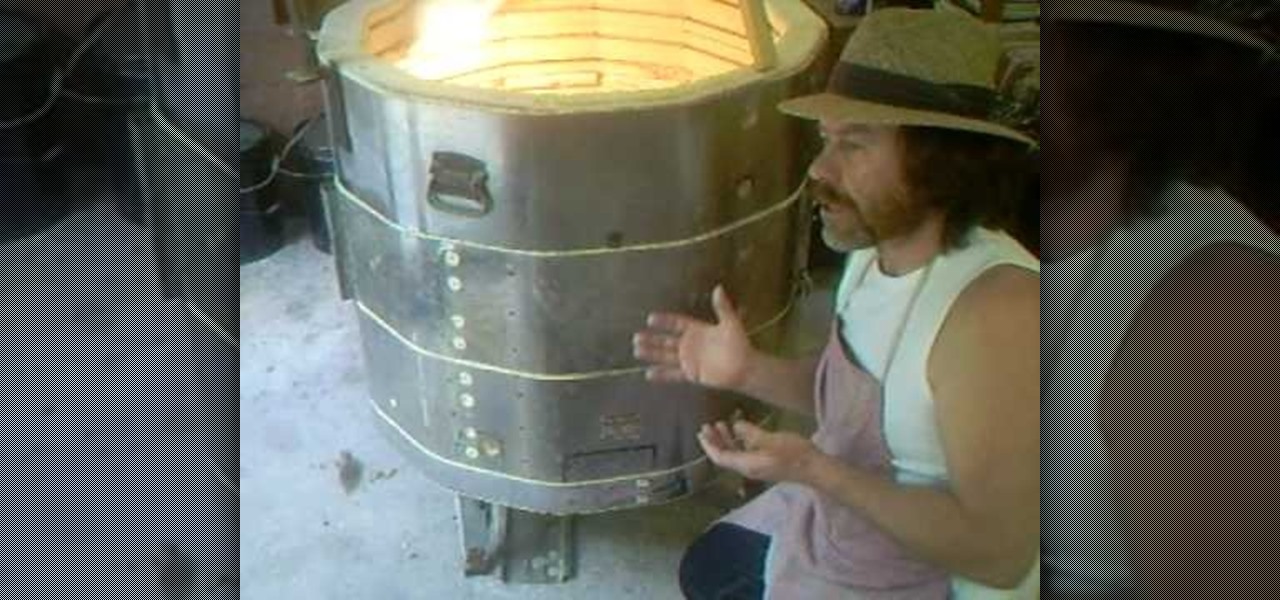
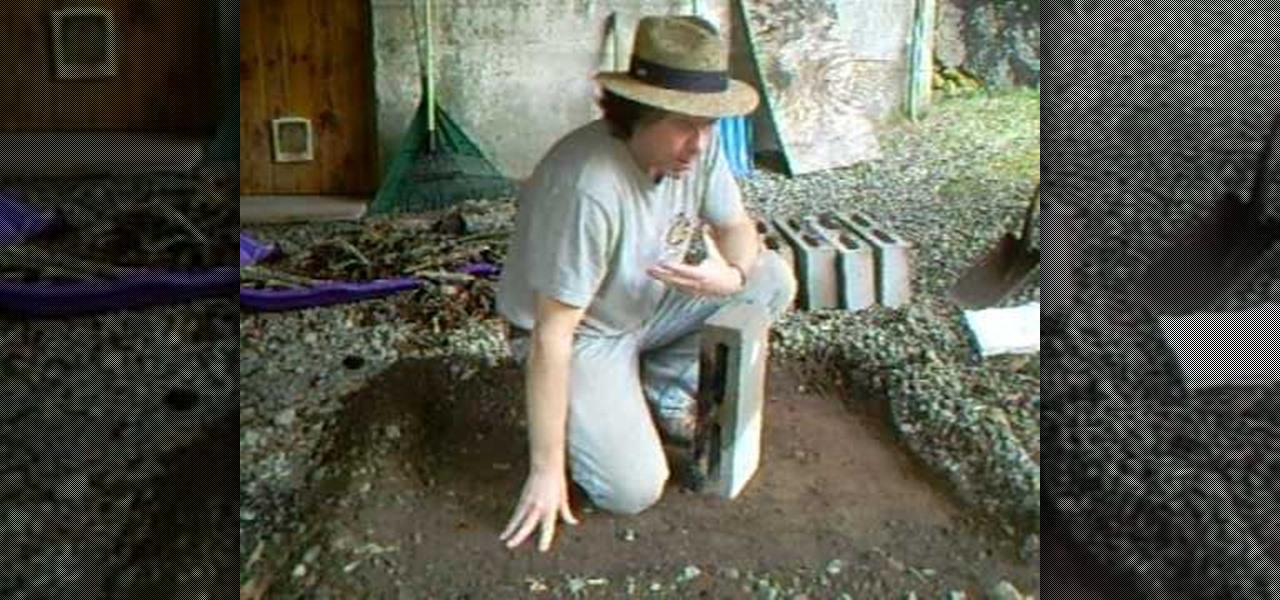
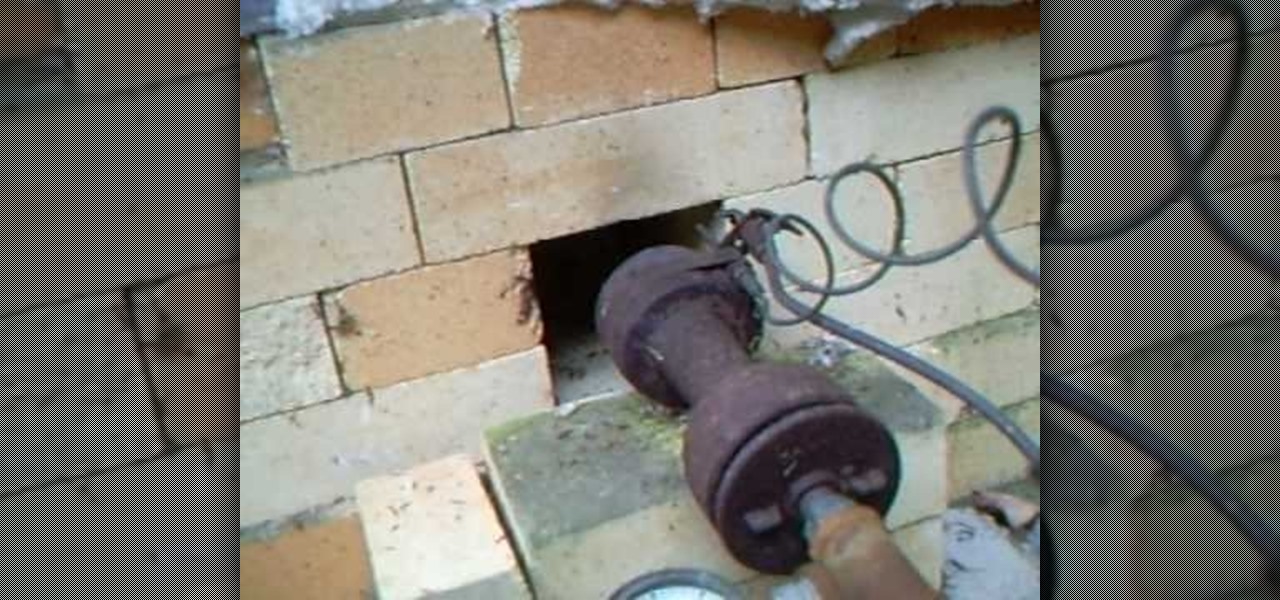
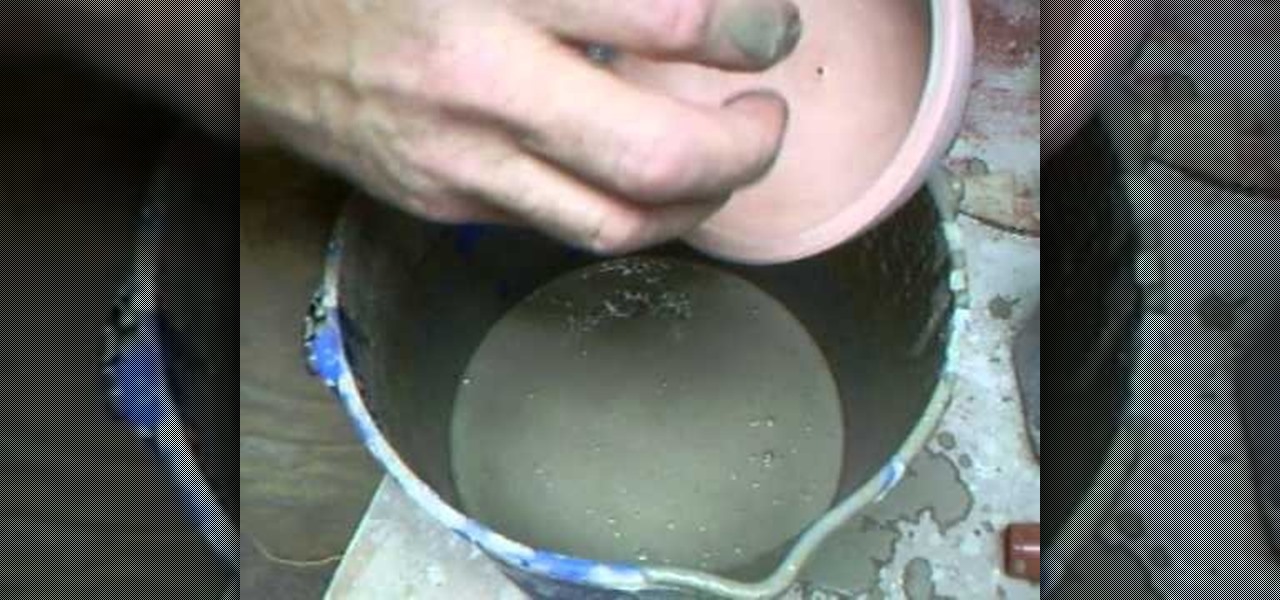
How To: Convert an old electric kiln into a propane gas kiln
You may love your old electric kiln like a child, but it's time to get in touch with the times and update that sucker! Watch this ceramics tutorial by potter Simon Leach to learn how to turn your old electric kiln into a snazzy new propane gas kiln.
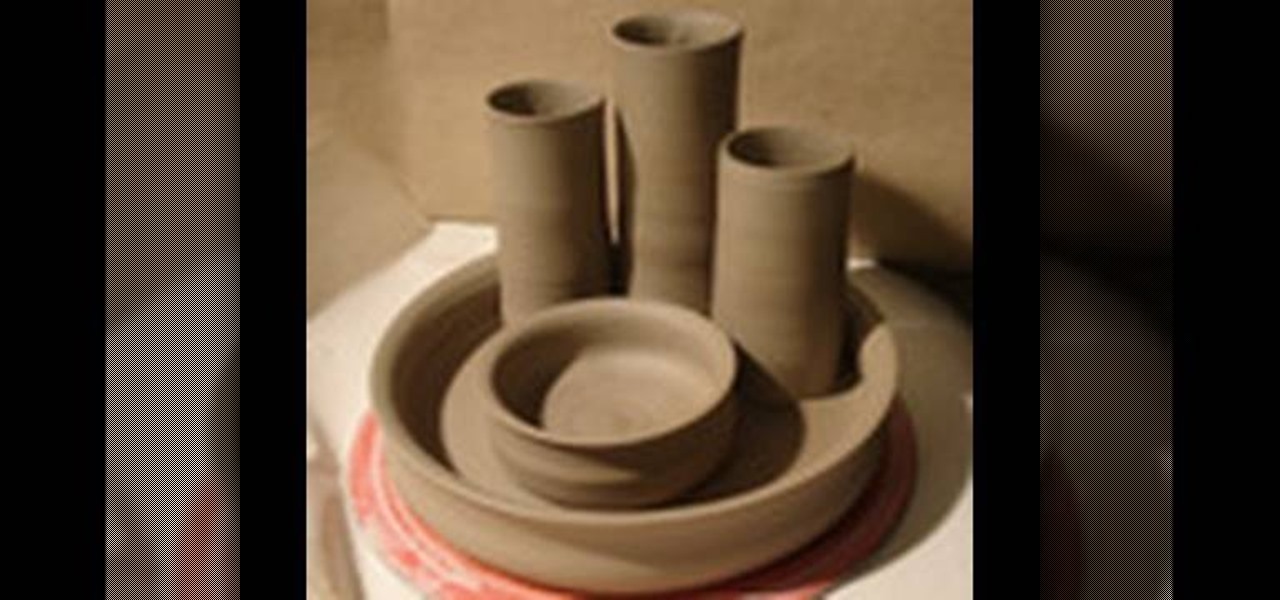
How To: Make a desk organizer out of clay
This video illustrate us how to make a desk organizer out of clay. Here are the following steps:Step 1: First of all take clay in different colors and now shape them round.Step 2: Now take one ball and press it into a flat sheet.step 3: Now take another ball and shape them in cylinders.Step 3: Now place these cylinders on the flat sheet keeping space between them.Step 4: Now take two balls and make small vessel out of these two balls .Step 5: Place these vessels between the cylinders, these v...
How To: Build a small downdraft kiln with Simon Leach
In this 2 part how-to video, Simon Leach, who normally shows you how to make pottery, instead shows you something else. In this tutorial, Leach shows you how to make and build a small propane downdraft kiln. Follow along with Simon Leach, and you too could be building your own kiln in your backyard.
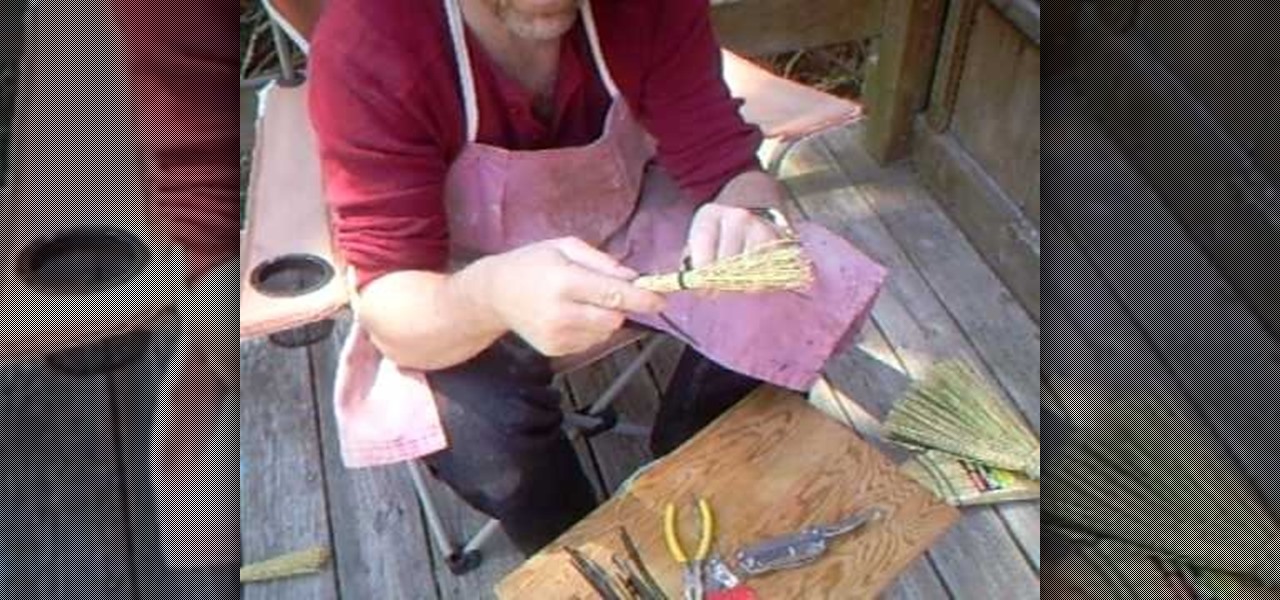
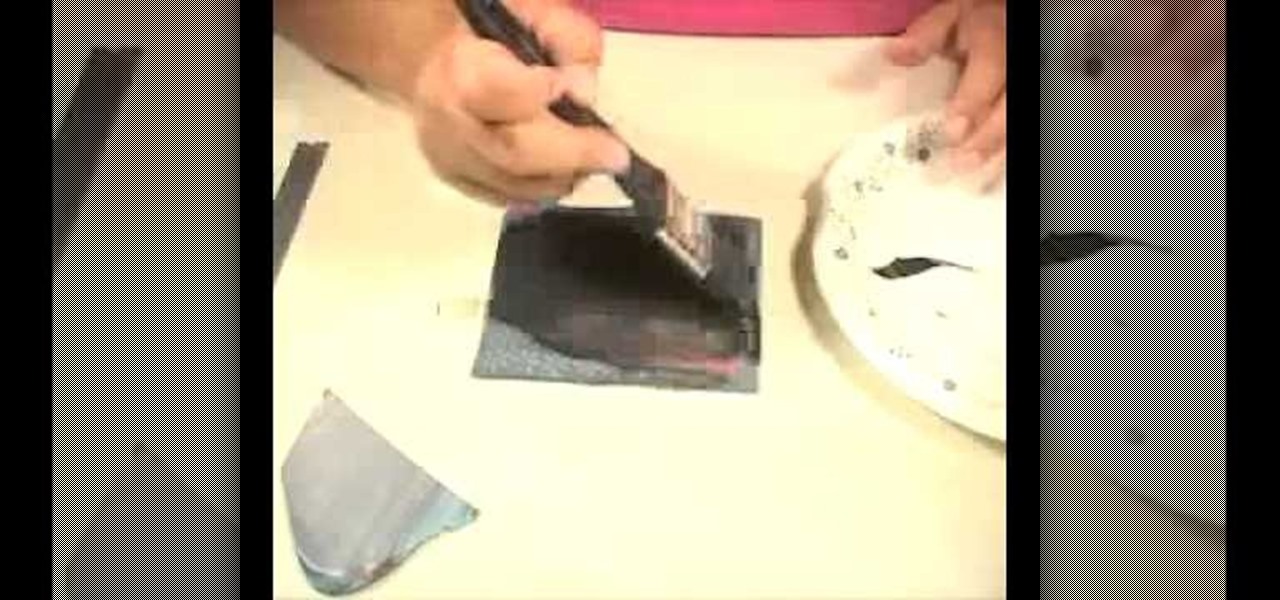
How To: Make a "hakeme" brush for slip decorating your pottery
In this video, Simon Leach steps away from his wheel for a few minutes to teach potters everywhere how to make a "hakeme" brush at home out of basic items. This brush can then be used to slip decorate your pottery and other ceramics.
How To: Throw clay mortar and pestles on a pottery wheel
A mortar and pestle is a pair of tools that has been used since antiquity for grinding spices. This tutorial shows you how to turn some raw clay into a ceramic mortar and pestle on a pottery wheel. Make sure to glaze it using non-toxic glaze!
How To: Use a potato peeler as a fluting tool
In this video, we learn how to use a potato peeler as a fluting tool. First, take your wet pot and then grab the potato peeler. Use broad strokes along the side of the pot and press down hard and you peel the clay off of the sides. You will need to go over the same spot a few times to be able to see, but once you go around the entire pot you will see the different shapes in the marks. Once you are finished going all the way around the pot, your hands will be tired but it will be fluted with t...

How To: Make a plaster bat for drying out your wet clay
Simon Leach is an online pottery instruction legend, and in this three-part video, he instructs us in a procedure somewhat outside his normal area of expertise by creating a homemade plaster bat, which is basically a flat plaster block used for drying wet clay. For the hardcore at-home ceramics whiz this could be a very fun and rewarding project. Just make sure you are comfortable working with both plaster and clay!
How To: Throw and carve a double walled pottery vase
This video illustrate how to throw and carve a double walled pottery vase. Here are the following steps.Step 1: First of all take a potters wheel.Step 2: Now take clay and put it on the wheel and rotate the wheel.Step 3: Make inner and outer partition and slowly shape the inner clay into long vessel shape.Step 4: Now take the outer clay and shape it into vessel, now join the neck of this vessel to the inner vessel and shape it into a vase.Step 5: After the pot has half dried cut the outer bou...

How To: Make a ceramic lantern
A ceramic lantern is a great project for beginning potters. Learn how to make a lantern with tips from a master potter in this free ceramics video series.
How To: Make a ceramic flower pot
Ceramic flower pots are perfectly shaped to hang on a wall or sit on a shelf. Learn how to making your own ceramic flower pot in this free ceramics video series.

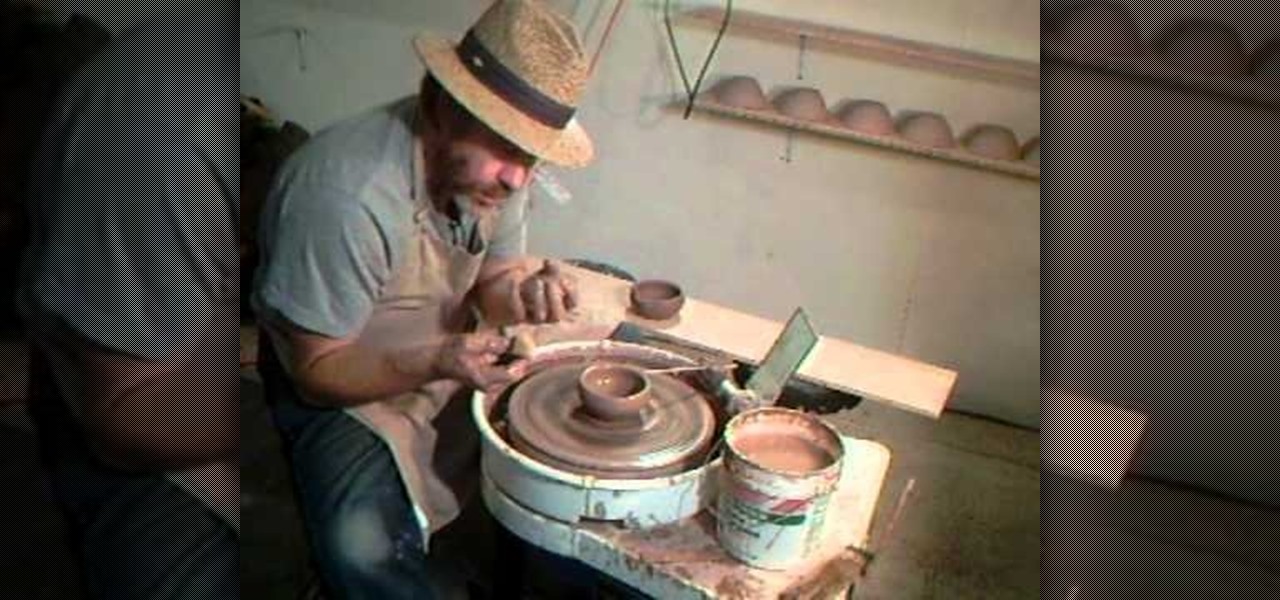
How To: Throw clay on a wheel
Let Charles Fach show you how to prepare and throw clay on a pottery wheel, then watch as he demonstrates simple techniques he uses to create a bowl and cup right in front of your eyes.
How To: Make a cappuccino mug
In this online video series, learn how to make a cappuccino mug from ceramics expert Susan Ting. Susan will teach you how to center porcelain clay on a potter's wheel, how to open the clay, and how to pull it up to create the basic shape of a cappuccino mug. She will show you how to form the shape of a cappuccino coffee mug, how to remove it from the potter's wheel, how to trim the bottom of the pot, and how to attach a handle to the cappuccino mug. Learn also how the firing and glazing proce...
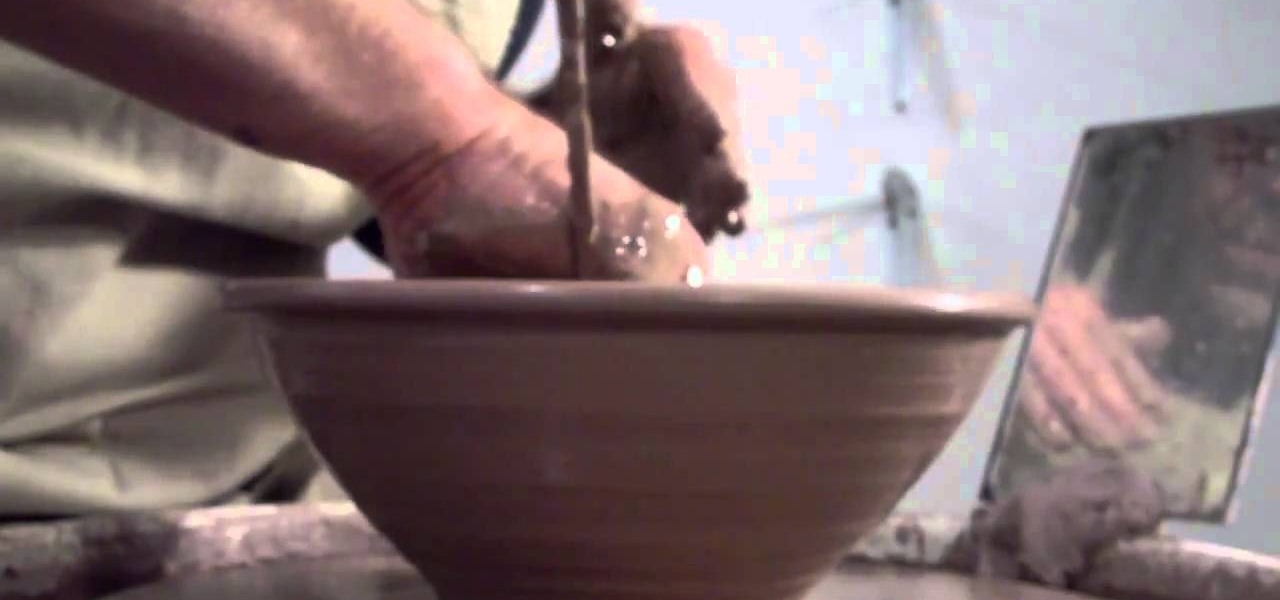
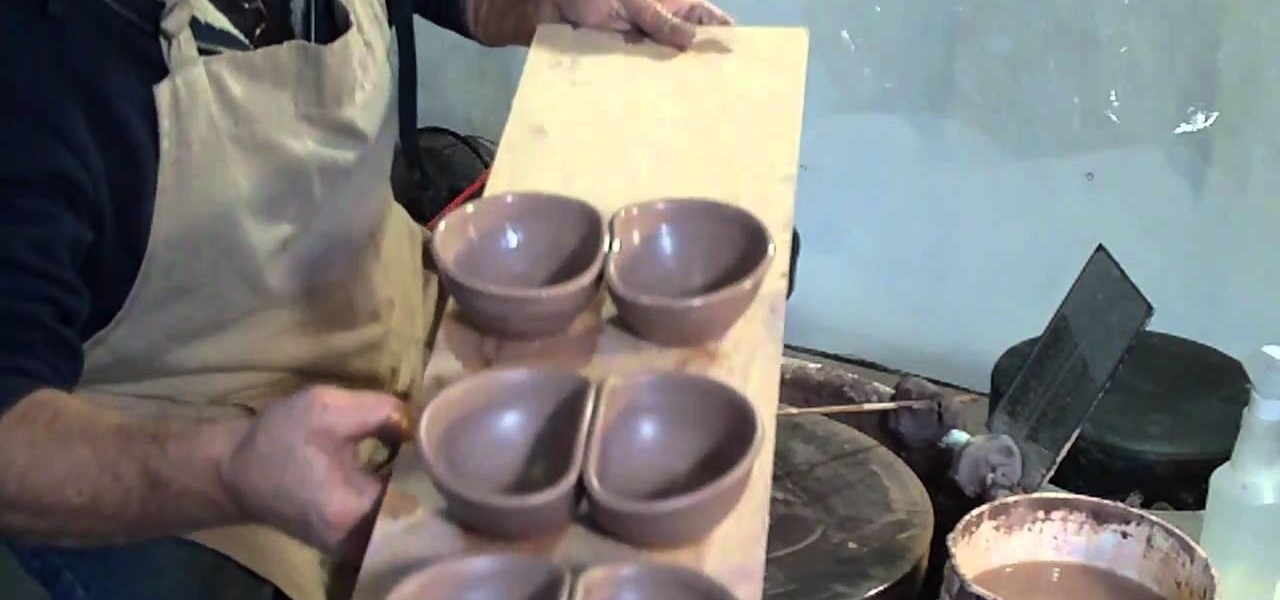
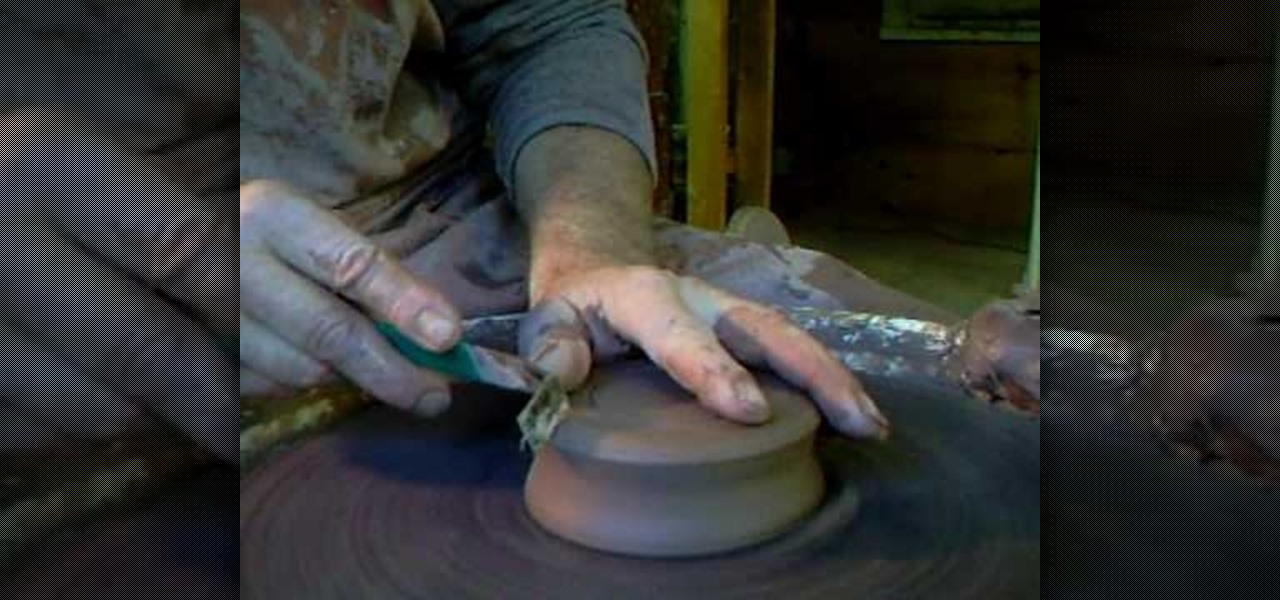
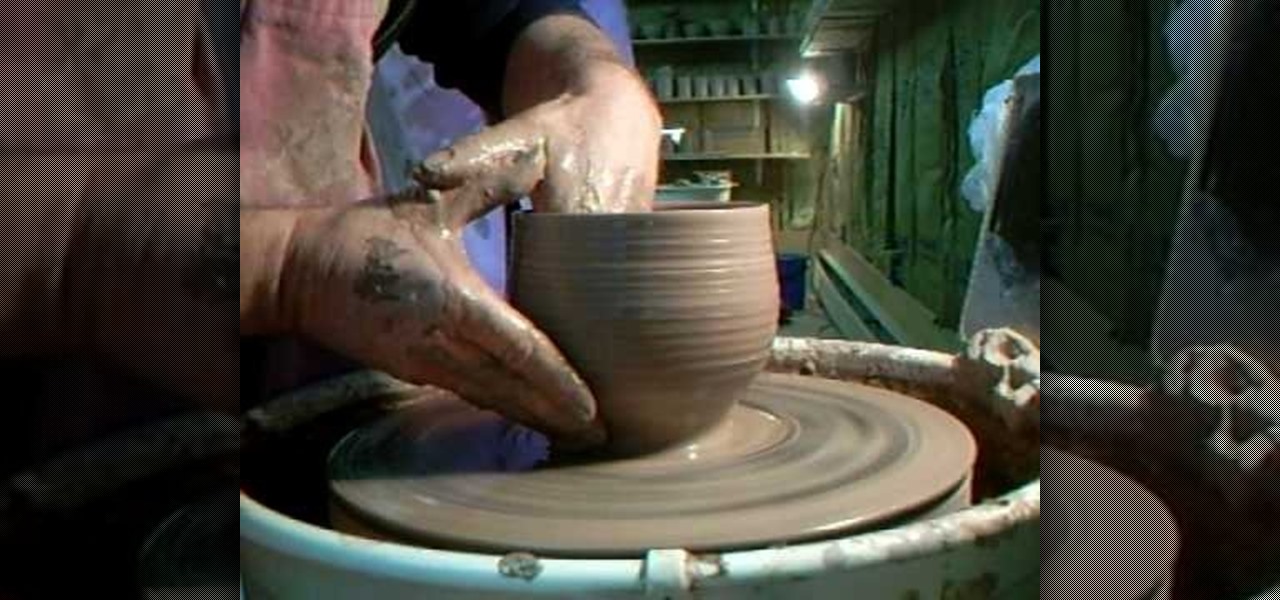
How To: Throw a small ceramic mixing bowl on a pottery wheel
A perfect idea for a gift this holiday season! Throw a mixing bowl or ceramic serving dish on a pottery wheel. Make sure you use a non toxic glaze, with no lead in it, if you're using it to store or serve food!
How To: Throw double bowls on a pottery wheel
Double bowls are bowls that are connected together, such as a container that can be used for dip and salsa. This tutorial shows you how you can throw two similar bowls and attach them to create your own ceramic double bowls.
How To: Make a fall scarecrow decoration out of Cloud Clay
Cloud Clay is a new kind of non-toxic clay that doesn't need to be fired - it air dries by itself. This tutorial shows you how you can use several different colors of Cloud Clay to make an autumn scarecrow.
How To: Throw a small ceramic kitchen bowl with Simon Leach
In this clip, we learn how to throw a small, 7.5 inch-wide ceramic kitchen bowl with a pouring lip using two pounds of clay. If you're interested in making this bowl yourself, or just want to learn more about ceramics, watch this video guide from Simon Leach.
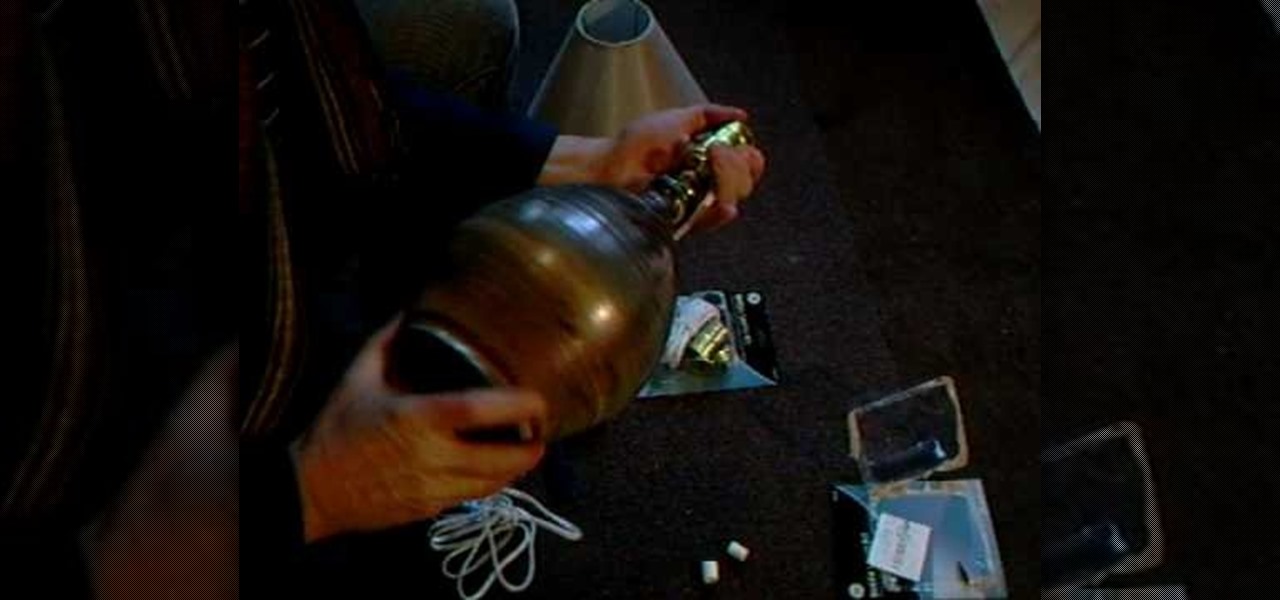
How To: Fit a lamp base into pottery with Simon Leach
In this video by Simon Leach, we learn how to fit a lamp base into pottery with Simon Leach. First, you will take the lamp base that has all the wires inside of it. From here, you will wire the cables through the proper fittings for the light. Then, you need to put a hole in the bottom of the lamp base so you can string the light base through and then place the light bulb on top. When you are finished, the pottery can sit on top of the base and then you can add a light shade to finish up the ...
How To: Do glaze trailing and pouring for pottery
Simon Leach teaches us how to glaze trailing and pouring for pottery. First, you will dip the entire pot into the glaze after you have poured it into the middle. Wind up your wrist as you are pouring it out so you cover all of the sides in it. Just dip it down a little bit so it goes over the edge of the tip to cover the mouth of it. To use a balloon wand, fill it with the glaze and then use this to glaze the pots. Simply drop the liquid onto the pot in straight lines as you are turning it wi...

How To: Decorate a ceramic lamp base
In this video we learn how to decorate a ceramic lamp base with Simon Leach. First, grab a small paint brush and then apply paint to it. Once you have this, start to paint your chosen design onto the pot. Painting a leaf or a plant will be the most appropriate for a large jar or lamp base. Use a brush that will move along the pot and create unique lines. Go all around the pot until your design is finished. Let this dry and then rinse your pot off when you are done. Let your personality shine ...
How To: Unload and repack bisque pottery from a kiln
In this video, we learn how to unload and repack bisque pottery from a kiln. First, take the top off and then take out the smaller pots from the larger ones and set aside. Then, remove the large ones and set aside as well. When you are re-loading this, you will place in the large ones first. Then, place the smaller pots in the large ones if they fit. Squeeze the small ones around where you can. Stacking some into each other is fine. Turn this on for around 30 minutes on low heat, then you can...
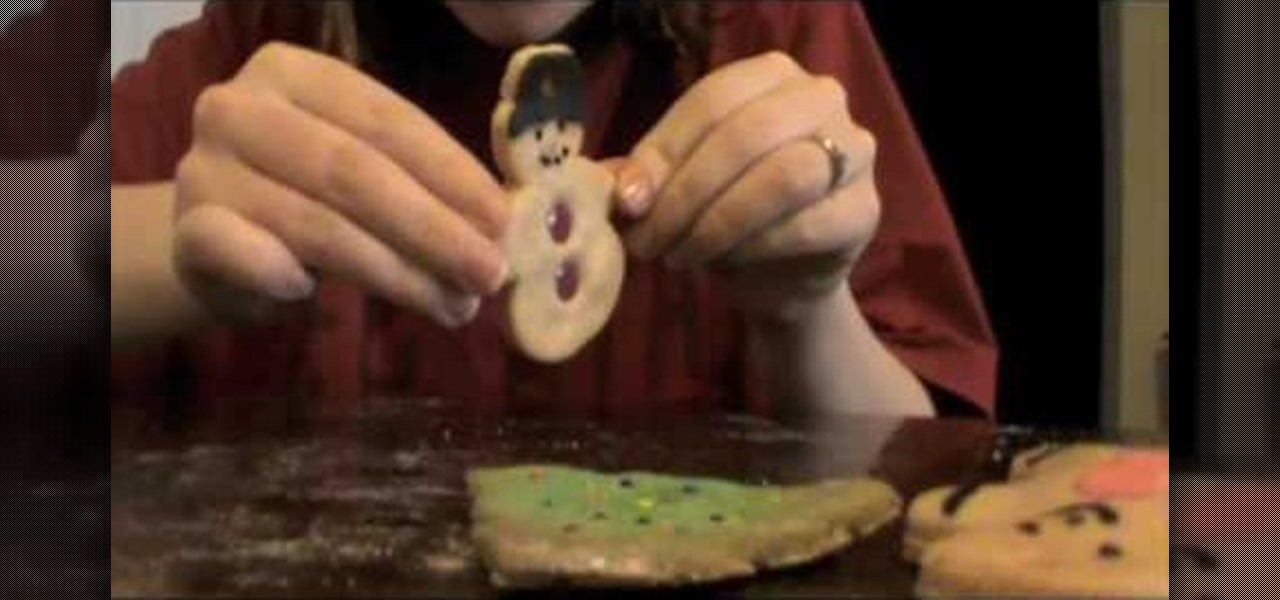
How To: Make models and ornaments with salt dough
In this tutorial, we learn how to make models and ornaments with salt dough. First, grab a baking sheet and place aluminum foil over it. Now, grab some gloss sealer, salt, food coloring, flour, ribbon, glitter, cookie cutters, and buttons. To make the dough, combine flour with water and salt. Mix this together until you get a dough shape, then roll out and cut into shapes with cookie cutters. Cut a small hole in the top of it, then bake until golden brown in the oven. Tie a string in the hole...

How To: Double dip or glaze ceramic
In this tutorial, Simon Leach teaches us how to double dip or glaze ceramic. This trick will save you a lot of time, just make sure you practice a lot. First, mix your glaze up in a large bucket and grab your pot that you want to glaze. Now, place your piece into the glaze and then flick the wrist to lift the piece up quickly. Don't let the glaze go over the base of the piece or it will become too messy. Now, dip the piece back in, getting some glaze on the inside and swishing the liquid arou...
How To: Transfer printer toner to your ceramic work
Printer toner has enough iron oxide in it to allow ceramic artists to transfer the images onto unfired clay. Then, when you fire the clay, the image will be transfered onto the piece, without having to deal with extra painting or glazing.

How To: Turn a lump of clay into a ceramic pot on a potter's wheel
Starting with just a lump of clay and some water on a potting wheel, you can end up with a lovely clay pot! This video shows you how to make a trivet, so you can safely rest hot dishes on your table or countertop.
How To: Make a personal seal or signet out of smooth clay
Create your own personal seal from a piece of clay! This tutorial shows you the process, starting with a large piece of smooth clay, to cut your chosen sigil into the clay. Make sure you draw the sigil on in reverse. Now all you need is a letter and some sealing wax!
How To: Make simple pot stands
In this tutorial, we learn how to make simple pot stands. Start with your clay on the table and use water and your hands to start to shape it. Press down on the ball until it forms into a low bowl shape. Then, start to add more clay and water to the sides of the pot so that it's thicker on the edges. After this, place the pot stand onto a ceramic drying area, then you will be able to glaze it and fire it. Clean off your spinning table after you are finished, then enjoy your pot and pot stand!
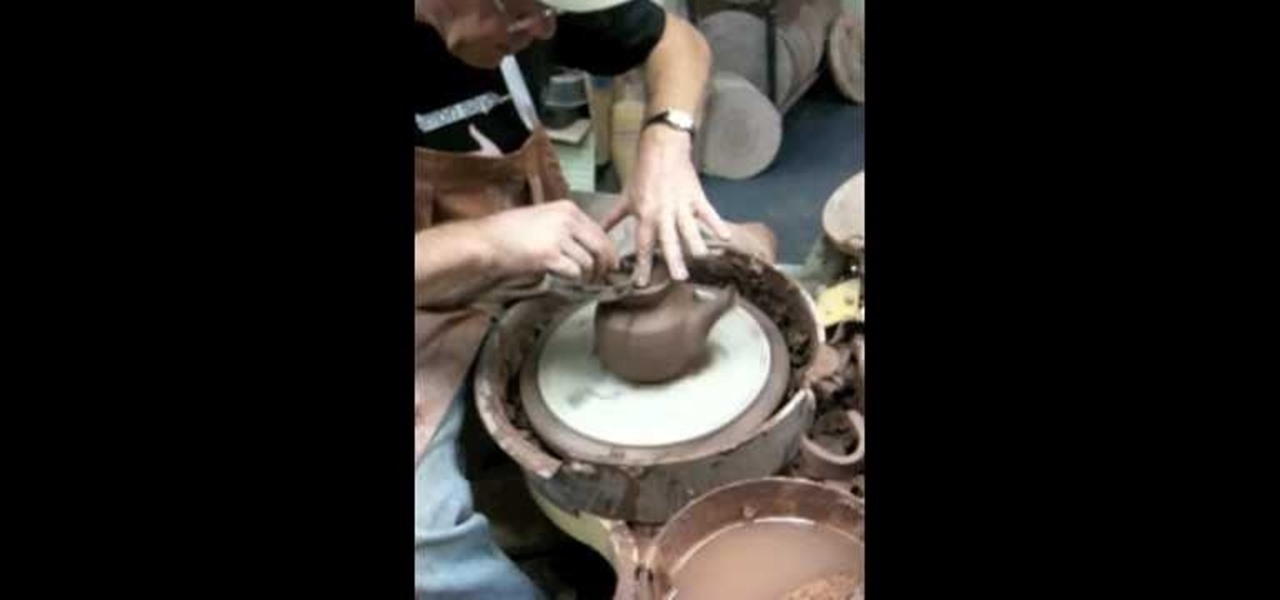
How To: Make a teapot in ceramics
Simon Leach teaches us how to make a teapot in ceramics in this video. After you have created the basic pot for the tea, you will need to poke several small holes into the side of it where it will be poured. After this, you will need to create the spout and mark where it's going to go on the pot while it's still wet. Now, key the area on the pot where the spout is going to go, then apply water to it and push the spout onto the area. Push along the sides gently until the spout is stuck on comp...
How To: Make lidded boxes
In this tutorial, Simon Leach teaches us how to make lidded boxes. First, grab your pot and dip the top of it into water to get it wet and soft. Now, grab a small amount of clay and set it on your spinning table. After this, get your hands wet and start to craft a lid out of the clay. Make an inner base as you are spinning the clay by carefully placing your finger on the side of the top. When finished spinning, place the top down and see if it's the correct size for the pot, then glaze and fi...

How To: Do spiral fluting
Simon Leach teaches us how to do spiral fluting in this video. Start on the side of the bowl with a sharp edge. Then, push the edge down from the top until you reach the bottom half of the bowl. Create line next to line very close to each other, not overlapping them. Continue to do this slowly until you have reached all the way around the bowl. Make sure your lines are all equal to each other, they don't have to be perfect though. After you have made lines all the way around, your bowl will b...
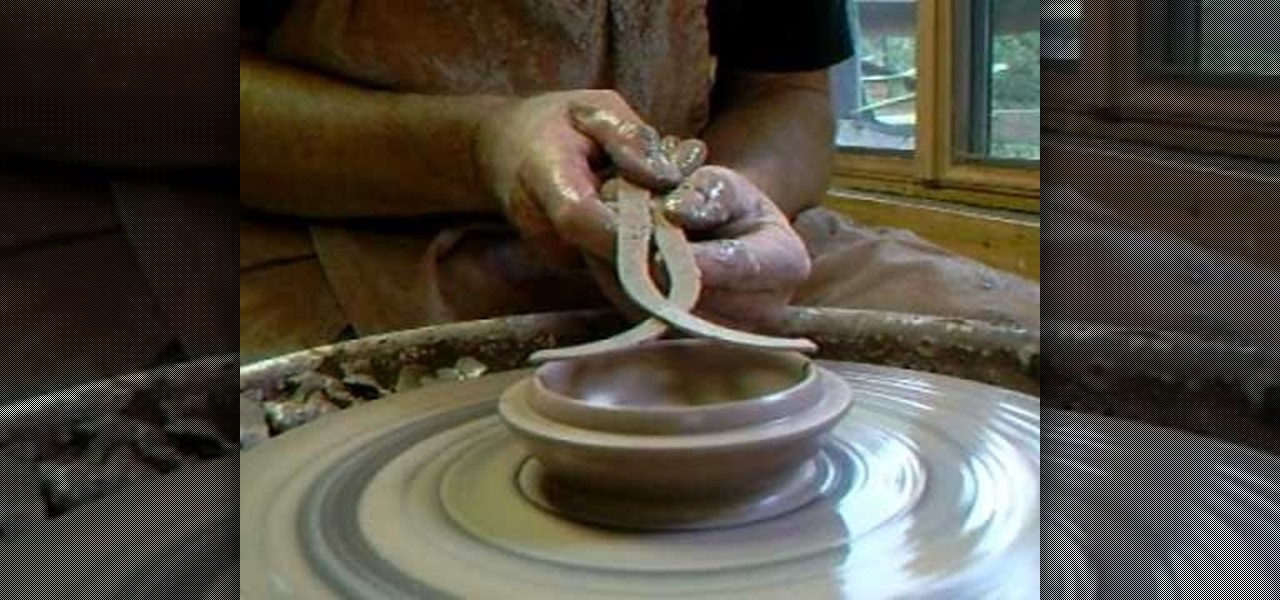
How To: Put handles on your ceramics
Simon Leach teaches us how to put handles on your ceramics in this tutorial. The key thing is to never let the handle fall as you are adding it to a cup, always keep it supported. Look at the handle as you are placing it on and think about proportion and size. If it's sticking out too far it's going to get knocked off. You need to have an elliptical shaped handle when you are shaping them so they can be gripped properly. Don't score the bottom part when you are joining the handle to the botto...
How To: Clean off ceramic pots before firing them
In this video, we learn how to clean off ceramic pots before firing them. First, take a knife to clean off any bits that need to be removed to make the pots completely smooth. After this, dip the top of the pot into glaze and let it dry on a flat surface. For the base, hold with your two fingers on the inside, then dip in the glaze and let dry. Once these are dry, take a knife and scrape the edges where excess glaze may be at. Then, scrape all around the edges and clean the back of the side w...
How To: Use wood ash to prep pots for the kiln
In this video, we learn how to use wood ash to prep pots for the kiln. First, grab wood ash and place it into a container that sprays. After this, blow in the appropriate hole and hold the container so the ash gets all over your pots. Continue to do this all the way around the pots. You will get out of breath while doing this, so take your take and take breaks to breathe. Make sure you do this in a quick amount of time so the ash inside the container stays ready to be blown. After this, the p...
How To: Pack a kiln
In this video, we learn how to pack a kiln. First, you will place all the largest pots on the top and towards the back of the kiln. If you have a third row, place the most large ones on the bottom, packed next to each other. After this, pack the smallest ones to the front of the kiln until you have no more room or all the pieces are packed in. Give the kiln a warm up during the night, then you will be ready to fire it to create your pieces. Once finished, remove the pieces and you are done!
How To: Use aluminum cans as armatures for shaping and baking polymer clay
You're probably wondering why in the world you would throw an aluminum can into an oven to bake, but differently shaped aluminum cans are actually a polymer clay hobbyist's best friend when it comes to shaping clay and making the shape stay.

How To: Do raw Shino glazing on tea bowls with Simon Leach
Think you're done with your ceramics project because you've thrown your vase and fired it in a kiln? Think again. While you've done great so far, firing a pot is only half the battle. In order to make a piece of pottery truly spectacular and professional looking, it's vital to add a coat or two of glaze.
How To: Glaze assorted pottery forms with Shino glaze with Simon Leach
We're not going to lie to you: Creating pottery is a long, arduous, and intense process. But After you throw your charger, come back to reshape offset parts, fire the charger, and then glaze it, you have yourself a homemade work of art you will treasure for a lifetime. In other words, all the hard work you put into pottery is worth it!
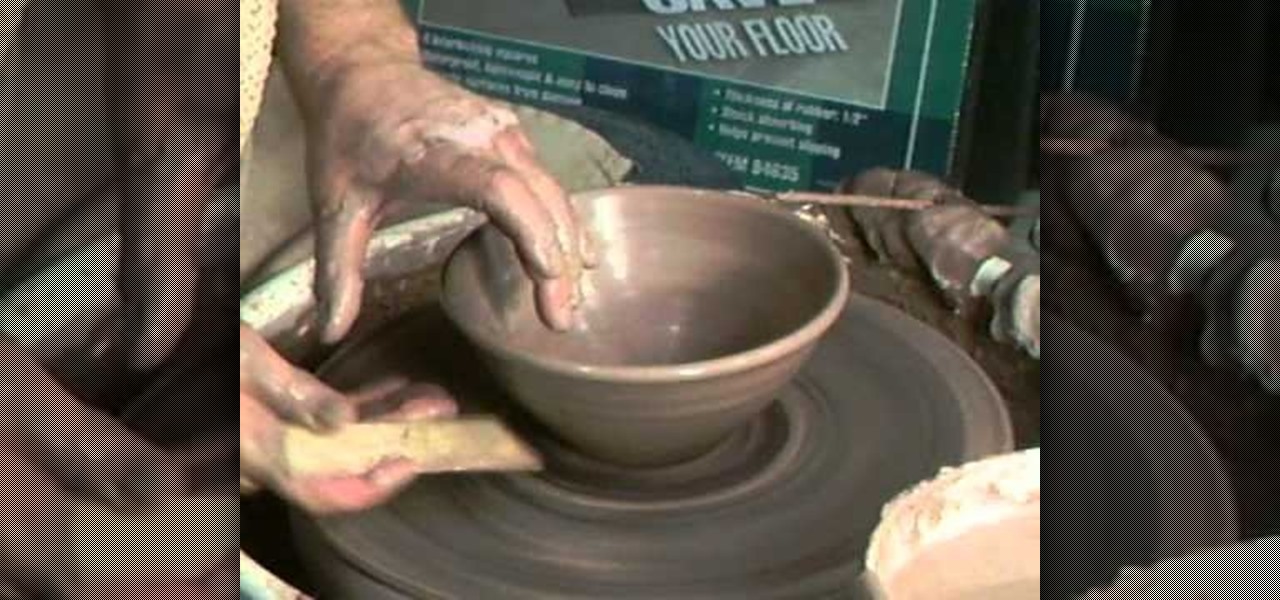
How To: Trim a pot
In this video, we learn how to trim a pot. First, you will want to get your pot wet and place it onto a ceramic bowl shaper. Start to spin the bowl and get it wet as you use a sharp tool to remove the trim from around the pot. Continue to do this until all of the trim you want to remove is gone. When finished, you will need to refire this and place glaze back onto it. This can be done with any type of ceramic pot, just make sure you keep it moist while you are cutting it, so it doesn't break ...
How To: Paddle clay
In this video, we learn how to paddle clay. Start off by placing the clay on the wheel and turning it on so it's moving quickly. You wan tot make sure you are using a lot of water and keeping the clay moist, as well as your hand. Make sure the bottom is even around on all sides, or it will turn out off center. Place your hands around the clay and cradle it until it makes a round and even shape. Continue to do this until you can put your hands on the side of the pot and work your clay on the i...
Next Page
Prev Page