Hot Ceramics & Pottery How-Tos

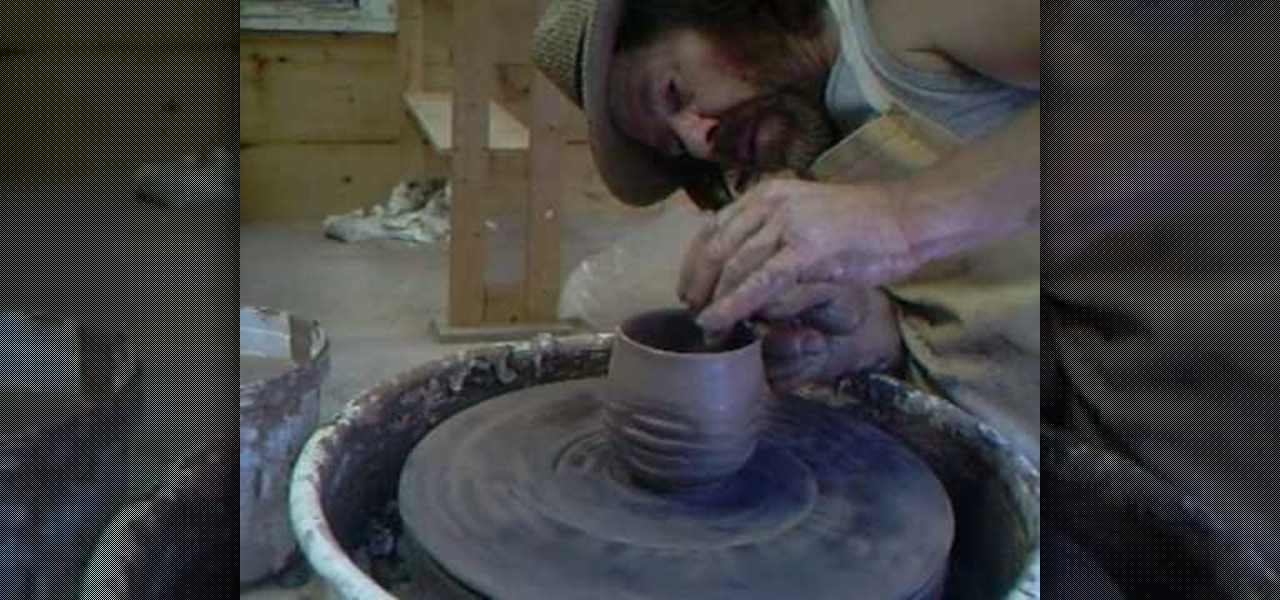
How To: Make criss cross textured tea bowls with Simon Leach
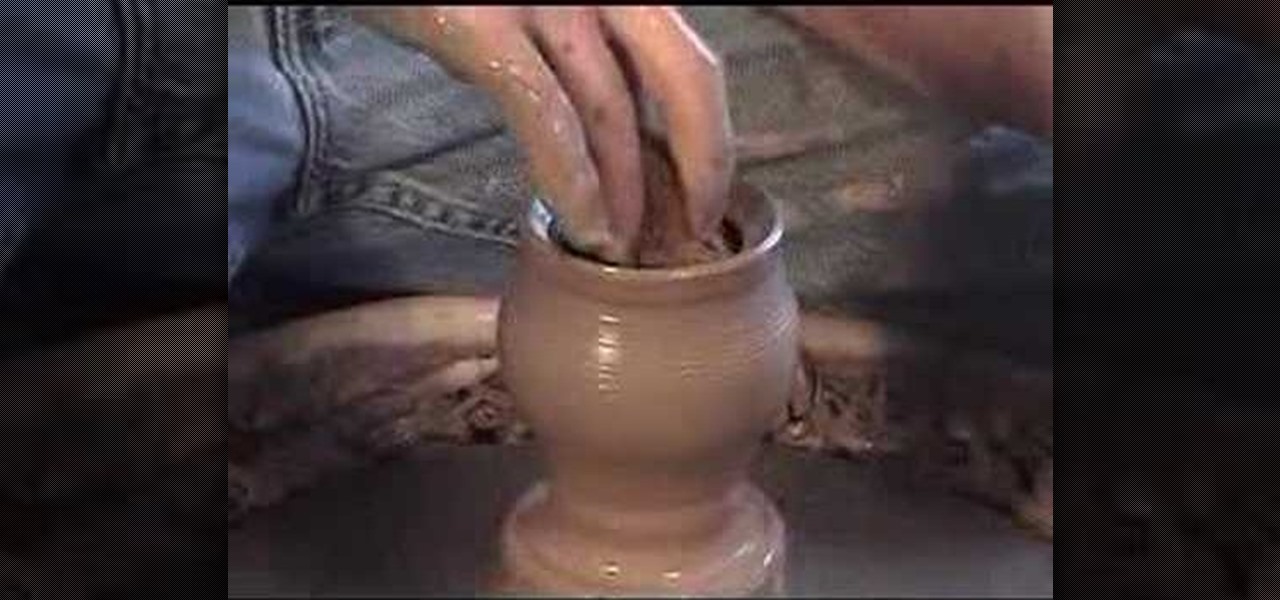
Master potter Simon Leach is so good at what he does because he follows his own advice: practice, practice, practice! In this tutorial by Simon Leach, you'll watch Leach as he throws and sculpts a very pretty textured tea bowl. Using his fingers to help mold the tall form, Leach skillfully applies a lower rim and then adds a criss cross pattern by slapping a textured mold onto the pot's side.
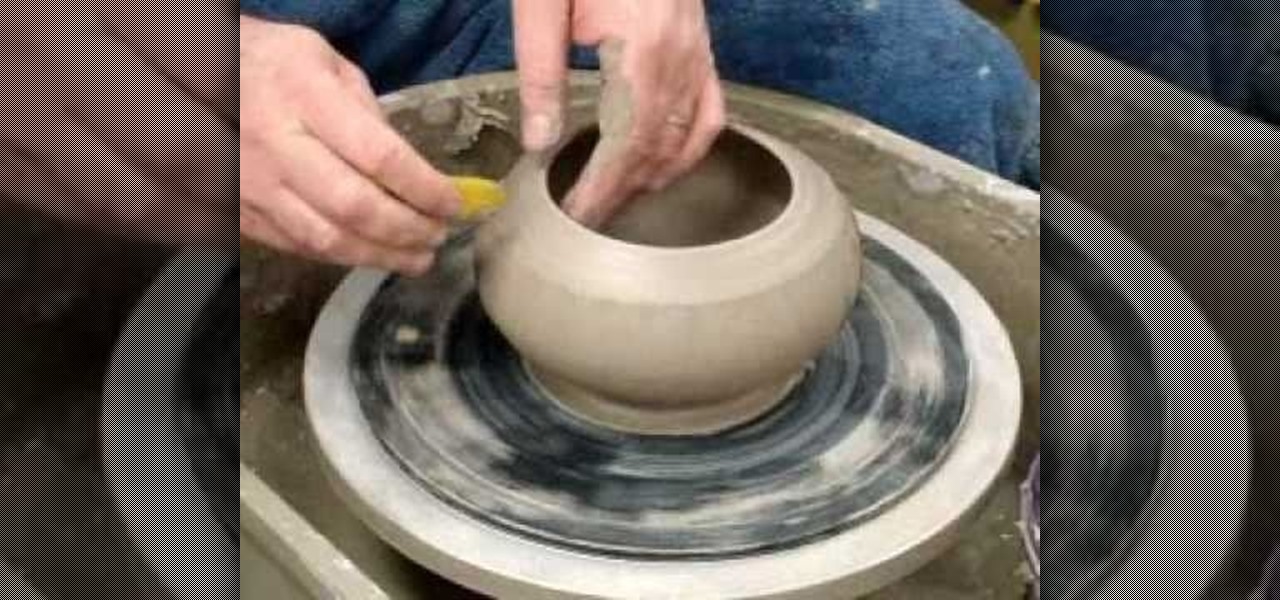
How To: Use the chattering surface technique to sculpt a tall form pot
There are lots of techniques you can use to throw a pot and to sculpt and mold it, but when you get a big order for a batch of pots, the best technique you can use is the technique that will produce the largest quantity in the least amount of time.
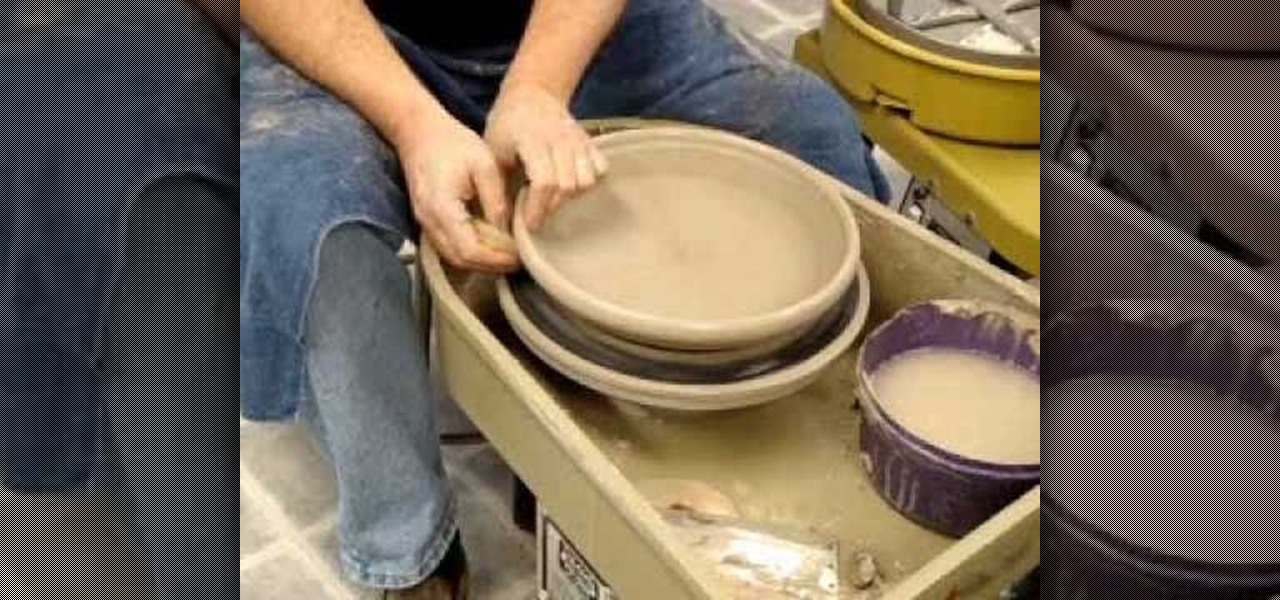
How To: Use the chattering technique on a flat form pottery piece
Are you looking to make your pottery projects more quickly and with less stress? Then this is the perfect tutorial for you. Lakeside Pottery shows you step by step how to flatten and shape a flat form pottery piece using a chattering technique.
How To: Become a full time potter with Simon Leach
According to a recent survey, many of us work to live rather than live to work. That may explain the lack of satisfaction that most workers report at their jobs. While little job satisfaction can be attributed to a number of causes (horrible boss, bad pay, bad hours, etc.), there is first and foremost the prime mover. Many people are stuck at a job they don't want, sadly.

How To: Throw an upside down double walled pottery vase
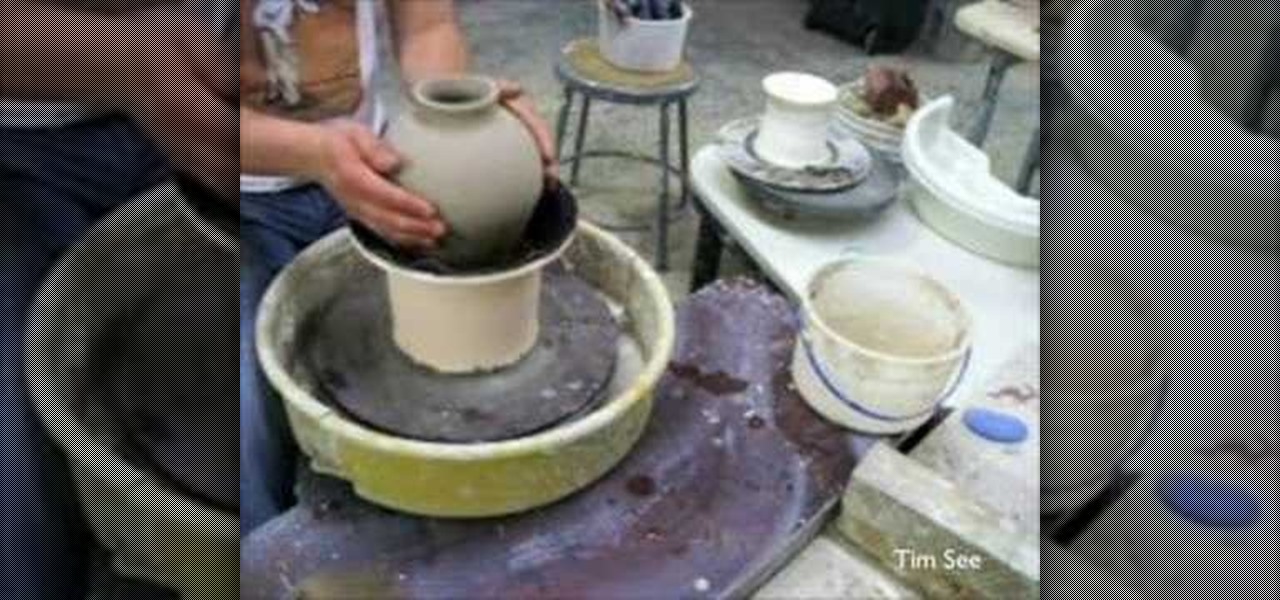
In this tutorial, we learn how to throw an upside down double walled pottery vase. Start off by using water every few seconds to craft your vase. Use your fingers to press down in the middle, to make the round shape and have the vase rise up into the air. Make this into a bowl shape, which will be into the air. Next, shape the middle using your hands into a triangle shape. Raise the side bowl around it, and keep using water to increase the size of the bowl. Collar the bowl in, then start to m...
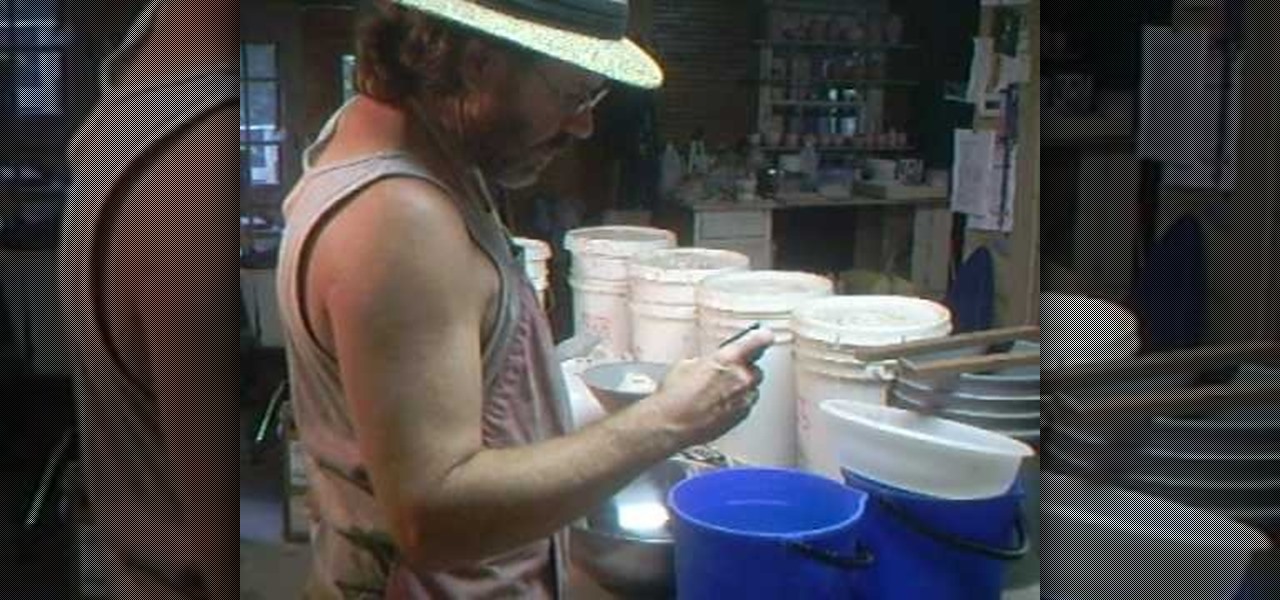
How To: Make a Japanese Shino glaze with Simon Leach
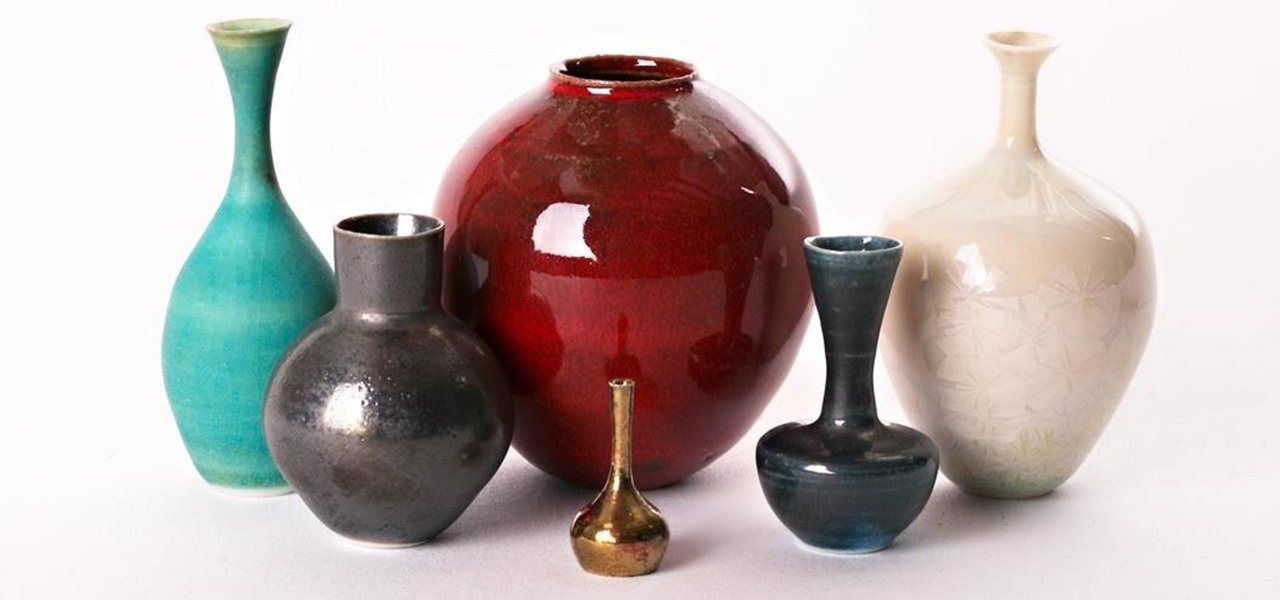
A Shino glaze is an umbrella term for a category of pottery glazes that range in color from milky white to orange and even charcoal gray. Chino glazes add a very pretty luster to pottery pieces and are made using a carbon trap, or trapping carbon in the glaze during kiln firing.

How To: Glaze pots in Shino with Simon Leach
So after much hard labor and patience, you've finally thrown your first vase, fired it carefully in the kiln, and let it harden to a fine finish. What to do next in your pottery making journey? While a beautiful vase is a beautiful vase no matter the finish or color, applying a glaze is like putting on makeup: sure, you don't NEED it, but having it on dramatically improves and accentuates your features, making cheekbones more sculpted, eyes wider and brighter, and lips more well defined. In t...
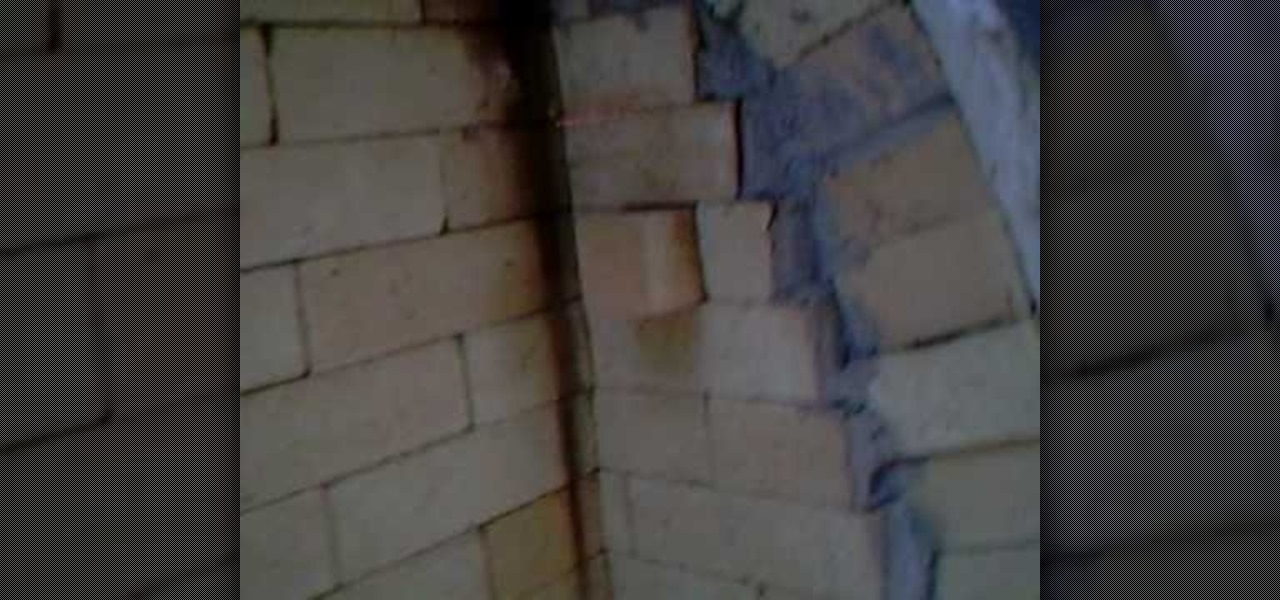
How To: Fire a kiln
In order to fire a kiln, you will need the following: you will need to have a damper. There will also need to be a means of checking the fire, looking in to see the flame. Each stage will have to be closely monitored. Let it fire until it reaches an adequate temperature. It will transition through phases of heat. As it reaches reduction, you'll need to monitor the rate of rise. This stage, the reduction phase, is a slow stage of rise. It will take many hours to reach reduction phase. It will ...
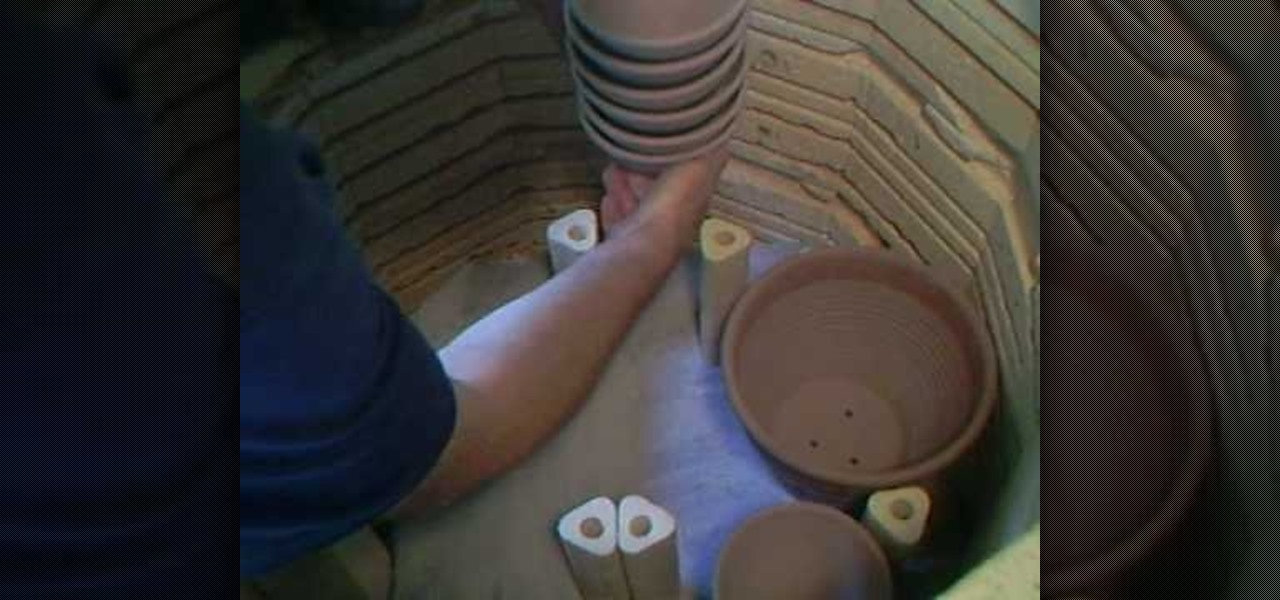
How To: Pack or convert a bisque kiln with Simon Leach
Are you a budding potter who's looking for a skilled tutor but can't afford taking pricey classes every week? Then watch this kiln conversion tutorial by master potter Simon Leach.
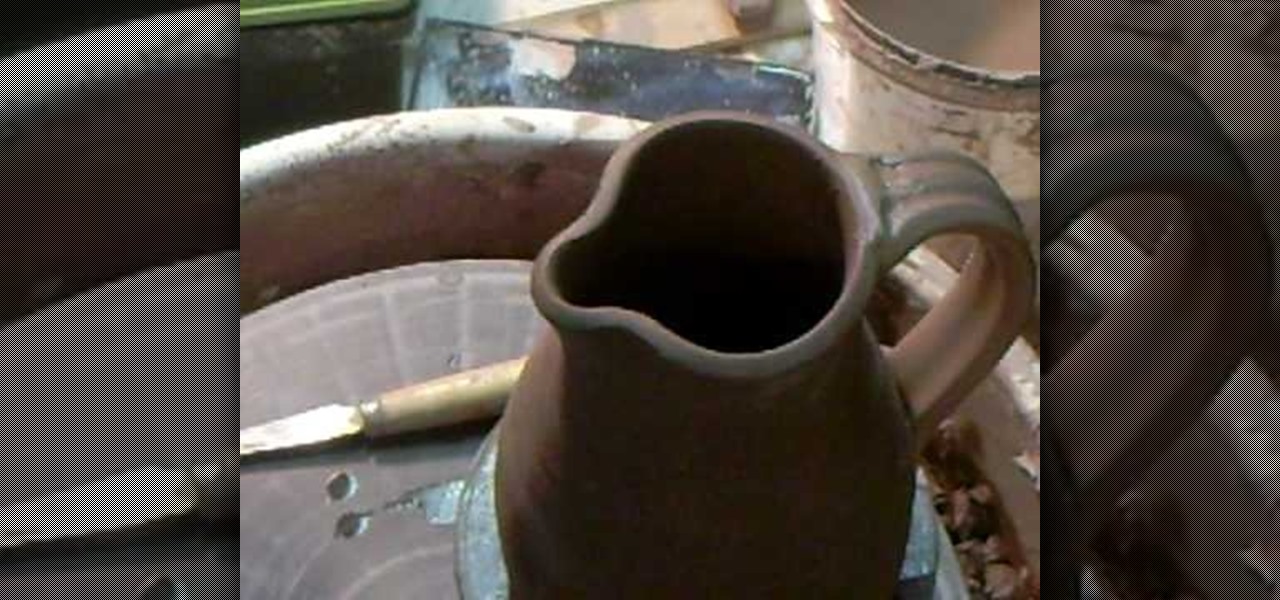
How To: Take care of drying pitchers and pouring lips
Once you've mastered the difficult task of shaping and sculpting a clay pitcher into perfection, you must learn how to handle the pitcher once you leave it to dry. For the most part, the actual pouring lip must be kept damp as they dry.
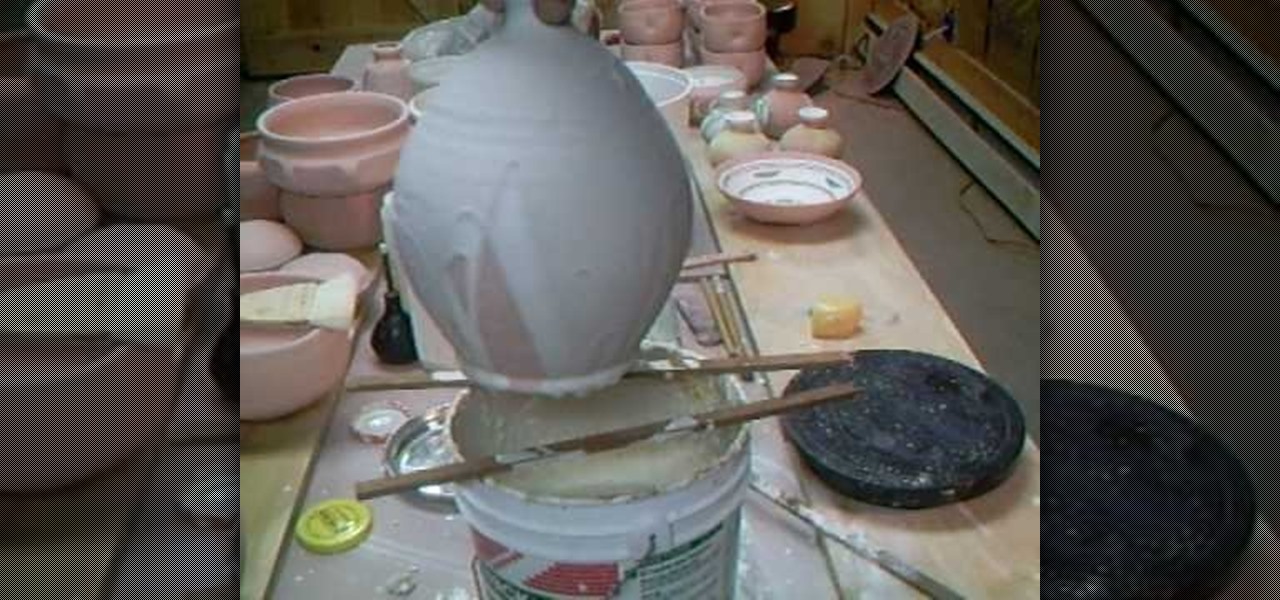
How To: Glaze a lamp base with Simon Leach
In order to glaze a lamp base, you will need the following: glaze, warm water, a sponge, copper carbonate, paintbrush, and sticks.
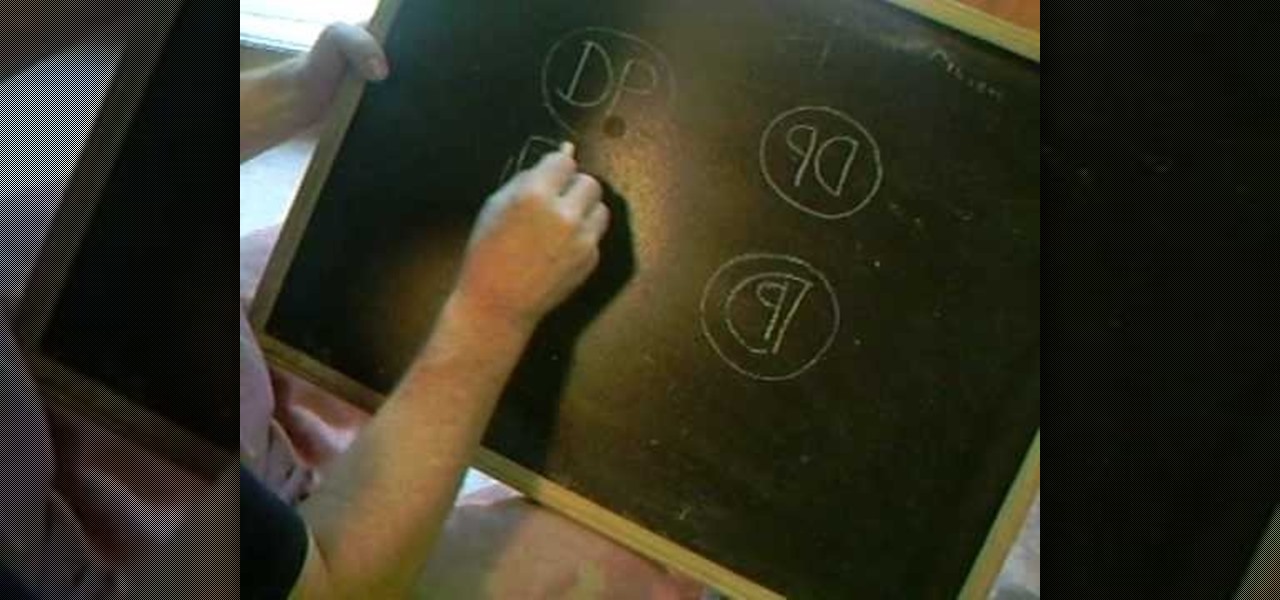
How To: Make a seal for your ceramic projects with Simon Leach
If you've created the ceramic version of Michelangelo's "David" and want to preserve the work as well as let others know the pottery piece as the product of your own two hands, then watch this video by Simon Leach to learn how to create a ceramic seal.
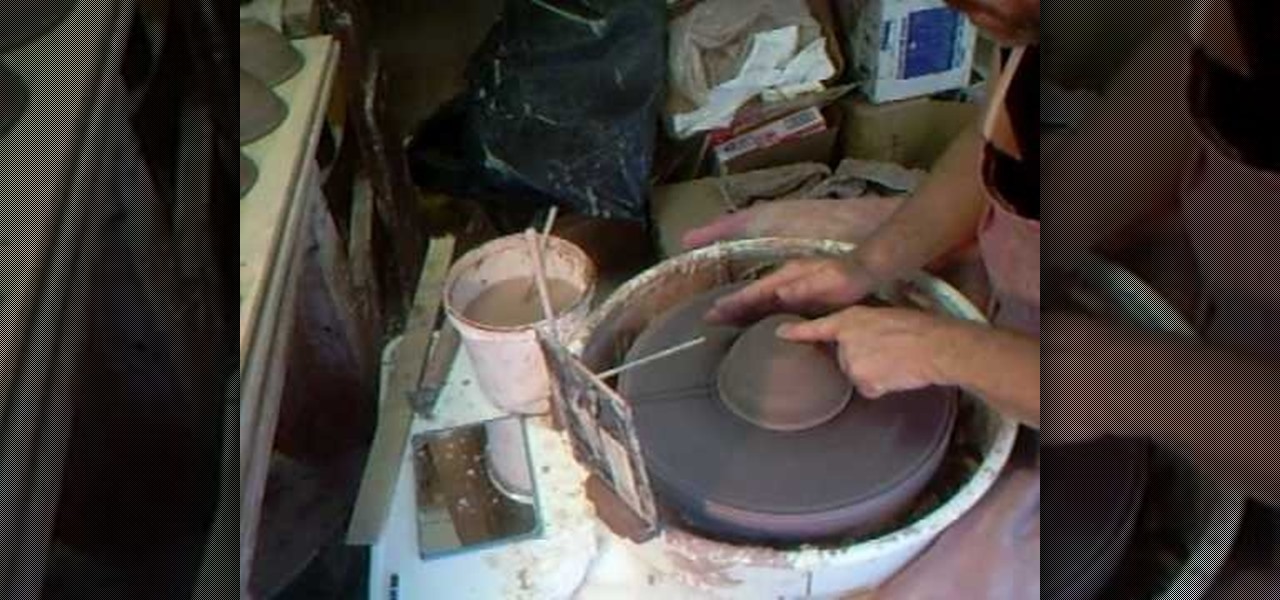
How To: Advance in cermaics by practicing the basics
When it comes to ceramics and mastering throwing, master potter Simon Leach belives that "spaced repetition" is a great way of learning.
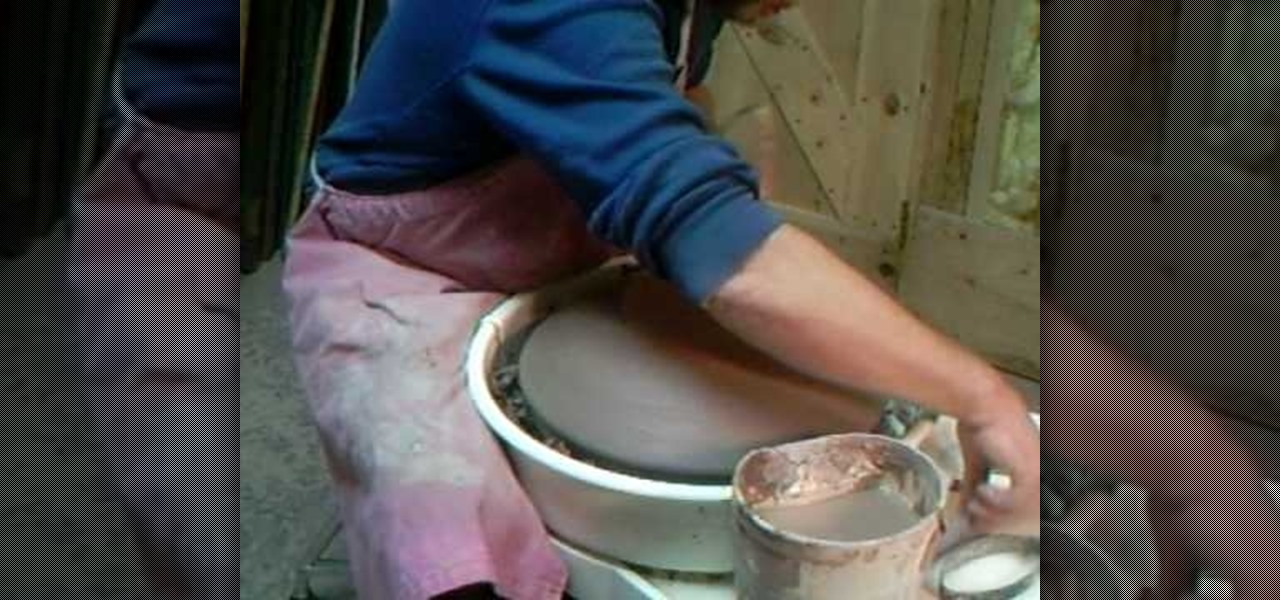
How To: Trim a charger with Simon Leach
So you've got your clay thrown on your kiln and you're molding and sculpting away with those busy fingers. The charger you envisioned making in your mind is finally taking shape...sort of. While the general flat plate shape is appearing, there's a noticeable lack of contours and it looks rather flat.
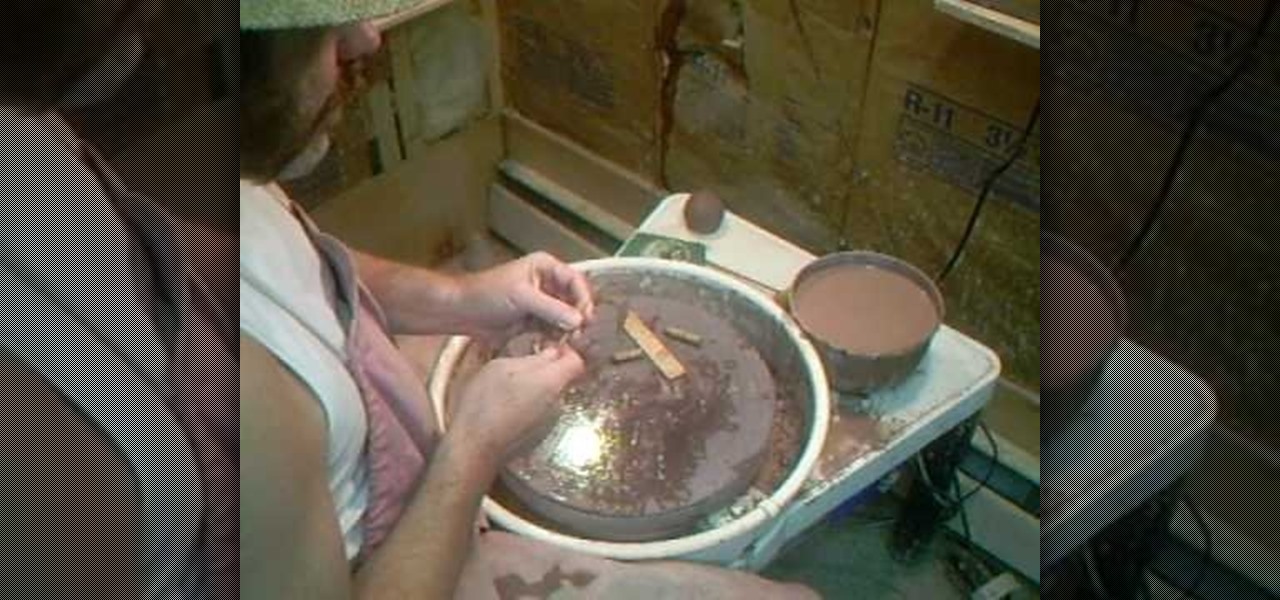
How To: Improve clay throwing with five basic throwing tools
Sculpting a fine piece of pottery, whether it's a gorgeously curvy vase for your peonies or a wide, copious plate you'll use for parties, takes numerous hours of practice and fine tuning your method.
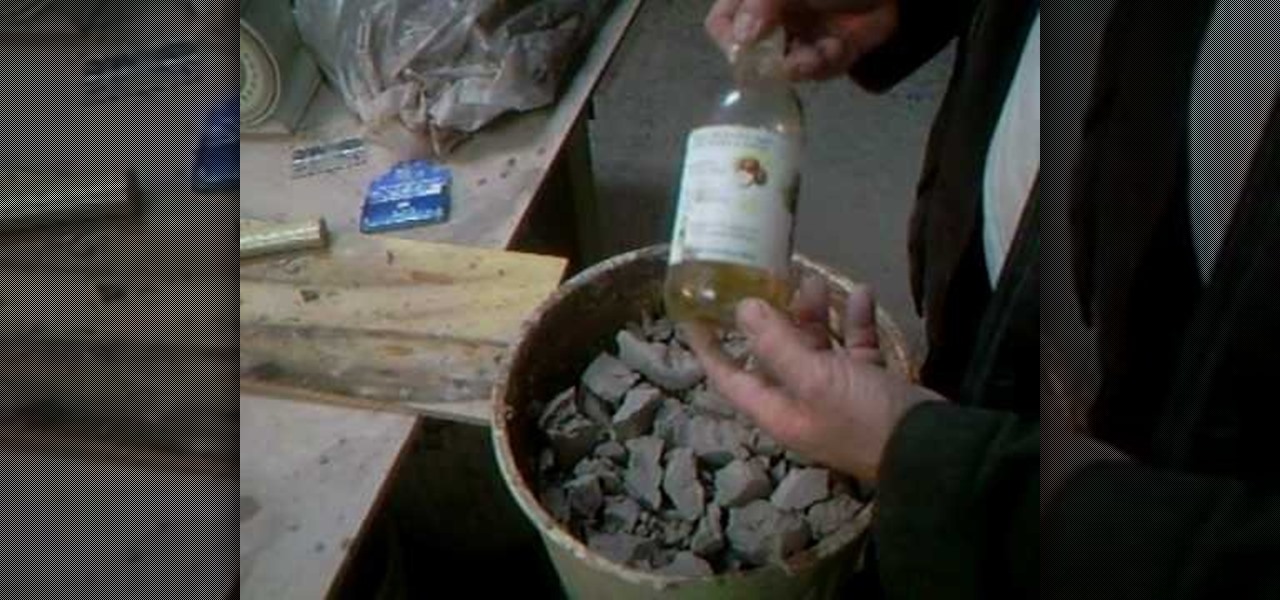
How To: Soak and slake down dried clay with Simon Leach
When your clay is too tough and not malleable beneath your fingertips, you've got trouble. Pottery, after all, requires smoothe and flexible clay that can be molded into any shape you desire.
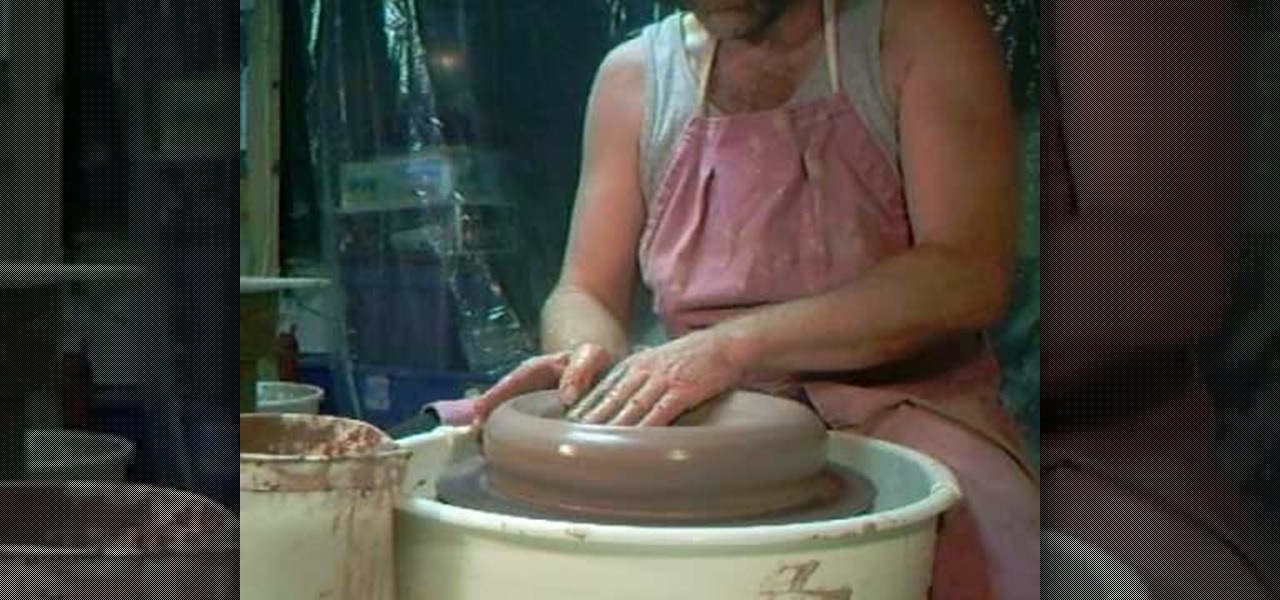
How To: Throw a large charger plate with Simon Leach
God knows we have enough mass produced plates and dinnerware sets out there, some high quality and others like the McDonald's version of plates - cheap costing and cheap looking.

How To: Make a miniature fortune cookie from polymer clay
Learn how to sculpt a miniature fortune cookie charm out of polymer clay with this free video art lesson. While this tutorial is best suited for those with some familiarity of polymer clay sculpture, novice sculpters should be able to follow along given a little effort. For specifics, including step-by-step instructions, and to get started crafting your own mini polymer clay fortune cookie charms, watch this sculpture tutorial.

How To: Make miniature gingerbread men from polymer clay
Learn how to sculpt a miniature gingerbread men out of polymer clay with this free video art lesson. While this tutorial is best suited for those with some familiarity of polymer clay sculpture, novice sculpters should be able to follow along given a little effort. For specifics, including step-by-step instructions, and to get started crafting your own mini polymer clay gingerbread man charms, watch this sculpture tutorial.
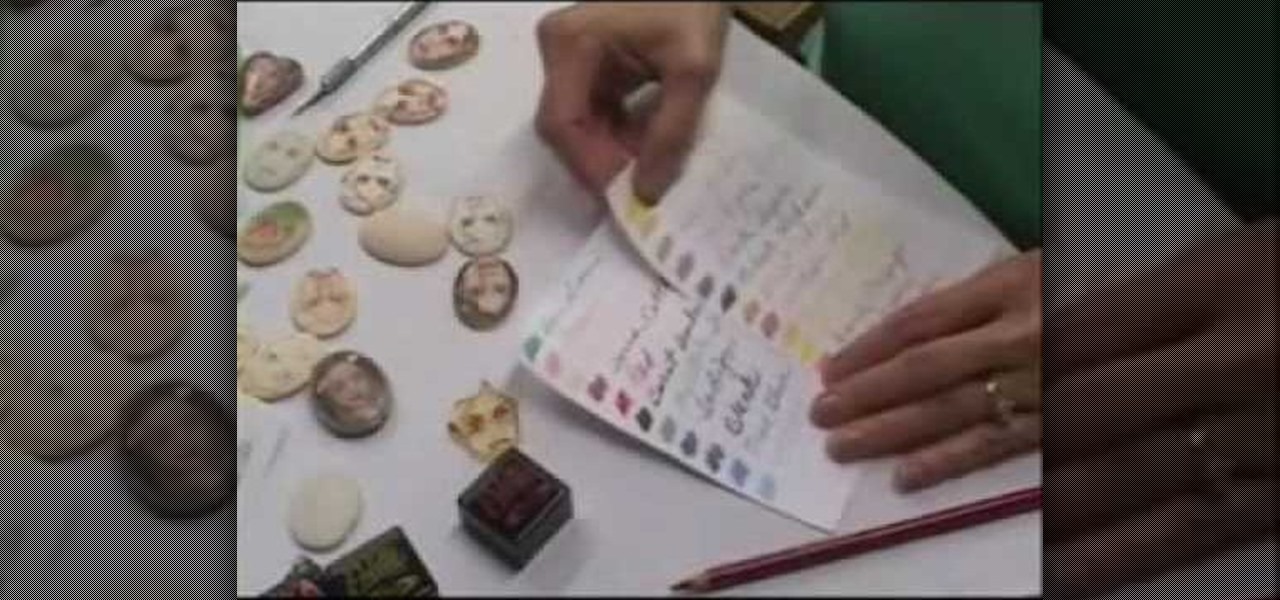
How To: Make portrait cameos out of polymer clay
Learn how to create portrait cameos out of polymer clay with this free video art lesson. While this tutorial is best suited for those with some familiarity of polymer clay sculpture, novice sculpters should be able to follow along given a little effort. For specifics, including step-by-step instructions, and to get started crafting your own polymer clay portrait cameos, watch this sculpture tutorial.
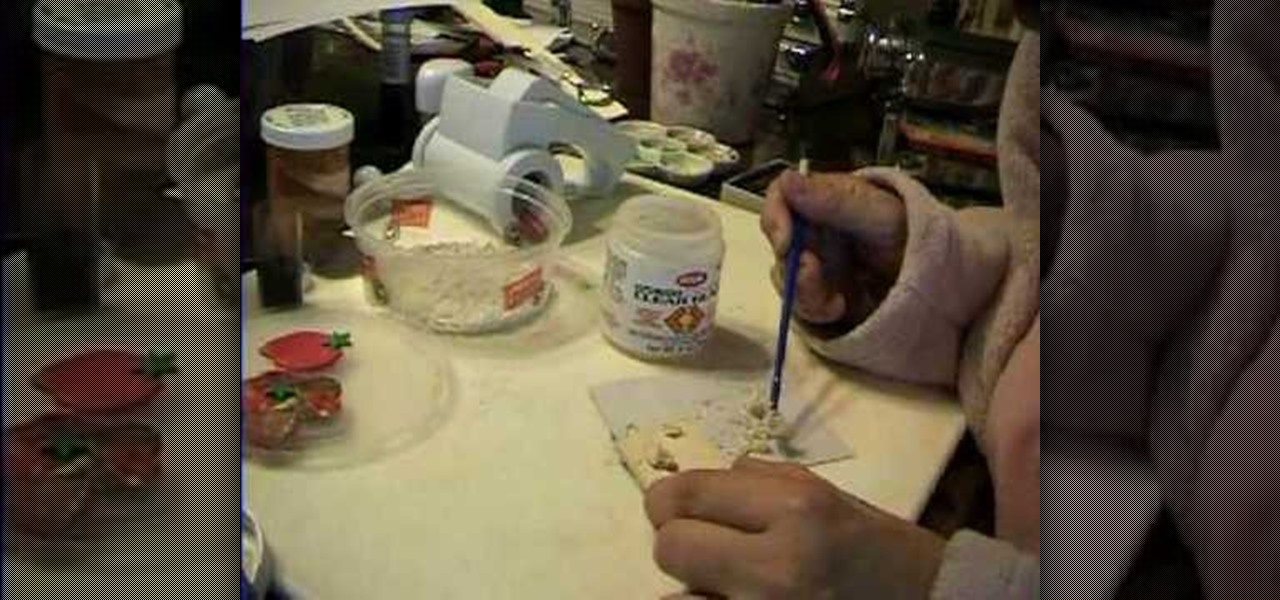
How To: Make miniature macaroons from polymer clay
See how to sculpt miniature macaroon charms out of polymer clay with this free video art lesson. While this tutorial is best suited for those with some familiarity of polymer clay sculpture, novice sculpters should be able to follow along given a little effort. For specifics, including step-by-step instructions, and to get started crafting your own doll-sized macaroons, watch this sculpture tutorial.
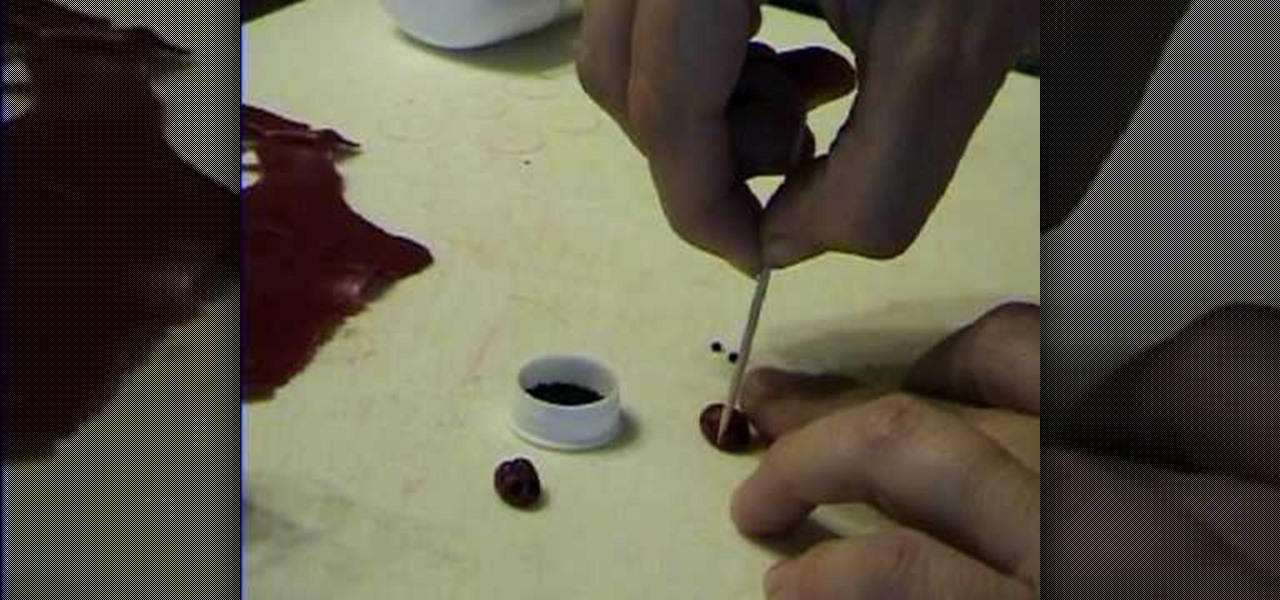
How To: Make a miniature polymer clay ladybug
Learn how to sculpt a miniature ladybug out of polymer clay with this free video art lesson. While this tutorial is best suited for those with some familiarity of polymer clay sculpture, novice sculpters should be able to follow along given a little effort. For specifics, including step-by-step instructions, and to get started making miniature polymer-clay ladybugs yourself, watch this sculpture tutorial.
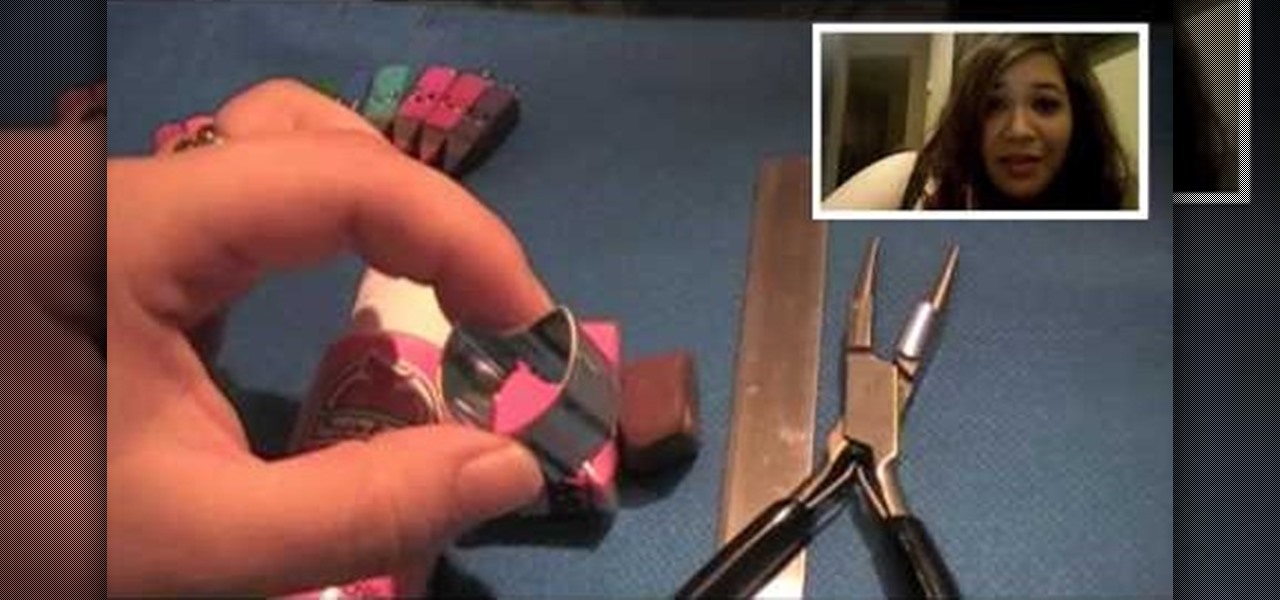
How To: Make a polymer clay colored pencils & artist pallete
Learn how to sculpt colored pencils out of polymer clay with this free video art lesson. While this tutorial is best suited for those with some familiarity of polymer clay sculpture, novice sculpters should be able to follow along given a little effort. For specifics, including step-by-step instructions, and to get started making your own polymer-clar colored pencils, watch this sculpture tutorial.
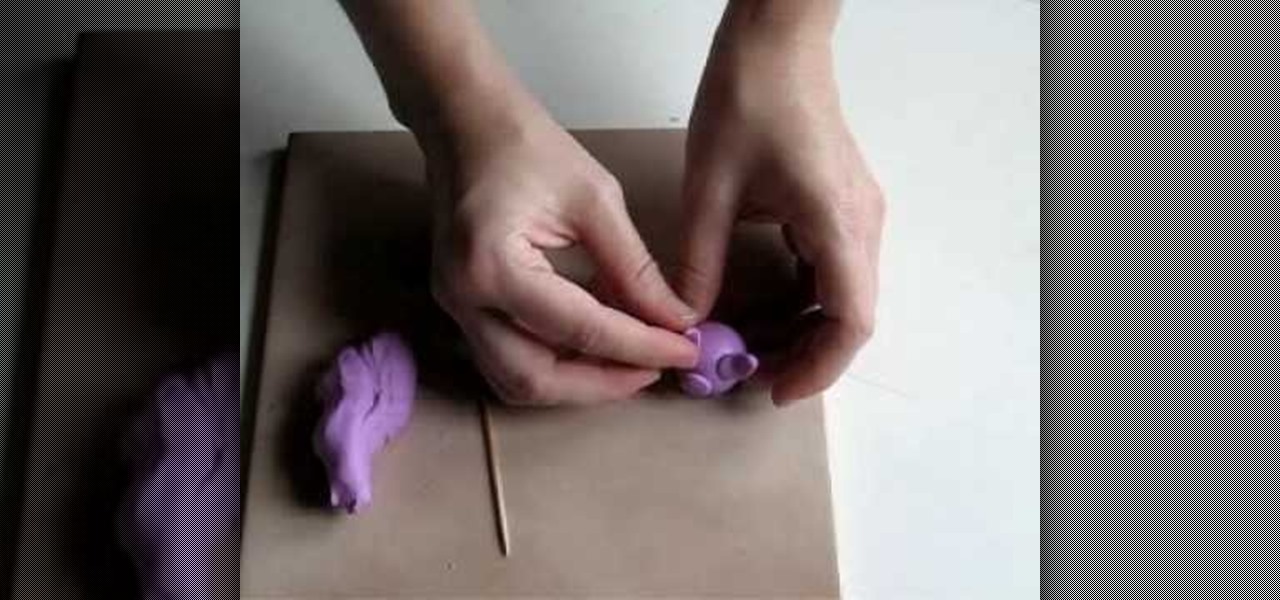
How To: Make a polymer clay pig
Learn how to sculpt a pig out of polymer clay with this free video art lesson. While this tutorial is best suited for those with some familiarity of polymer clay sculpture, novice sculpters should be able to follow along given a little effort. For specifics, including step-by-step instructions, and to get started making your own polymer clay piggies, watch this sculpture tutorial.
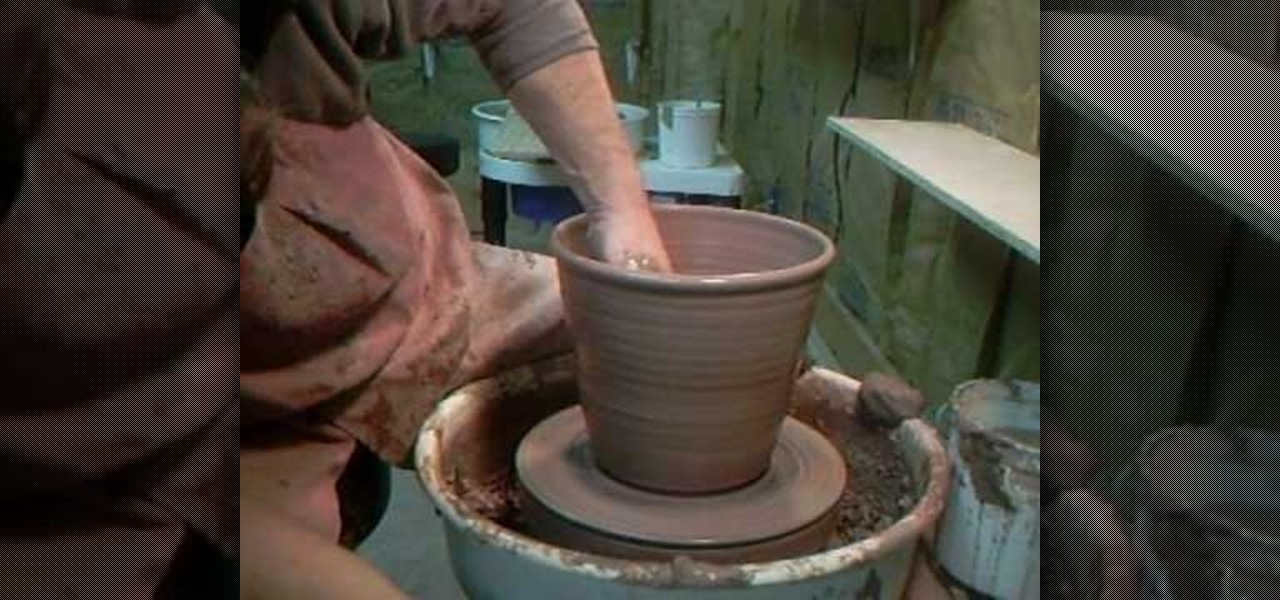
How To: Throw a 7 pound flowerpot with Simon Leach
Simon Leach has taught us a lot about ceramics and pottery in his many videos. In this concise one he demonstrates for all you at-home potters out there how to make a 3 kilogram (6 pound 10 ounce) flowerpot on the wheel. As you can see at the end of the video, that is a pretty large pot. If you can throw this, you are well on your way to being an advanced ceramics enthusiast.
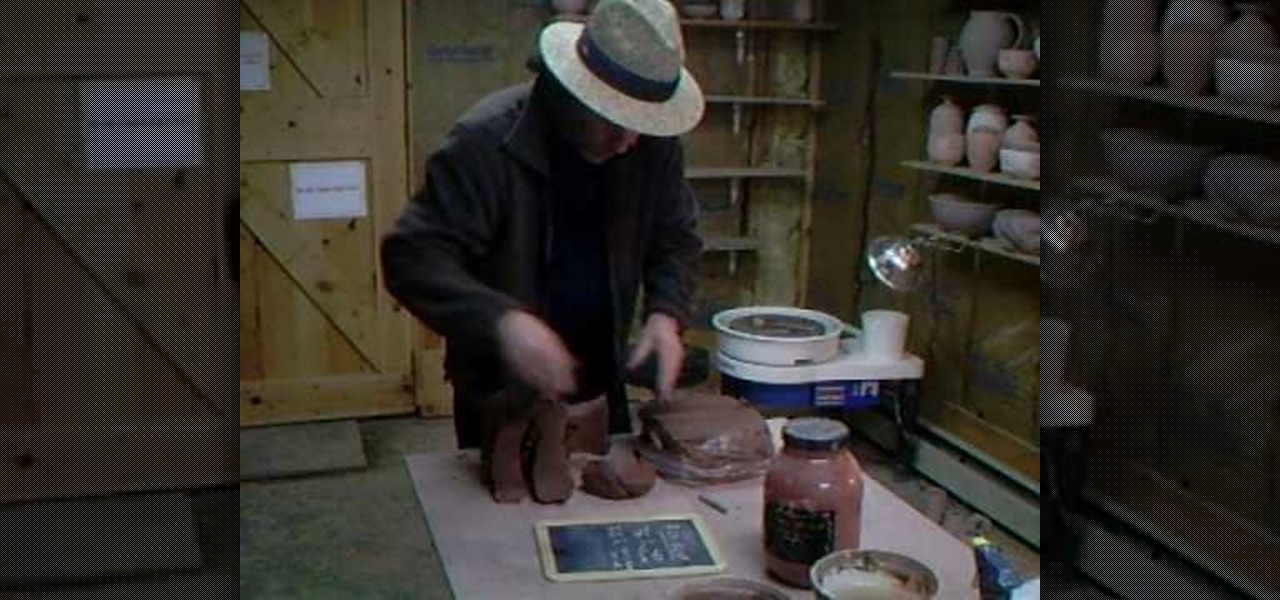
How To: Dig clay for flower pots and make red iron oxide slips
Simon Leach gets back to basic in this installment of his ceramics instruction video series. He teaches you first how to find places todig clay, then how to apply a red iron oxide slip to some flower pots he's working on. Multiple lessons in one video! This one is sure to teach you some interesting new pottery techinques.
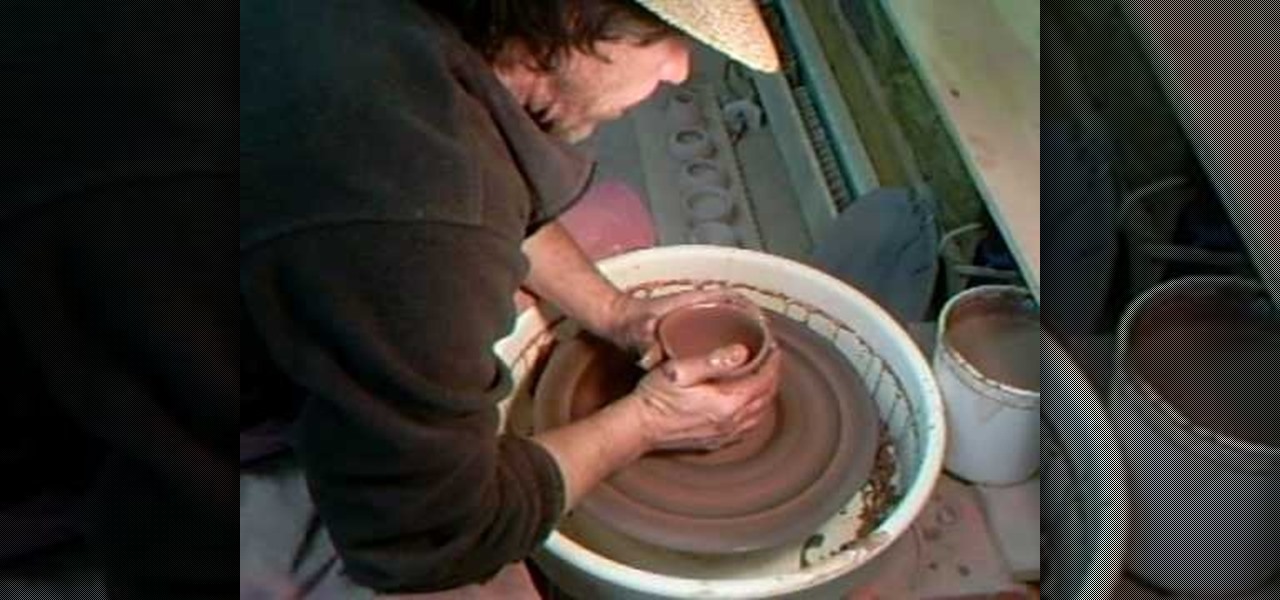
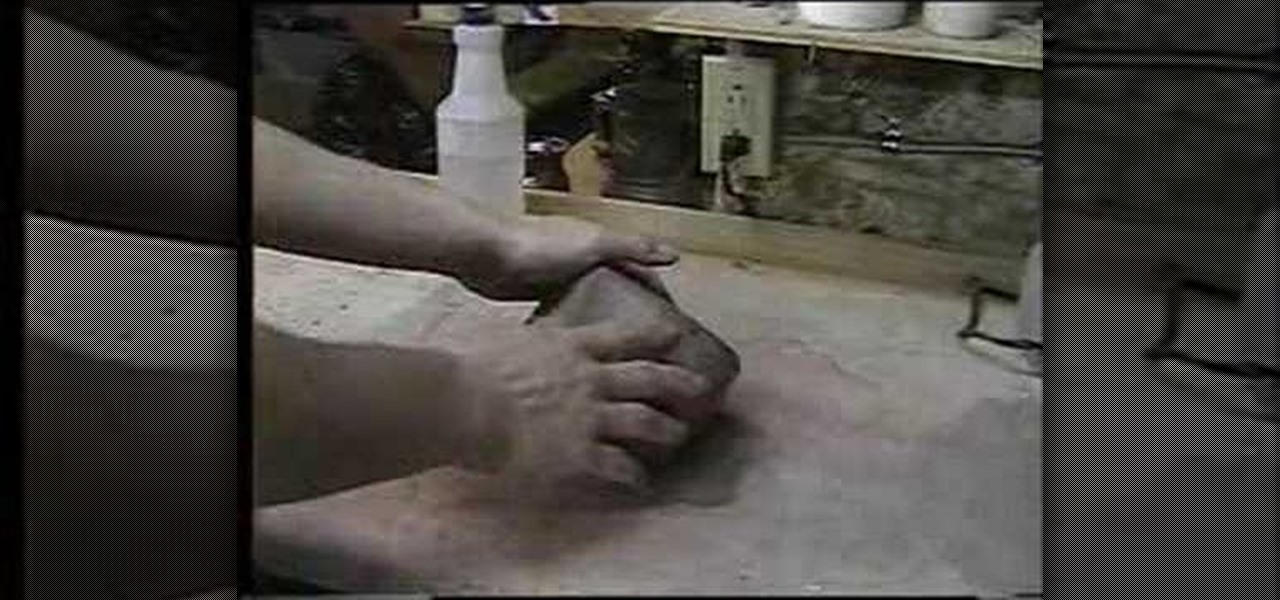
How To: Knead clay for flower pots and then make them
Simon Leach, the worldwide leader in free bilingual ceramics instruction, spends this installment of his video series first kneading clay in preperation for potting, then throws said clay into some flower pots on his wheel. Pottery lessons at their finest.
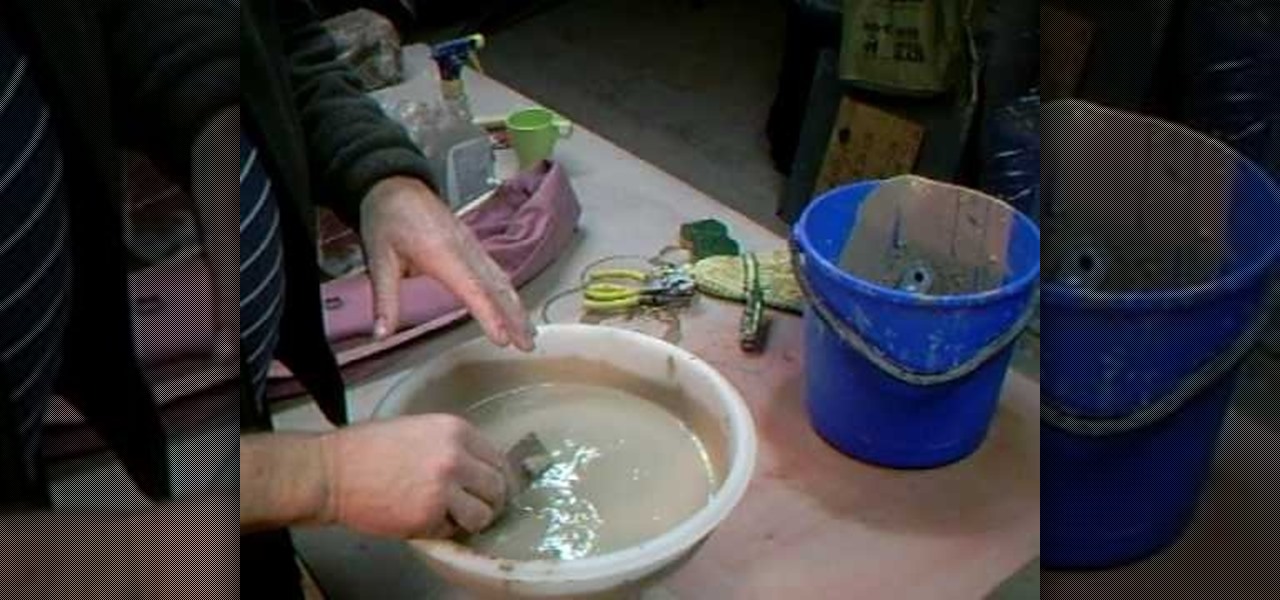
How To: Sieve white slip to be used to adorn pots and vases
This Simon Leach video features him demonstrating to potters everywhere how to sieve a white slip that he will use later to adorn some clay vases that he has thrown previously. Slips can really make your pots distinctive, but be subtle! You don't want them to take attention away from the flower that the pots are for.
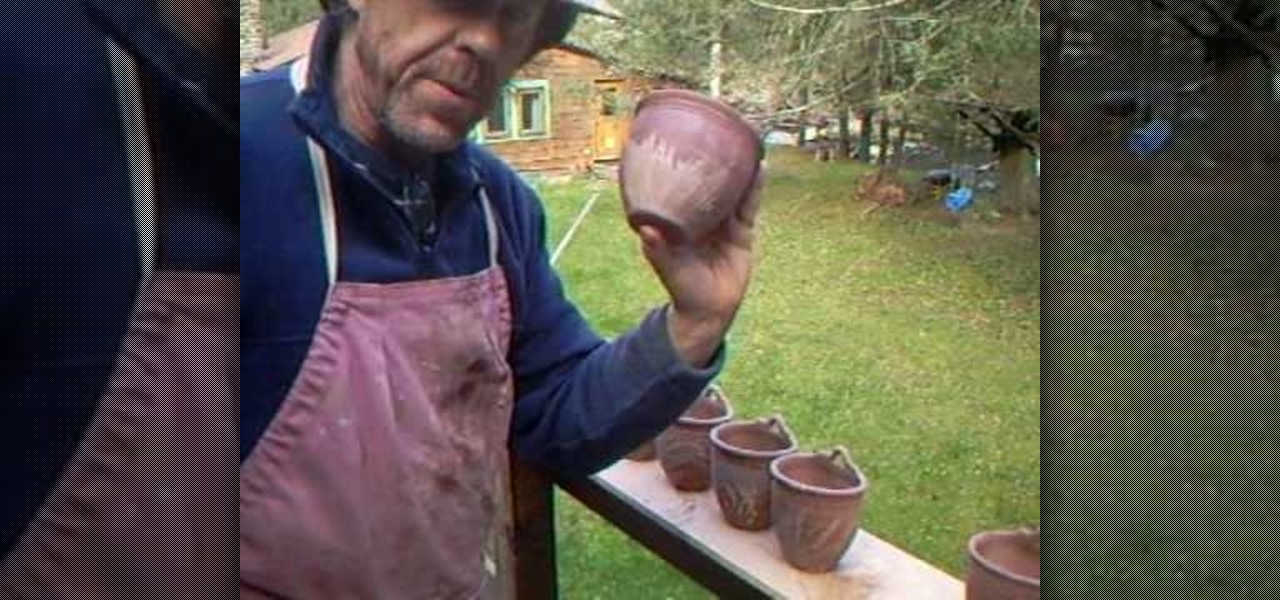
How To: Make white slips for wall vases and other pots
Adding slips to your vases gives them a subtle artistic flair without detracting from the beauty of the flowers within. Simon Leach is here to teach you how to add a white slip to your ceramics, using the wall vases that he has been working on as examples. You may not be able to do it so effortlessly, but as Simon always says, keep practicing!
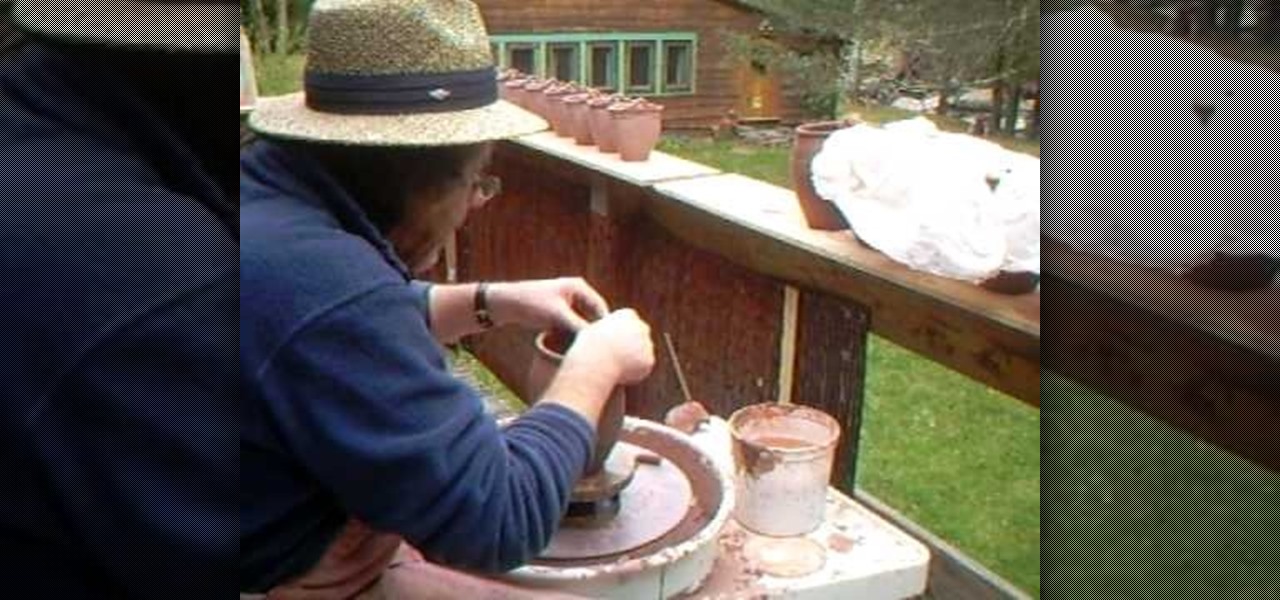
How To: Make ceramic handles for hanging wall vases
Simon Leach is in the house, or rather on his deck, teaching us how to fashion and then attach handles to ceramic hanging wall vases he threw previously. If you make pottery, and want to attach your ceramic works to your wall, this video will show you how to do it.
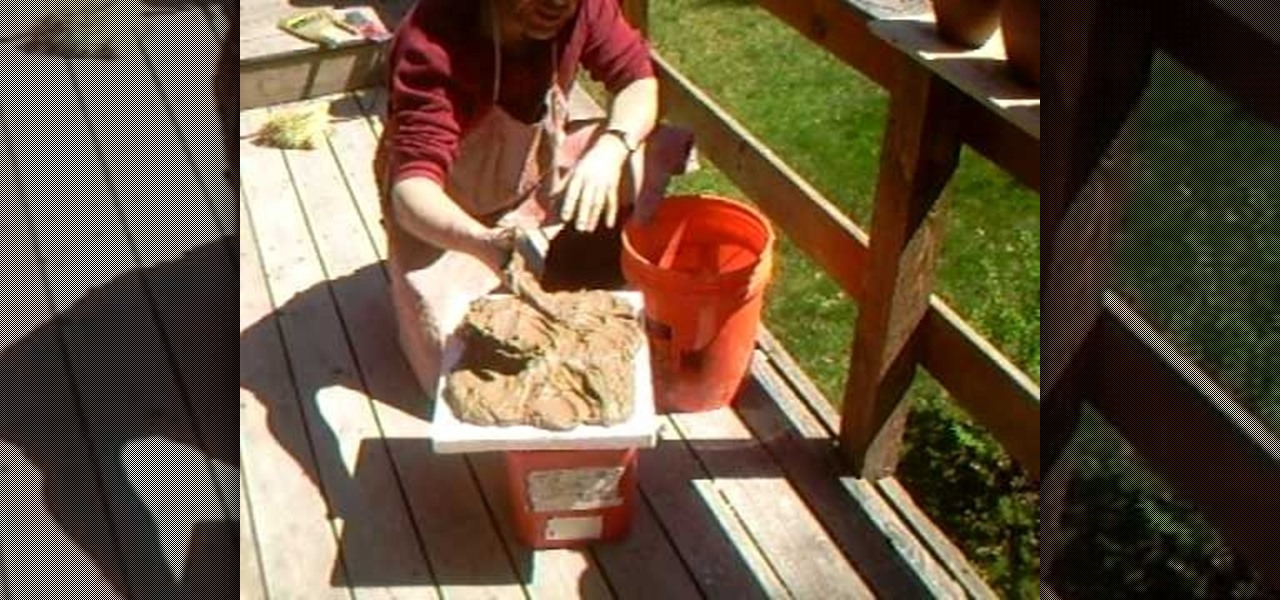
How To: Decorate ceramic wall vases and dry clay
Simon Leach's series of high-quality pottery videos marches on. In this installment he teaches us how to dry some high-quality clay that he has just acquired from a cement works, and also how to decorate some hanging clay wall pots he made in a previous installment.
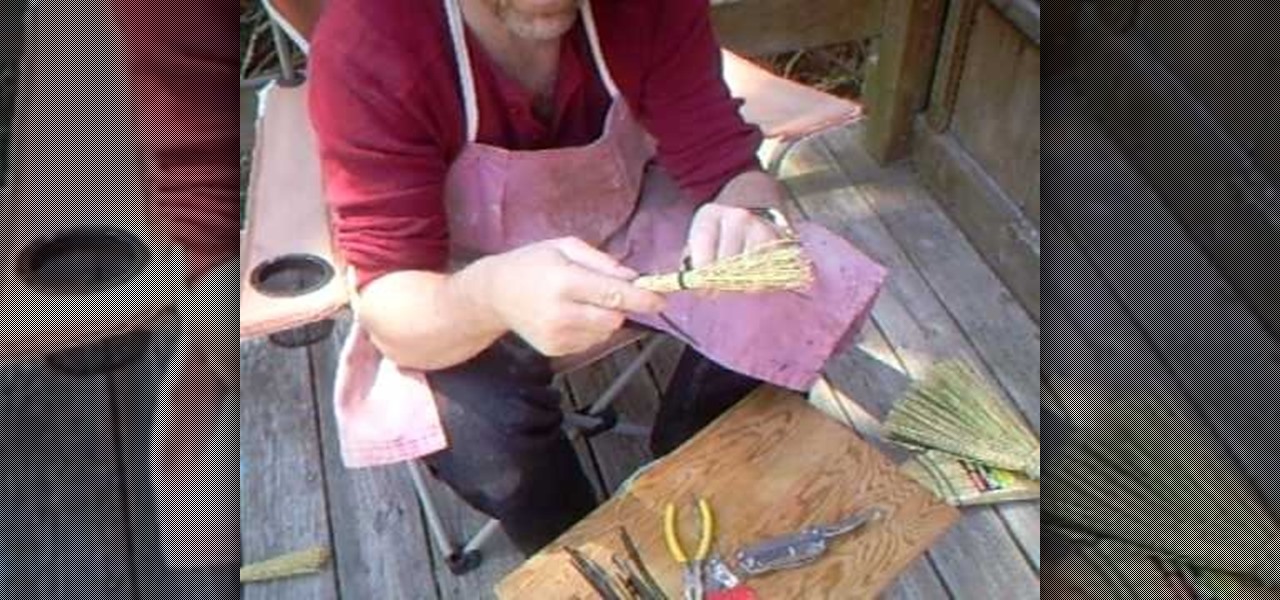
How To: Make a "hakeme" brush for slip decorating your pottery
In this video, Simon Leach steps away from his wheel for a few minutes to teach potters everywhere how to make a "hakeme" brush at home out of basic items. This brush can then be used to slip decorate your pottery and other ceramics.

How To: Throw a clay corner wall vase with Simon Leach
Making a round clay vase on a wheel that will hang properly in a corner may sound like a challenge, but with Simon Leach to teach you, even an amateur at-home potter should be able to complete this ceramics project. If you want to avoid griping like he does throughout this video, make sure not to use a plastic bat!
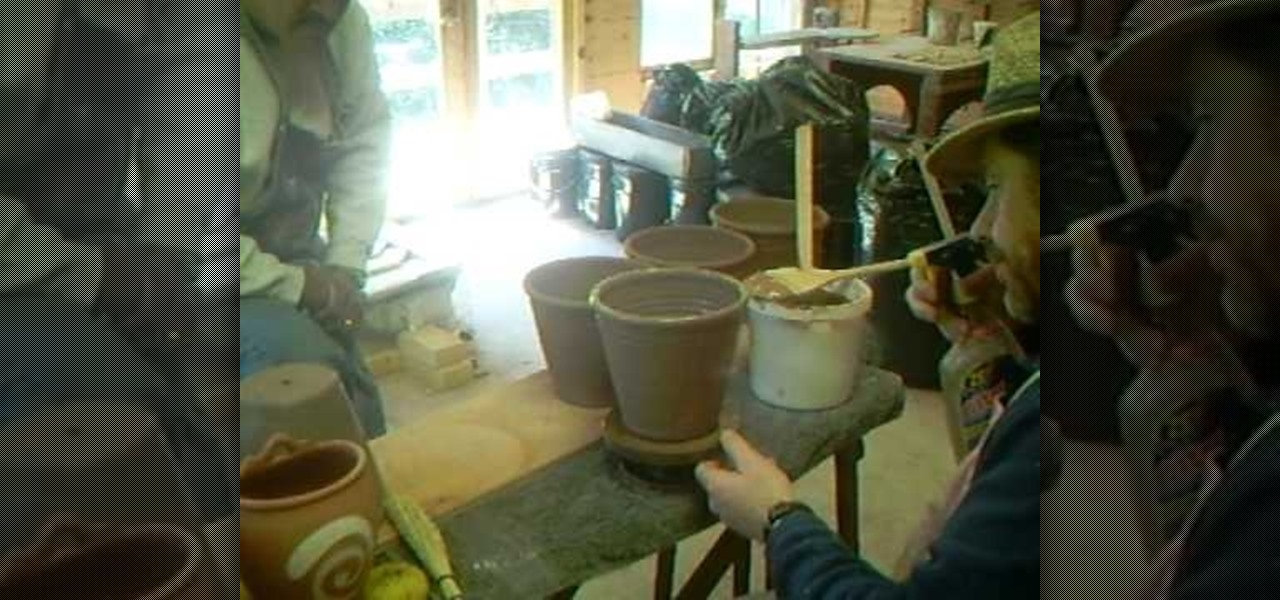
How To: Apply a terra cotta slip to a pot
A terra cotta slip can add flair and durability to any pot that you've made at home, and also allow you to make up for inconsistencies in the composition of your clay. This video from Simon Leach shows you how to apply just such a terra cotta slip to a clay pot, an important technique to improve you pottery and ceramics skills.
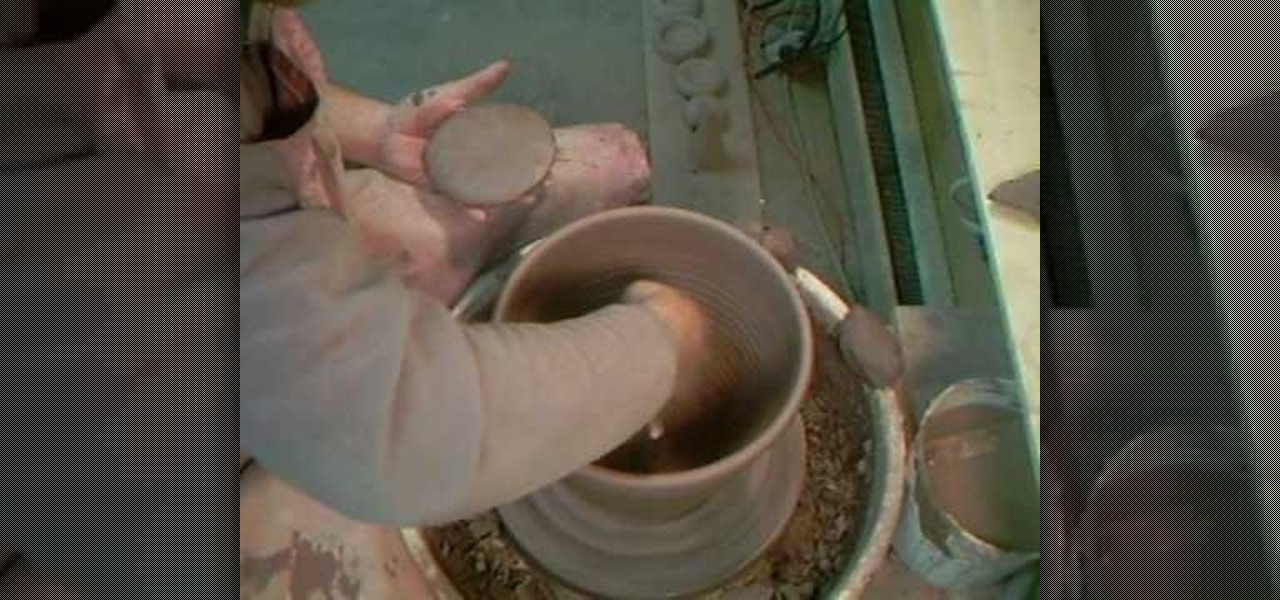
How To: Throw a false bottom on a ceramic flower pot
If you are a homemade ceramics enthustiast, chances are at some point you've thrown a pot where the bottom has come out too thin. This video from Simon Leach teaches you how to throw a false bottom for just such a pot so that the precious time you've invested into th piece of pottery doesn't go to waste.
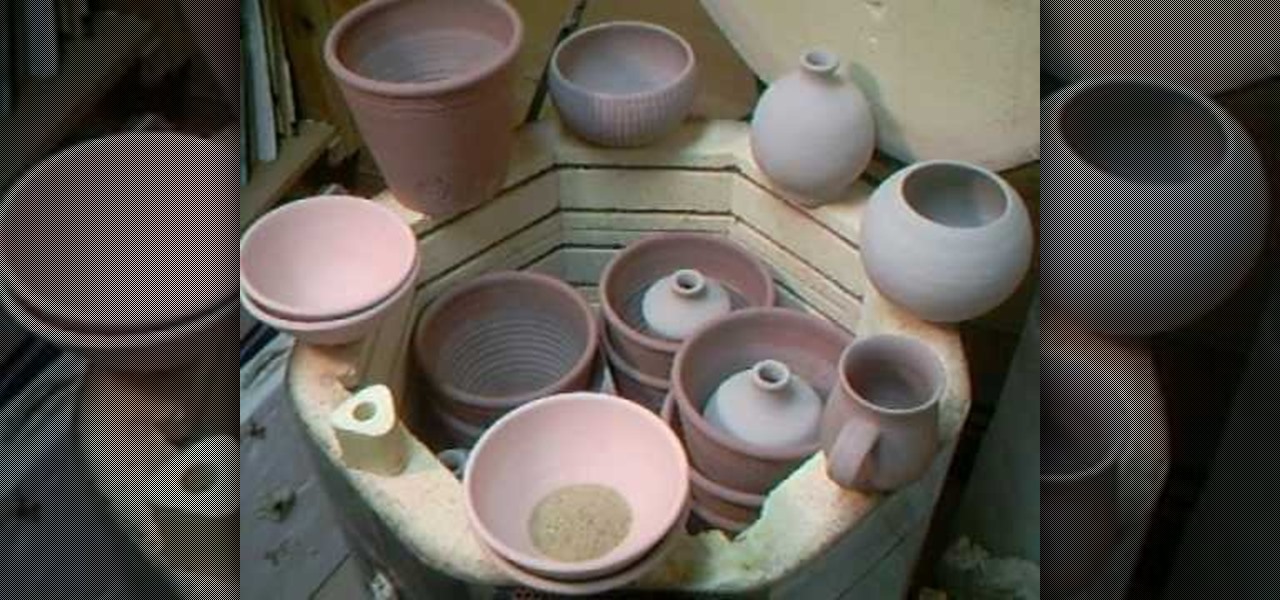
How To: Pack an electric kiln with pottery
Any prolific potter will know that fitting all of you creations into your electric kiln can be like putting a jigsaw puzzle together, except the pieces are pieces of your heart. This handy video from Simon Leach offers advice on techniques for and a demonstration of packing your kiln properly to avoid damaging any of your precious pots while still firing them successfully.

How To: Make a plaster bat for drying out your wet clay
Simon Leach is an online pottery instruction legend, and in this three-part video, he instructs us in a procedure somewhat outside his normal area of expertise by creating a homemade plaster bat, which is basically a flat plaster block used for drying wet clay. For the hardcore at-home ceramics whiz this could be a very fun and rewarding project. Just make sure you are comfortable working with both plaster and clay!
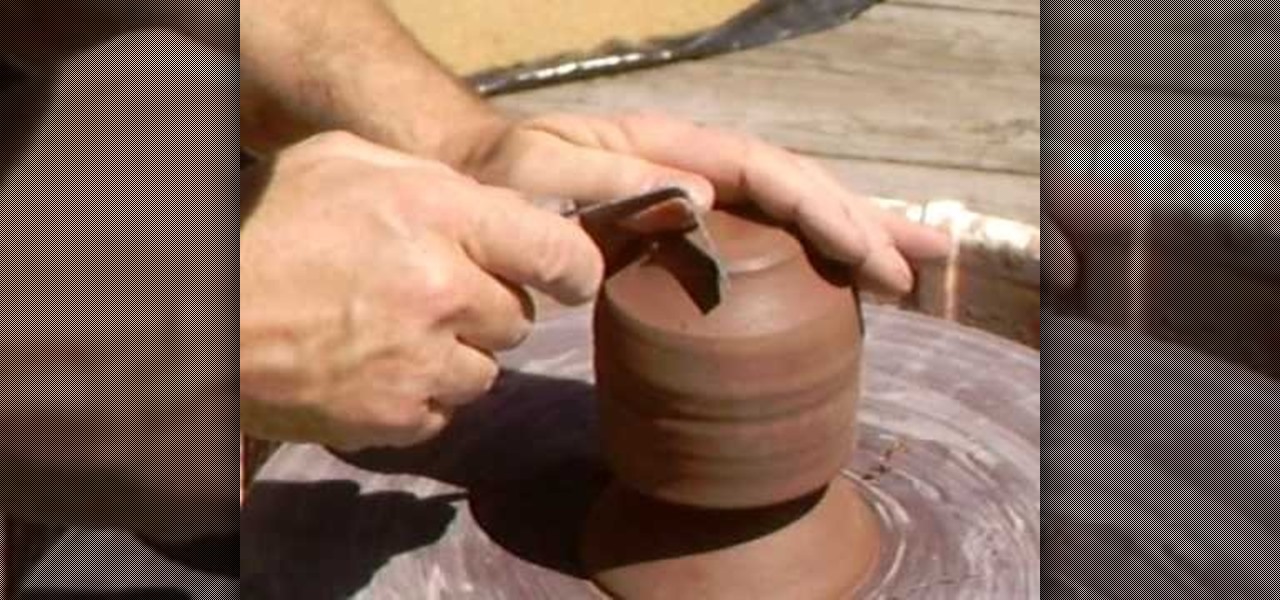
How To: Trim a ceramic pot on a wheel
English pottery instructor Simon Leach has stepped out onto his lovely deck to teach us how to trim our ceramic pots on the wheel. His example piece is small cup or pot that begins the video as plain as vanilla and ends it as a wonderfully detailed piece after only 10 minutes or so of work.
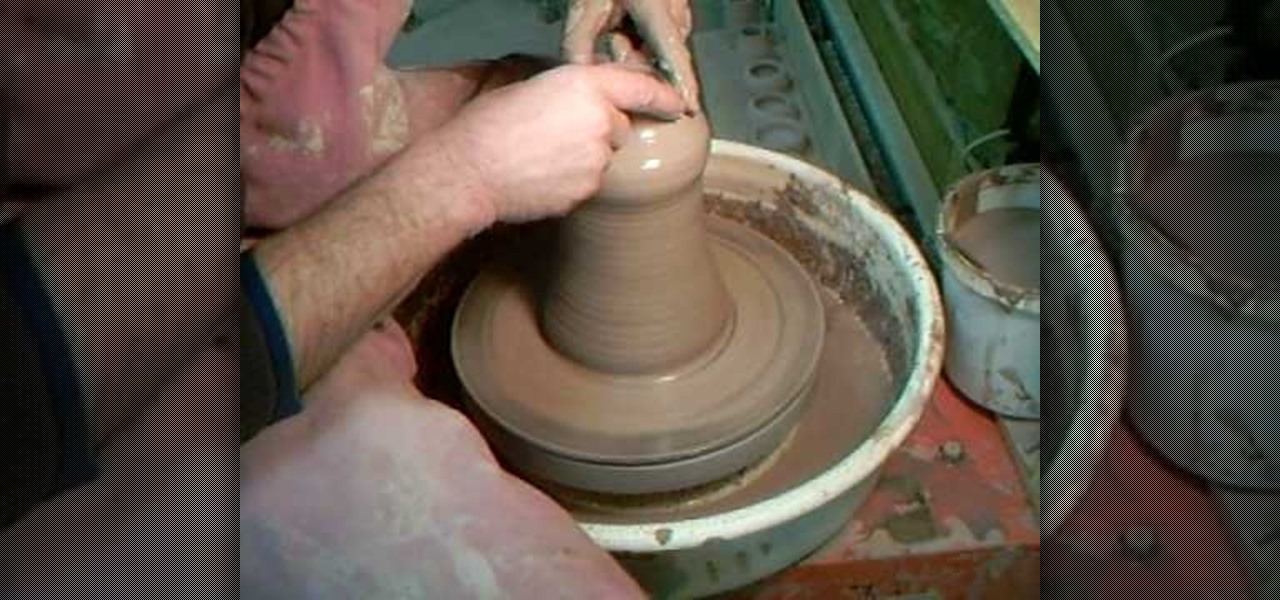
How To: Throw a lamp base
You all the know the scene from Ghost? Where Patrick Swayze and Demi Moore are sitting and they are trying to make something using the machine? It's one of the most iconic scenes out there. Anyways, this video isn't about ghosts, or either of those actors, but rather that machine and what it can do. This tutorial will show you how to throw a lamp base easily. Enjoy!
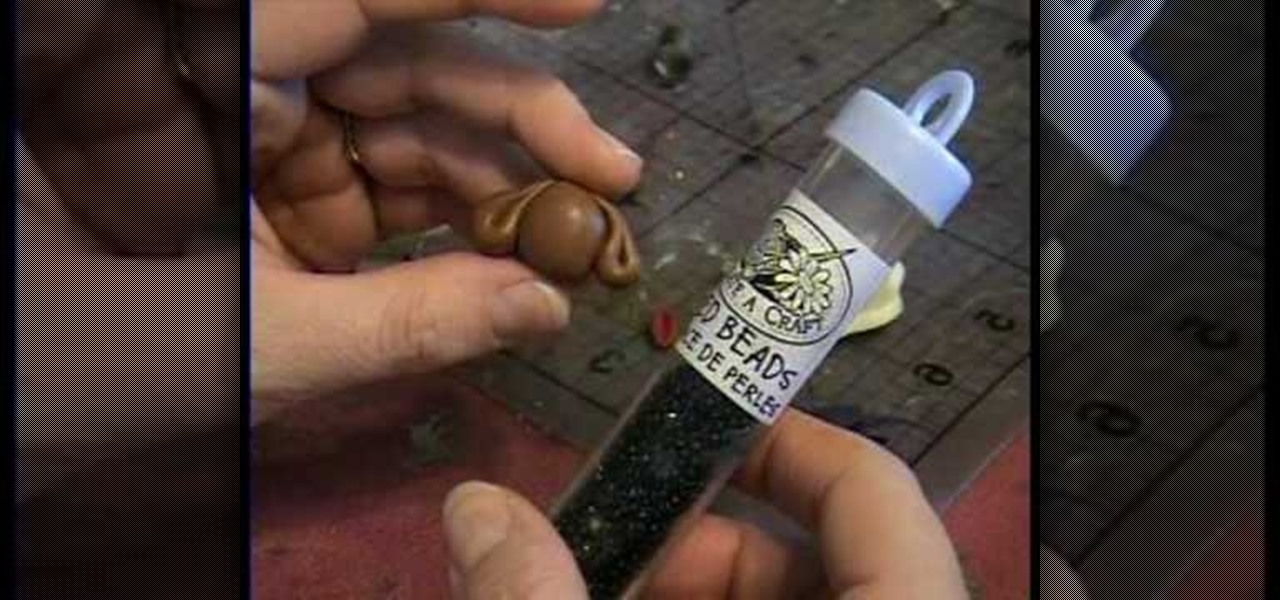
How To: Make a polymer clay dog bead
If you are making a funky homemade charm bracelet or necklace, have a look at this tutorial. In it, you will learn how to make a polymer clay bead shaped like a cartoon dog. This is a great bead to use for a gift for the dog lover in your life. It won't take long to make this cute little guy and whomever you make it for will really appreciate it. This little bead has tons of personality. So, why not grab some clay and get molding.. this puppy can't wait to meet you!


