

Hot Ceramics & Pottery How-Tos


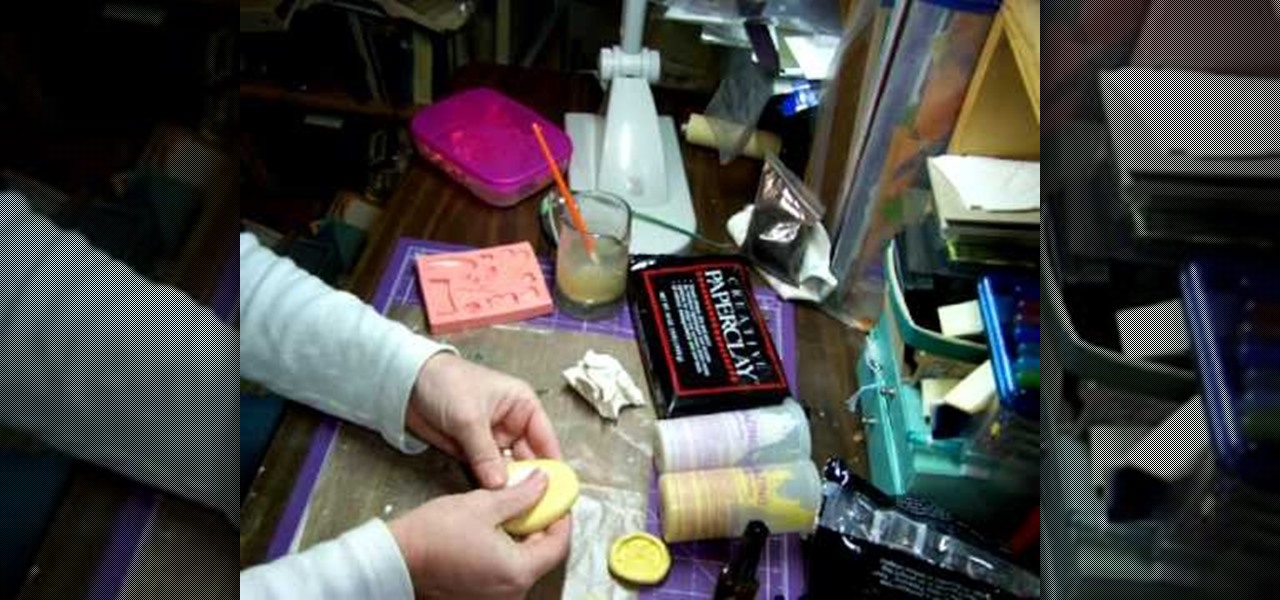
How To: Work with paperclay & molds
Terri Sproul shows you how to Work with Paperclay and Molds. Make a ball of paperclay and push it firmly into the center of the home-made or ready-made Mold. Make the surface of the Paperclay level with the surface of the Mold, adding more Paperclay if necessary, and removing any excess with your fingers. The molding putty that the Mold is made from is flexible, so hold the edges of the mold with your fingers and gently push the center of the Mold with your thumbs, this will push the molded P...
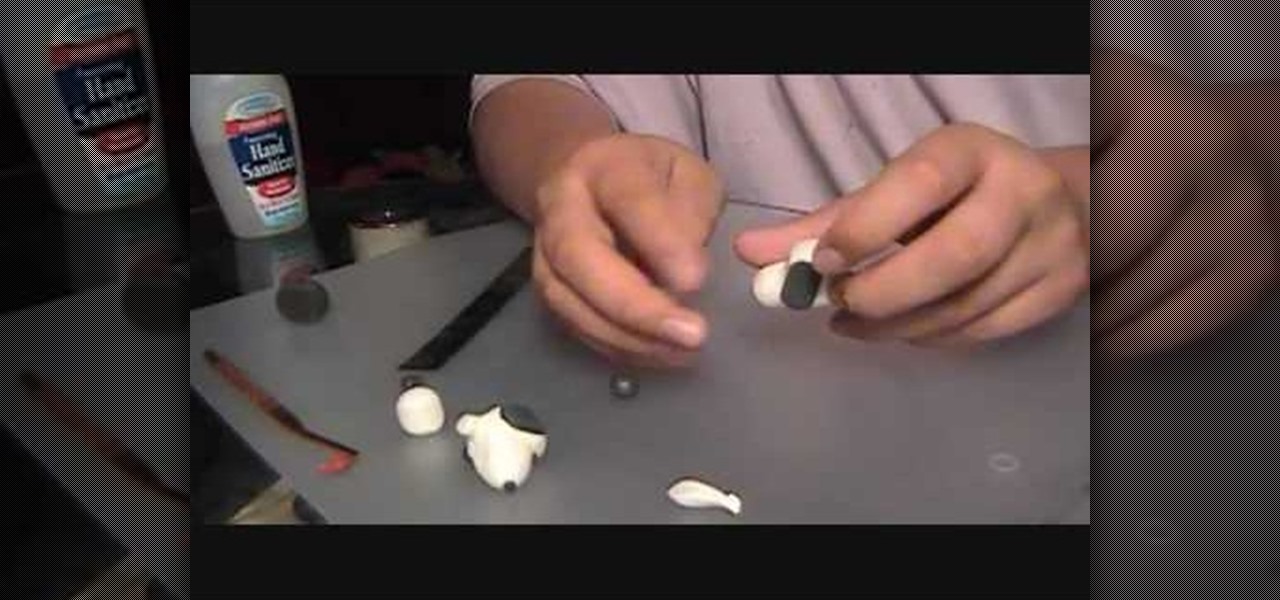
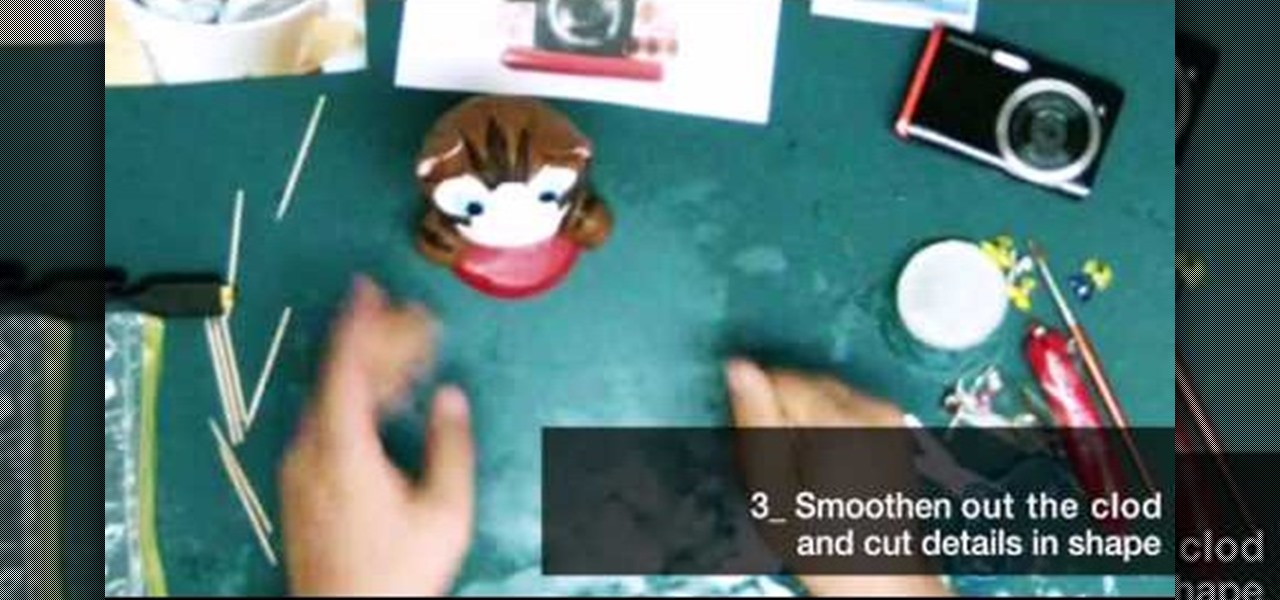
How To: Make a polymer clay Snoopy head
This video describes how to make a snoopy head from a type of polymer clay. You will need both black and white polymer clay, a blending tool and a ruler. It begins with the main part of the head and moves onto creating the correct structure using a blending tool. It advises using your thumbs to smooth away the creases and cracks from the surface of the snoopy head. After the main part of the face is made, it describes how to create the eyes and ears using the black clay. The eyes and ears are...
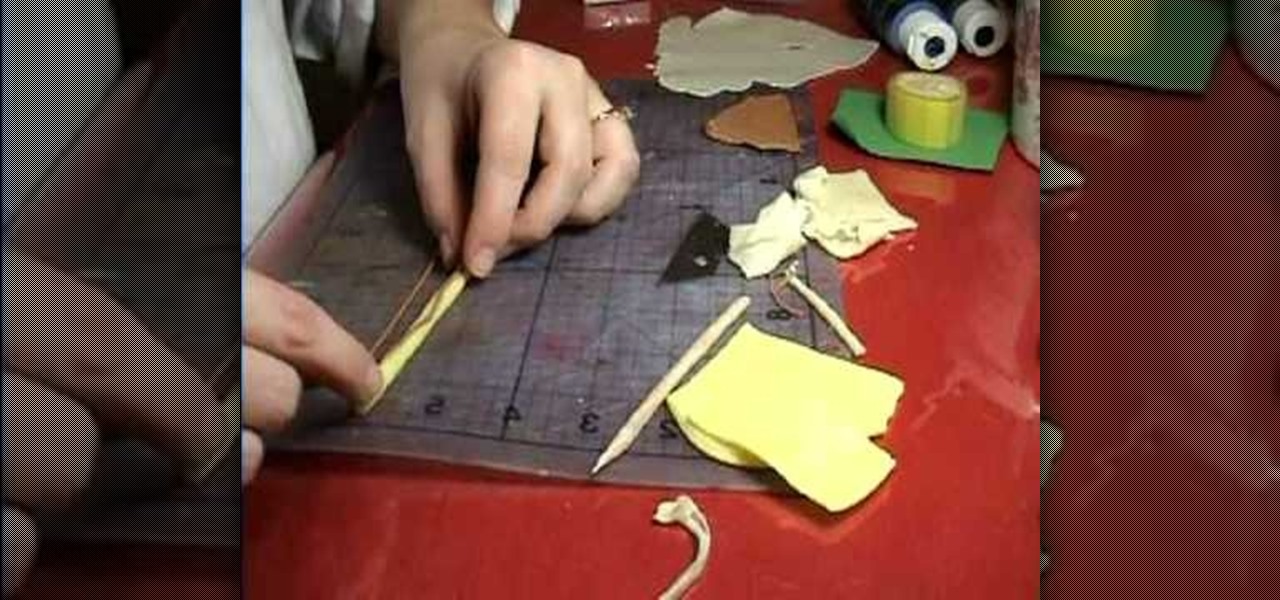
How To: Make a mini banana polymer clay bead
Translucent, yellow and brown clays are needed to make the banana. For the covering mix the translucent and yellow clays. Another translucent mixed with a little yellow is needed for the flesh of the banana. The seeds are made with the brown mixed with translucent rolled out very thin. The rolled light yellow clay needs to be twisted into the shape of a triangle vertical. Take a translucent rolled flat and place the yellow clay and cut little clay and roll it together into a very thin roll. T...
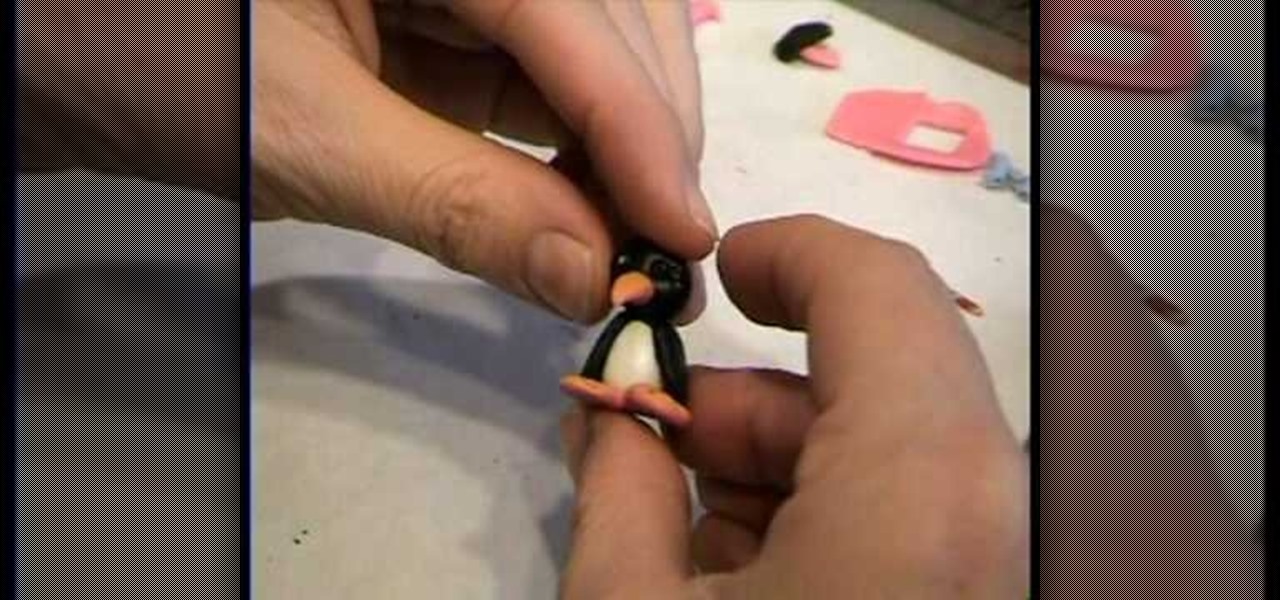
How To: Make a mini penguin polymer clay bead
A piece of orange clay is rolled down to diameter of desired width of beak, and rolled down further at 1 end to make a point. Cone shape is cut to length of beak desired. A black ball of polymer clay is made. Base of orange beak is blended onto it. 2 clear seed beads are picked up individually with a pointed stick and pressed into head above beak. Stick is used to make 2 eye creases at right side of right eye and eyebrow over left eye. Repeat on other side. 2 flat oval pieces of orange clay a...
How To: Use Japanese air dry clay
The clay dries by air and you don't have to put it into the oven. The clay isn't brittle and doesn't crack like some of the other clays. The clay bends really easily and is very transparent. Consider that this air dry clay shrinks. The moisture is premixed in the clay. The shrinkage is handy for someone making larger projects. You can use pigment inks, powdered pigments and paints on the air dry clay just like you would use with regular polymer clay. You can also use cutters and findings on t...
How To: Make your own paperclay molds
This video shows you how to make a flexible mold using Amazing Molding Putty. You can make molds of just about anything that has the desired shape and texture you want.
How To: Make a mini cupcake polymer cake mold
Use the tread on wire-nut, to create a mold for mini clay cupcakes. Usually used for joining together electrical wires, the repeated lines of the wire-nut will here be used to form the ridges expected on a cupcake bottom. Press the wire-nut into a small piece of clay to form a depression just as big as you want your finished cupcake to be. Bake in the oven to solidify into a mold. Dab the dried mold with a bit of cornstarch or baby powder; this will prevent fresh clay from sticking to it too ...
How To: Use an abstract design technique with polymer clay
She teaches us how to make a beautiful jewelry pendant for a necklace out of polymer clay. She starts with kneading a black base. She then sends it through a pasta machine. After she has a black flat sheet she rolls it into a ball again. Then, she takes the other five colors and starts rolling tiny little ball. She attaches them to the base black ball. Next, she creates a snake with the colors swirling around. She sends it back through the pasta machine to create a perfectly flat surface. To ...
How To: Make polymer clay hot cross buns for a dollhouse
Watch this video to create realistic hot cross buns for your dollhouse! Start off with some white clay, and glass marble beads. Take your clay and make a nice little ball and pour in some of the marble beads. Squish the clay together so all the little "raisin" beads get mixed in. Roll it through the pasta machine on setting number one. Next take your square cutter and press it down on the clay. You then have your first hot cross bun. Use different colored chalks to color the bun. Then bake yo...
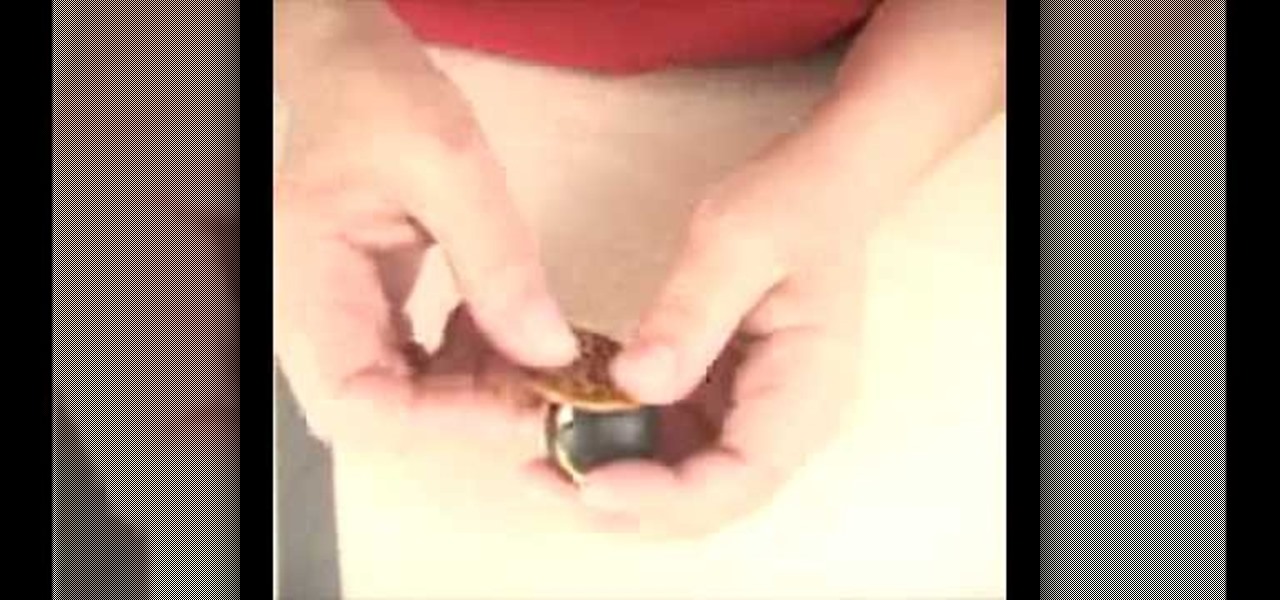
How To: Make a moose bead out of polymer clay
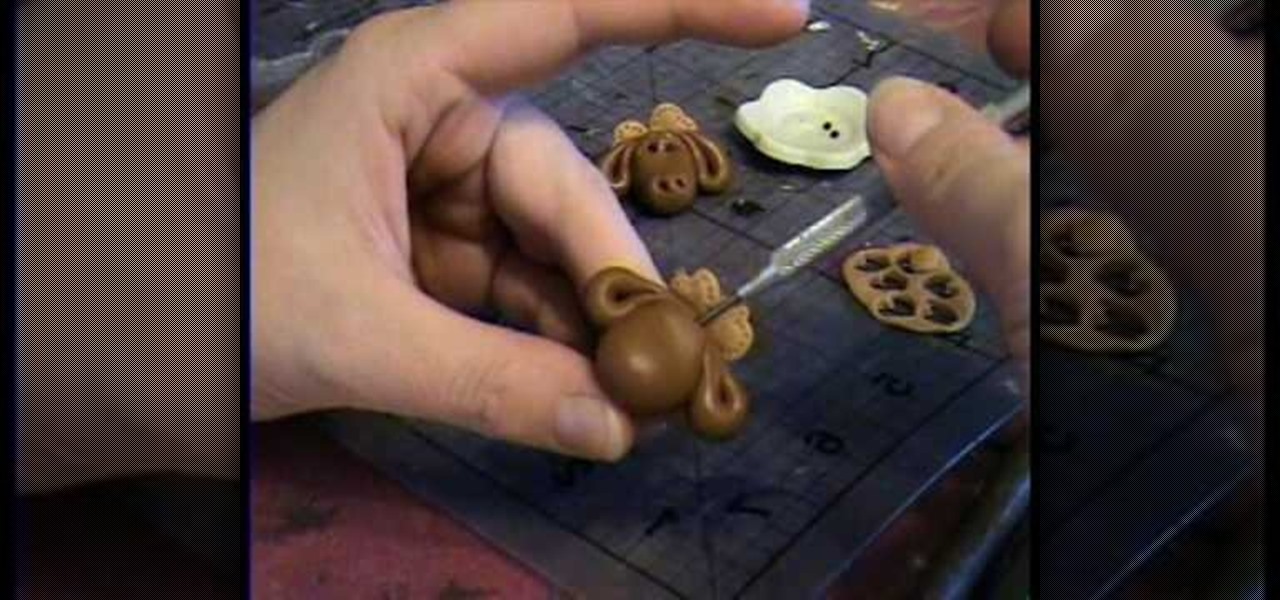
This video tutorial is going to show you how to make a Moose Bead from Polymer Clay by Garden of Imagination. You begin with clay and make a shape it like the head of the moose as shown in the video. Then take more clay and make the ears and attach them to the head. Now take lighter color clay, cut it out into heart shapes, poke around the edge with a pin, and attach them behind the head. Take a pin and make a hole at the top end of the head to make it a bead. Watch the video to finish the pr...

How To: Make mini truffles out of polymer clay for a dollhouse
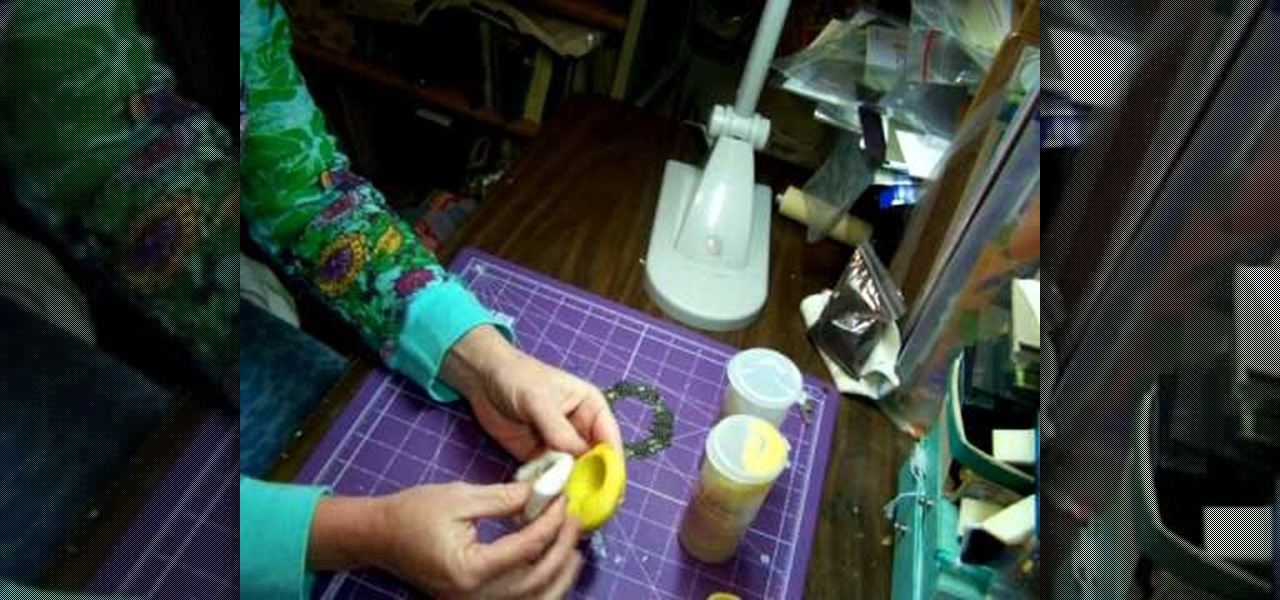
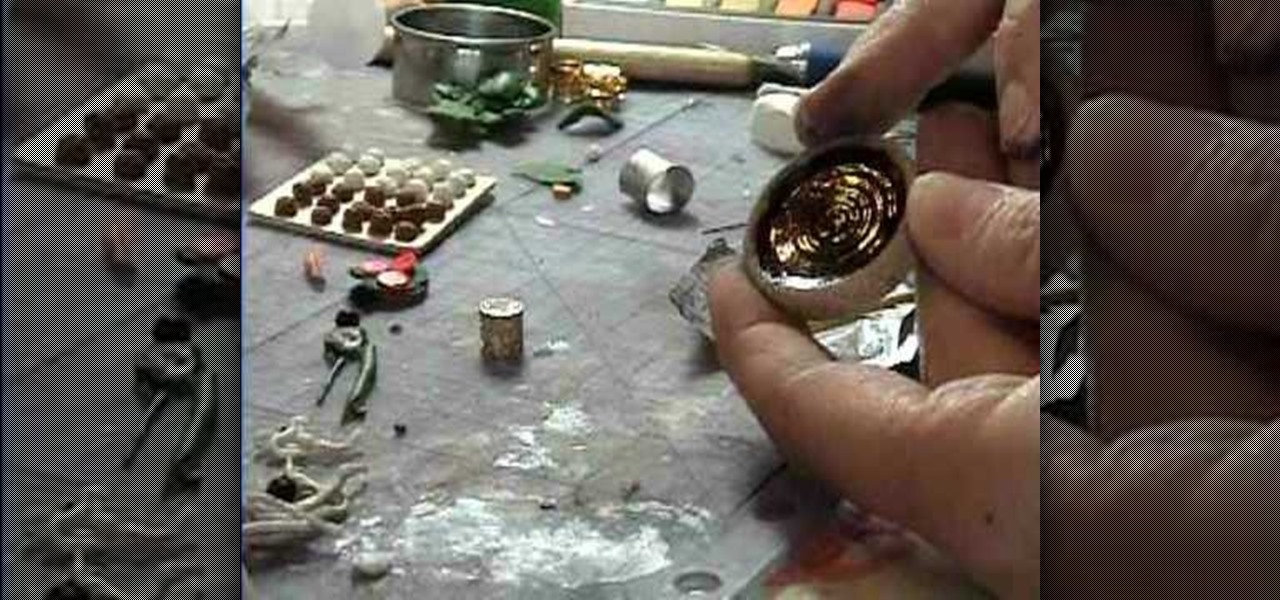
Make mini truffles out of polymer clay for a dollhouse. Watch this video to learn how to do this. You will need amazing mold putty for this project. It comes in two parts; yellow and white. Take equal amounts of each and mix them up; they are like clay. You will make a mold out of this for the mini truffles. Then you take whole black peppercorns and press them into the mold putty and keep it out for drying. After it is dry, remove the black pepper and you got the mold ready. Now you take clay...
How To: Make mini pretzels for a doll & dollhouse
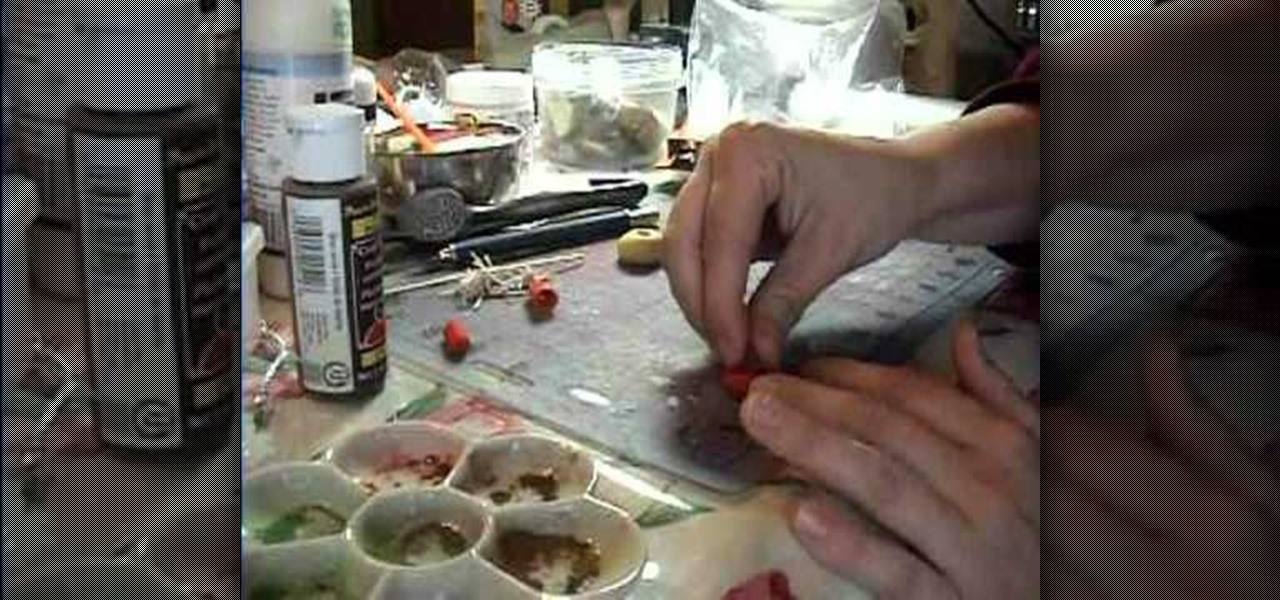
Garden of Imagination presents a video that teaches how to create a miniature pretzel for a dollhouse. First, she rolls polymer clay into a tiny snake-like roll. Then, she wraps the clay to form a pretzel shape. After she gets the shape she wants, she cuts the clay to make it even. Next, she retrieves chalk. She breaks up a little to dust the pretzel. She uses a dark yellow and brown to achieve a baked look. Then, she adds sea salt from her kitchen. Last, she instructs to bake the pretzel in ...
How To: Make mini drinks out of polymer clay for a dollhouse
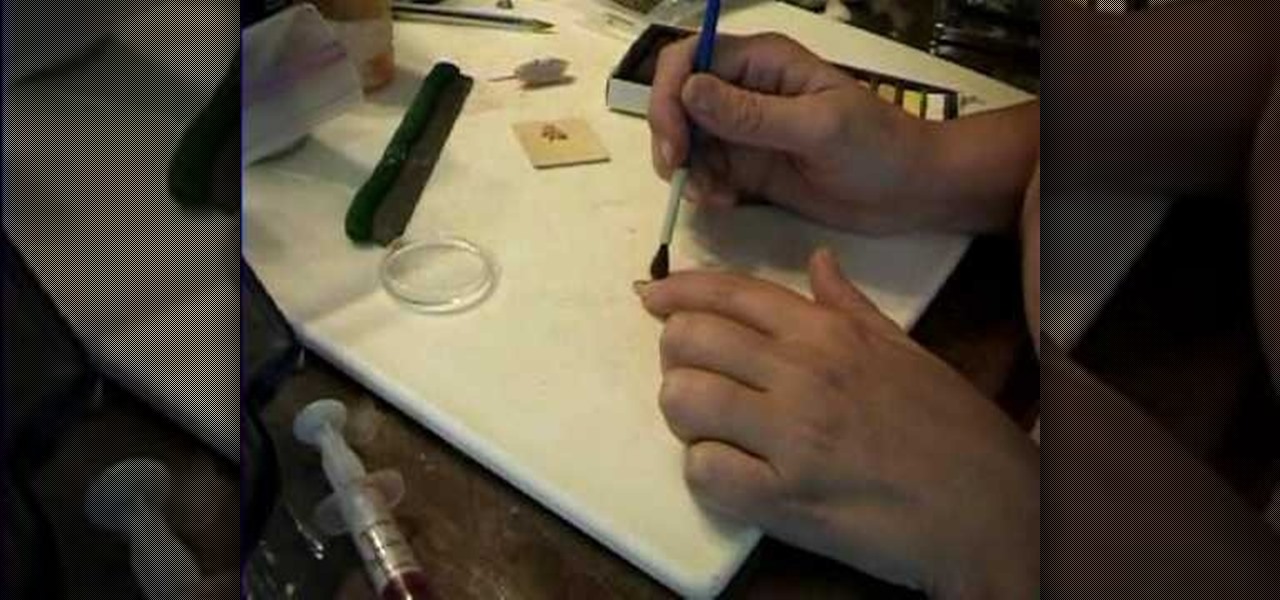
Garden of Imagination teaches viewers how to make various drinks, such as beer, milk, lemonade, and coffee, for their miniature dollhouse. First, you need to go to the crafts store and get a pack of 5 piece filigree tubes (you can pick whatever color you'd like). Take a tiny piece of clay and stick it into the filigree tube. Smooth out the clay inside with a paintbrush to make a tiny cup. First, to make a mug of coffee you need triple thick clear glaze black chalk. Mix the two together and ta...

How To: Make mini polymer clay pizza for a dollhouse
This video, by Garden of Imagination, shows you how to make a polymer clay pizza. To begin with, have a small piece of wood to act as a tray for your pizza. Take off-white clay for the crust and warm it up between your hands. Roll it out on your pasta machine on the number one setting. Using a circle cutter, push down on the clay to create a circle. Use an object that is a bit smaller of a circle to create the inside area of the pizza by pushing down. While doing that, blunt the edges of the ...
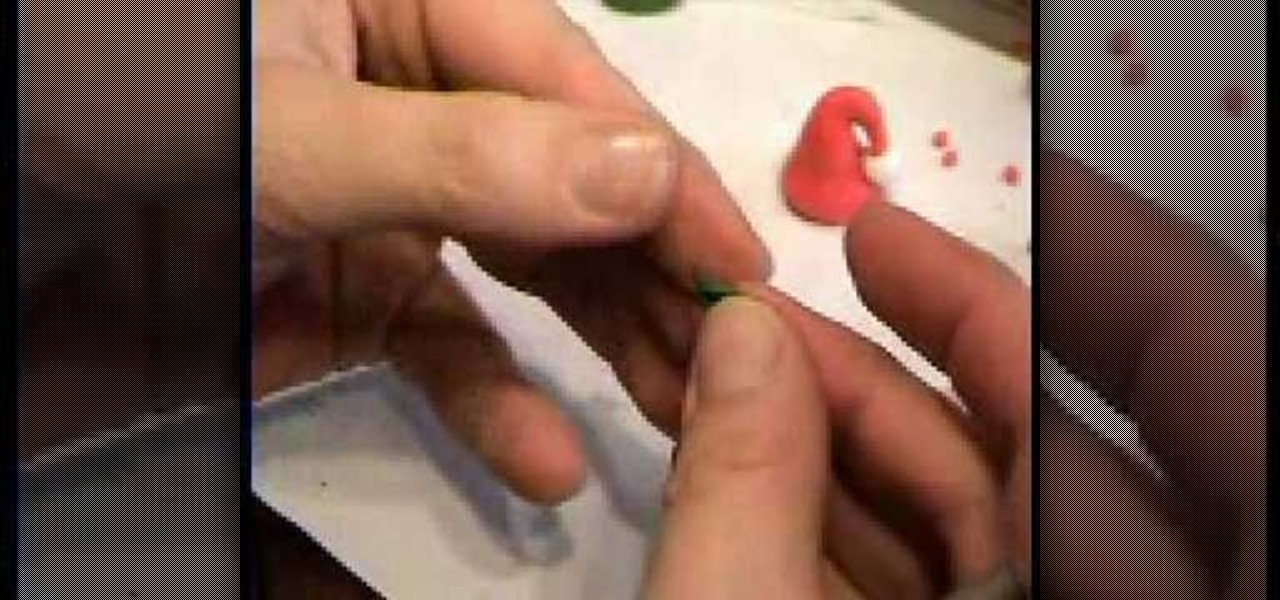
How To: Make a Santa hat bead from polymer clay
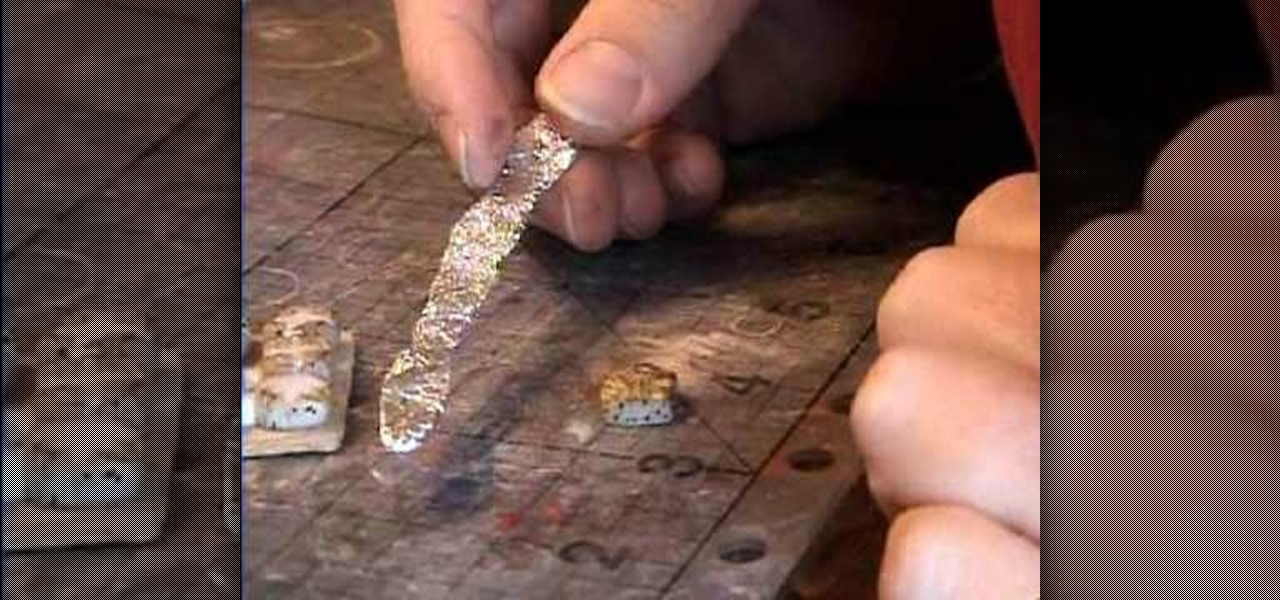
To make a Santa hat bead, begin with red clay and condition it by kneading it with your fingertips. Form the clay into a thick worm shape, with it being the thickest at one end then tapering off. Use your fingertip to make a shallow indentation on the thicker end, and remove any excess clay from the thinner end (total length should only be an inch or two). Curve the thin end over slightly to create a hook shape at the top of the hat. Take a small ball of white clay and make a small hole in it...
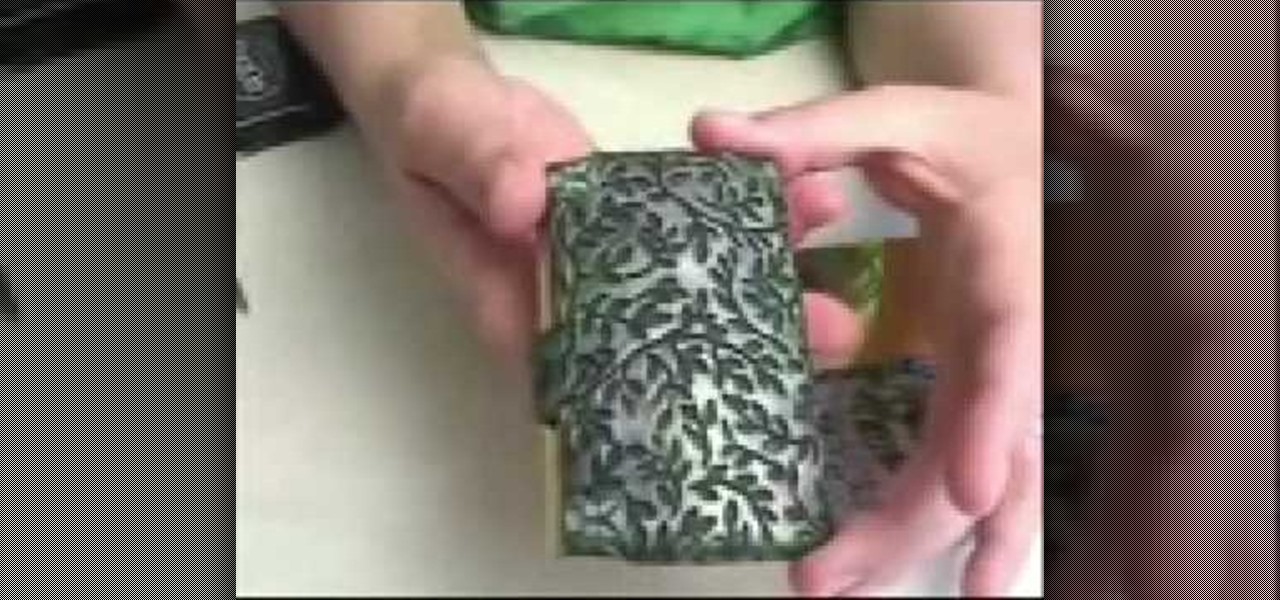
How To: Make polymer clay business card holders
Ilysa Bierer and Kira Slye with Polymer Clay TV demonstrate how to make polymer clay business card holders. You can work cabochons into polymer clay to create business card holders. Stamp on clay and use clay with inclusions in it for a different look. First, get a plain business card case and work the clay over it. Add pigment inks, textured stamps and canes to dress up your business card holder. The clay can be baked right onto the metal and will adhere to it. Polymer clay adheres better to...
How To: Make an incense burner out of clay
Ilysa and Kira with Polymer Clay TV demonstrate how to make an incense burner out of clay. An incense burner is a great way to use up a lot of your scrap clay. You can also use molds, embellishments and pigments to create your incense burner. You can roll up your clay in a swirl to create the incense burner or use any other desired shape. You can also do pinch pot type shapes. To make an incense burner, you'll need a ball of scrap clay, a blade, and a rod. Use the rod to flatten pieces of a c...

How To: Embellish wall decals with polymer clay
Ilysa Bierer and Kira Slye with Polymer Clay TV demonstrate how to embellish wall decals with polymer clay. Wall decals come in a variety of styles. You can embellish wall decals in a variety of ways to make them your own. Take transfer paper and use parts of the design to incorporate into your polymer clay figures. Cookie cutters are handy ways to cut out polymer clay shapes. After you cut out your shapes with the cookie cutter, you can use the piece of clay with the negative space and place...

How To: Make polymer clay pocket mirrors
This video teaches you how to make small polymer clay pocket mirrors. You can put these in your purse or even wallet. It is a good gift, as you can customize them for the person you indent to give. Get small mirrors from a craft store. One technique is to make a separate cover for the mirror using clay. Another technique is to cover the whole mirror with clay. You can also create two separate covers. One on the back of the mirror and the other for the front. Stick the clay on the back of it a...
How To: Collar a cylinder
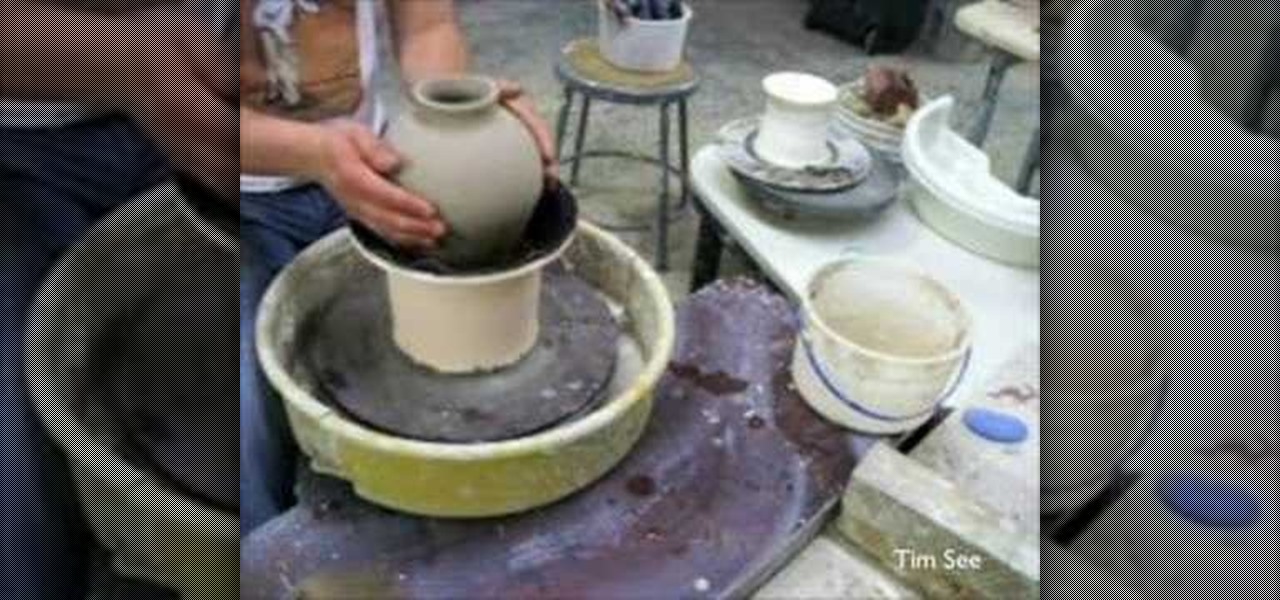
This video shows how to collar a cylinder. The collar of a cylinder is a plate or ring used under the head of the cylinder for a lock. Put the clay on the spinner. Mold the clay while spinning the spinner. Mold it first to the shape you want. Tighten the neck of the vase that you are molding. By tightening the neck of the vase, you are now shaping the collar of the vase. Shape it to the size and design you want. Enjoy making your own vase with the color you want.
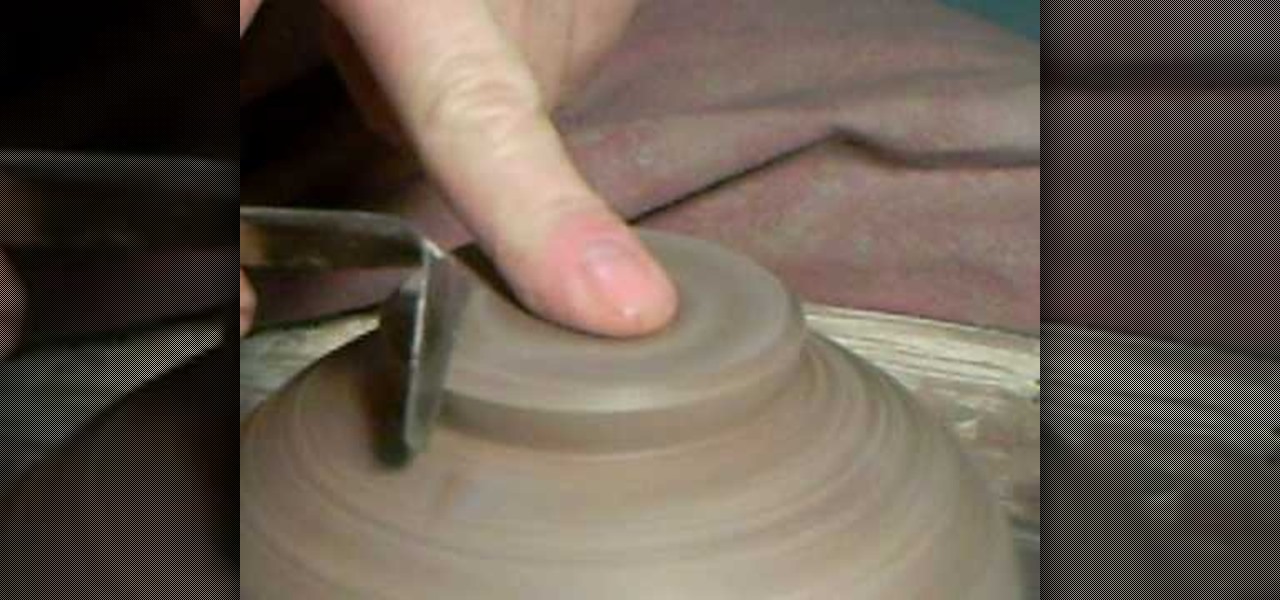
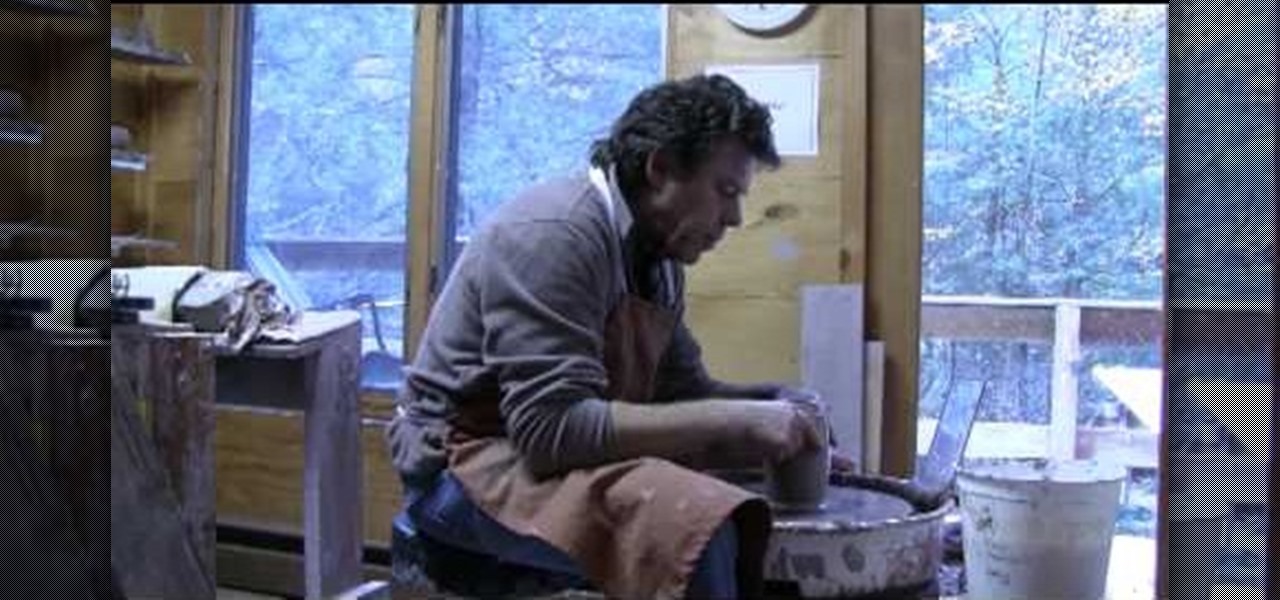
How To: Do ceramic detail on trimming & sealing
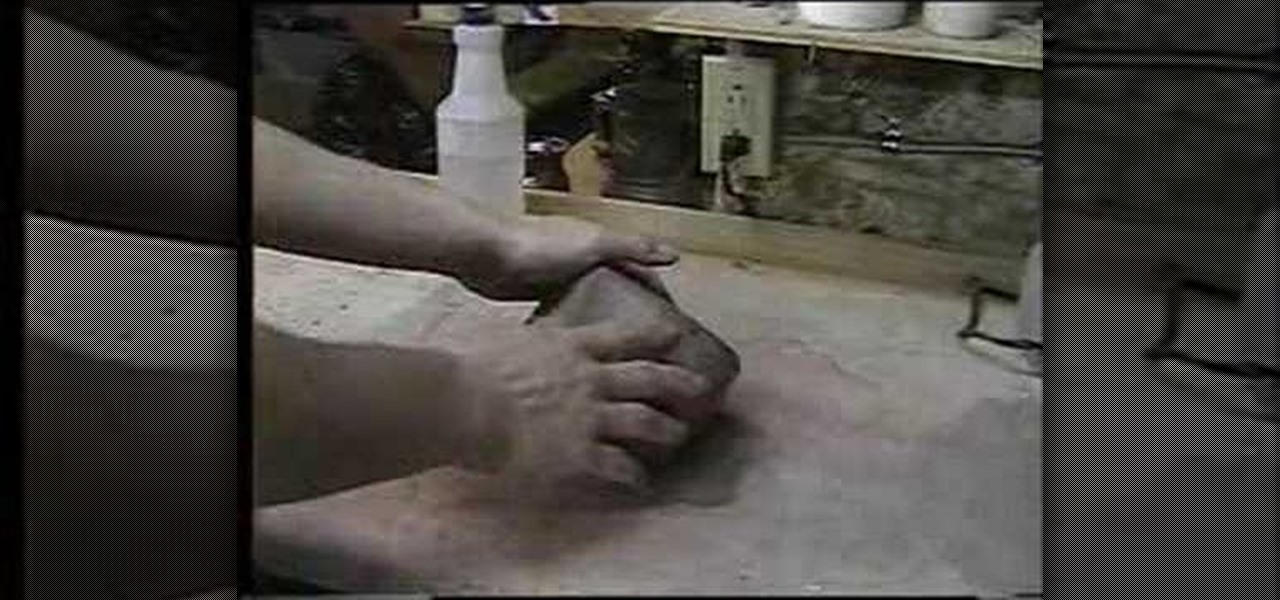
Simon Leach teaches you how to do ceramic trimming and sealing. You wet the top of the pot and place it on the wheel. You push down on the bottom, sealed side, when the wheel is spinning. You use the trim tool to cut into the base side. You do this at an angle and make sure you hold the trim tool like a stake knife, not like a pencil. You empty out the leg until you are pleased with it. You round off any sharp corners and you have to put the last piece, the seal. On the bottom you take a piec...

How To: Build a small raku kiln
In this three-part how-to from everyone's favorite potter (wizard children notwithstanding), Simon Leach talks about the process of building a small raku kiln. For insight into Mr. Leach's kiln-building process, watch this helpful how-to.

How To: Finish a lidded clay box
Simon Leach of Simon Leach Ceramics shows how to finish a lidded box, thrown on a potter's wheel. When cutting into the box, make sure to do so with a cut slanting downwards so that the lid is less prone to falling off. Proceed to smooth off the exterior of the box, beginning where the two halves meet. Once the outside is smoothed, the fit of the two parts is probably not perfect, and so the joint between the two can be smoothed off. Carved features such as scalloped footing may now be added....

How To: Glaze ceramics
Simon Leach teaches the secret to glazing the inside of a bowl. You will need: brush, glaze, sponge, water, stick or whisk. Using a brush, dust the inside of the bowl to be glazed. Remove any clay that remains stuck on the bowl by using a blade or knife. Stir the glaze from the bottom using a stick or whisk Add water to the glaze if it appears too thick and stir again from the bottom. Pour the glaze into the bowl, careful not to get any over the edge. If any glaze goes over the edge of the bo...

How To: Flute a ceramic jar
Simon Leach teaches the easy way on how to flute a ceramic jar! Using the axel blade, you can make a simple straight down flute on the jar. Keep it going straight and make it as smooth as possible as you move around the jar. You can also make a flute on the lid of the jar if you prefer, but notably, less is more. Follow these pointers and you'll make a perfect flute for your jar!
How To: Prepare Raku ceramics for glazing
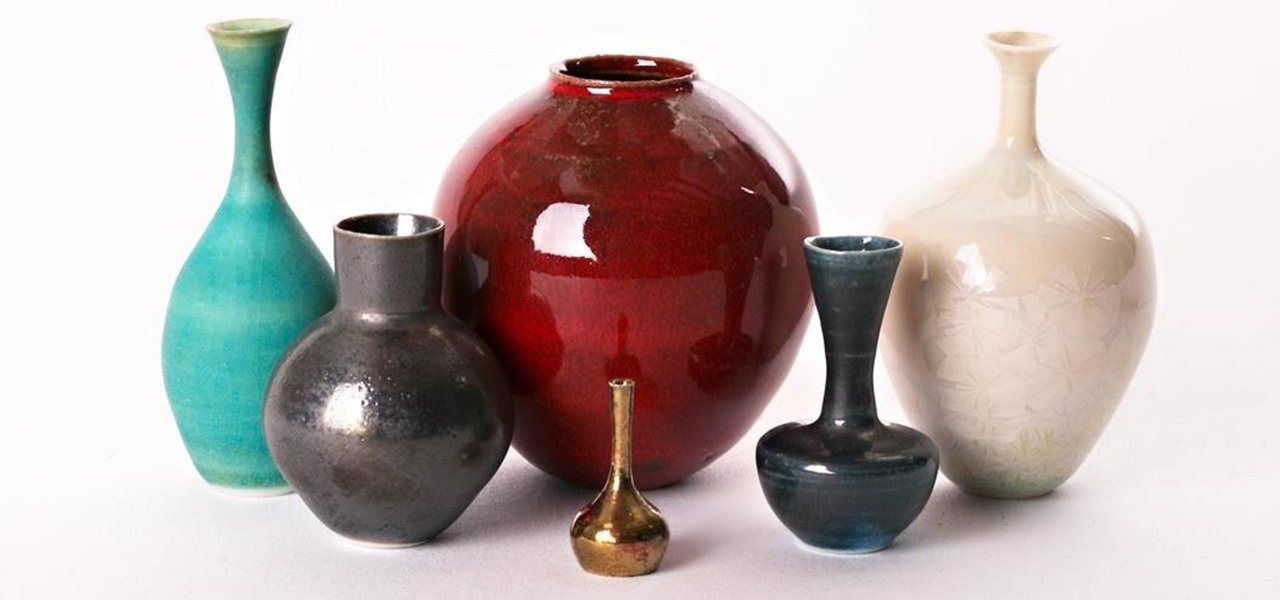
Simon Leach from Simon Leach Ceramics provides some great workshop footage on preparing to glaze Raku ceramic pots. This tutorial video provides answers on the beauty and function of Raku pots, as well as some great ideas for home decoration. Simon walks you through the process of glazing these pots, including important specifics about proper materials and methods, easy recipes for making your materials and tools at home, as well as common mistakes that you should avoid when glazing your cera...
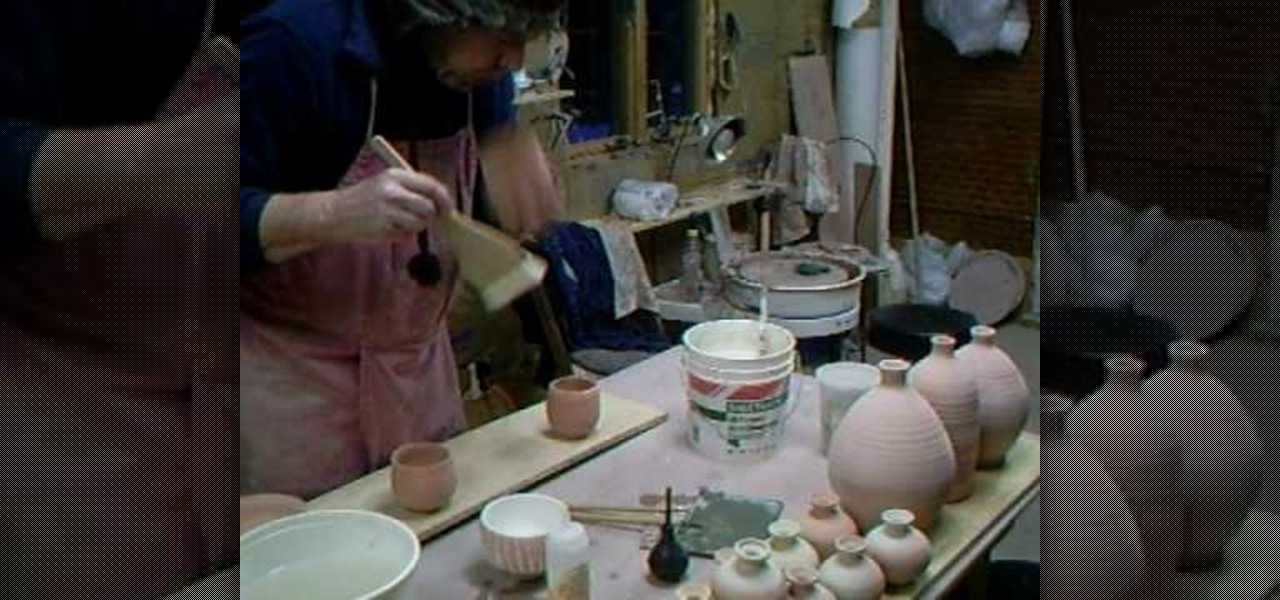
How To: Decorate your ceramic pot art
In this video, potter Simon Leach offers tips on how he decorates the ceramic pots that he has made. This video offers some great suggestions on decorating pottery that you have made, or have purchased unfinished. This video does not teach any specific decorating techniques, but focuses more on the process of a potter when contemplating decorating their creations. This video does cut off at the end, so do be sure to watch the continuation of Leach's tips in which he gets into more specific de...

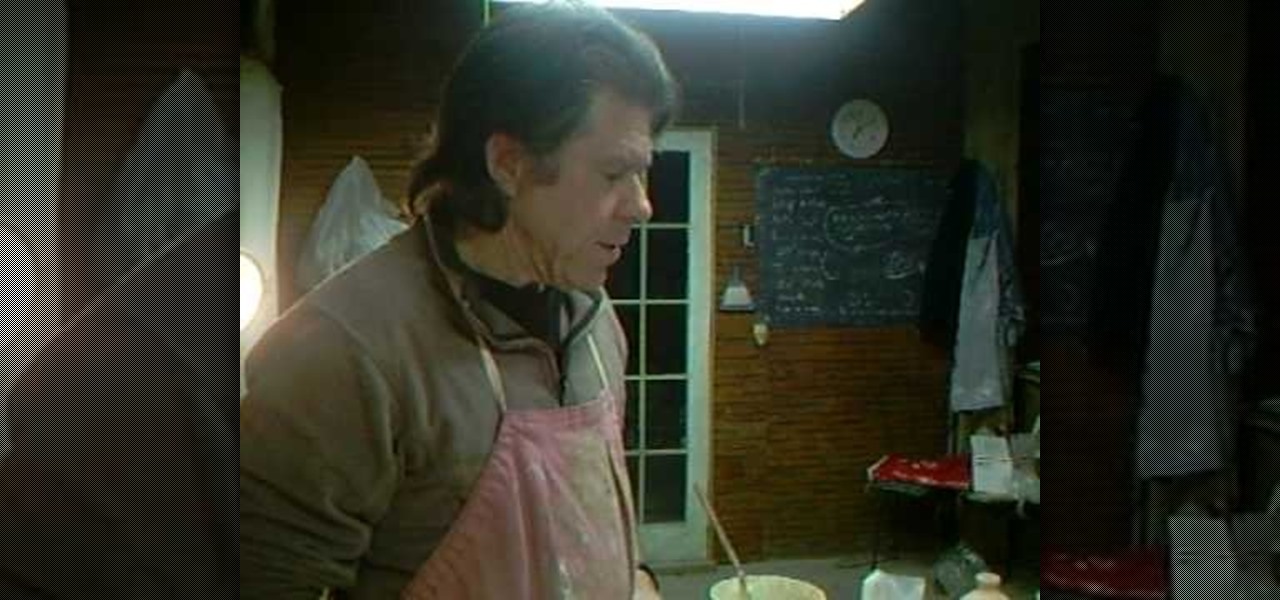
How To: Decorate ceramic pots
Raku pottery artist Simon Leach feels that while most people who work with ceramics are taught how to make them, very few are taught how to decorate them. Simon will show you how to draw inspiration from your ceramic pots that will lead you to the perfect decorations. He shows you both how to decorate a ceramic pot in order to enhance its shape, while also showing you that sometimes it is the decoration that truly makes a ceramic pot special.
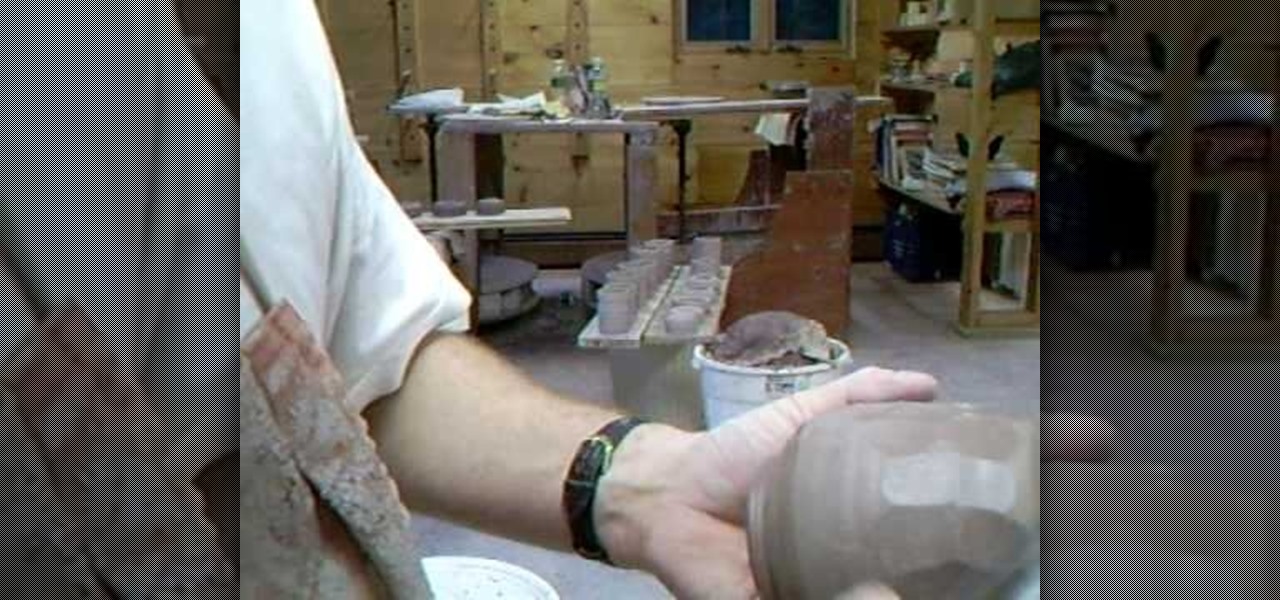
How To: Use a potato peeler on ceramics
Using a potato peeler on ceramics is fast, simple and gives your piece a unique look. While your pot is still soft, take a potato peeler and "peel" your pot in small sections working around the pot. You don't want to press too light or too firm, it might take some practice. Keep your cuts random to add to the charm.
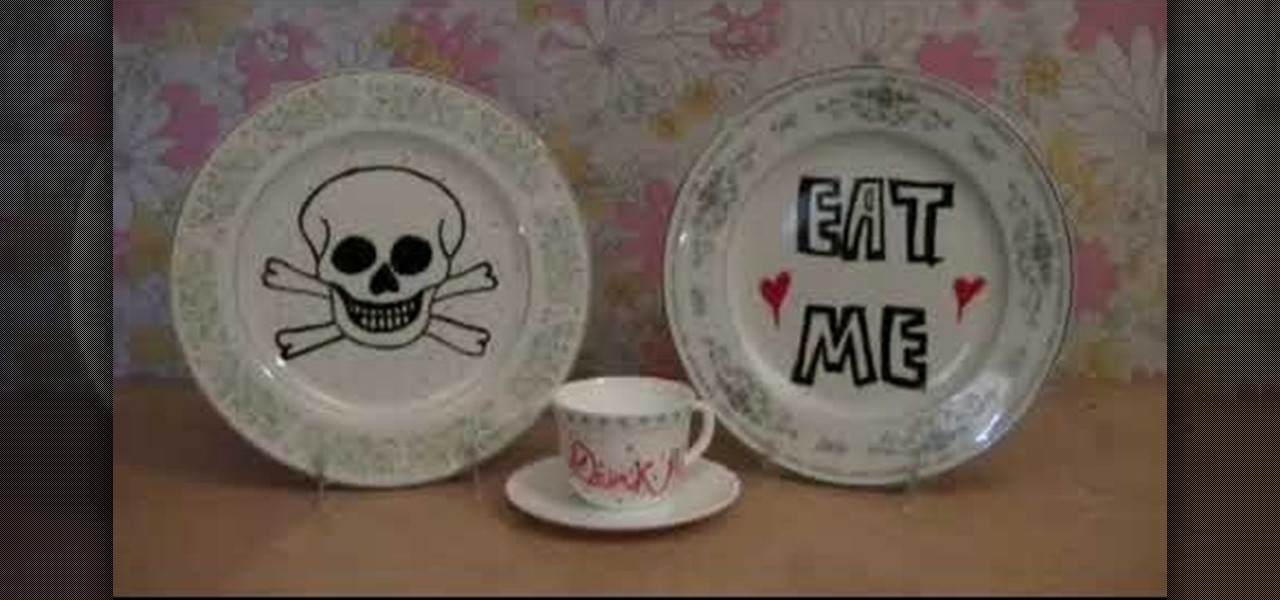
How To: Make painted plates & tiles with ceramic paint pens
Raid the thrift stores and the hardware stores and turn something that's old and useless into invaluable works of art. Armed with markers and your own artistic skills you can change fussy old dinner plates into something worth eating on. Watch this video to learn more about how to make painted plates and tiles with ceramic paint pens. Give the gift of your genius, and spread the smiles around.

How To: Set up a kiln
Before starting out on any pottery projects, you need to set up that kiln. This video how-to series demonstrates the safe and proper set-up procedure for your new kiln. Learn where to set up the kiln, unpack, and assemble. Follow along with the video and have fun with ceramics. Set up a kiln.
How To: Sculpt a clay cat and mouse digital camera cradle
Want a cool way to display your digital camera? It just takes a little clay and some time to make something really worthwhile, like this clay kitty cradle.

How To: How to throw a medieval pot
Watch this Medieval pottery demonstration by Jim Newboult of Trinity Court Potteries at an English Heritage Living History event at Kenilworth Castle. This pottery wheel is not a kick wheel. It's an incredibly silent hand powered pottery wheel. This ceramics demonstration will show you how to throw a lovely clay pot on any wheel. Learn how it's done traditionally at a historical Medieval fair. How to throw a medieval pot.

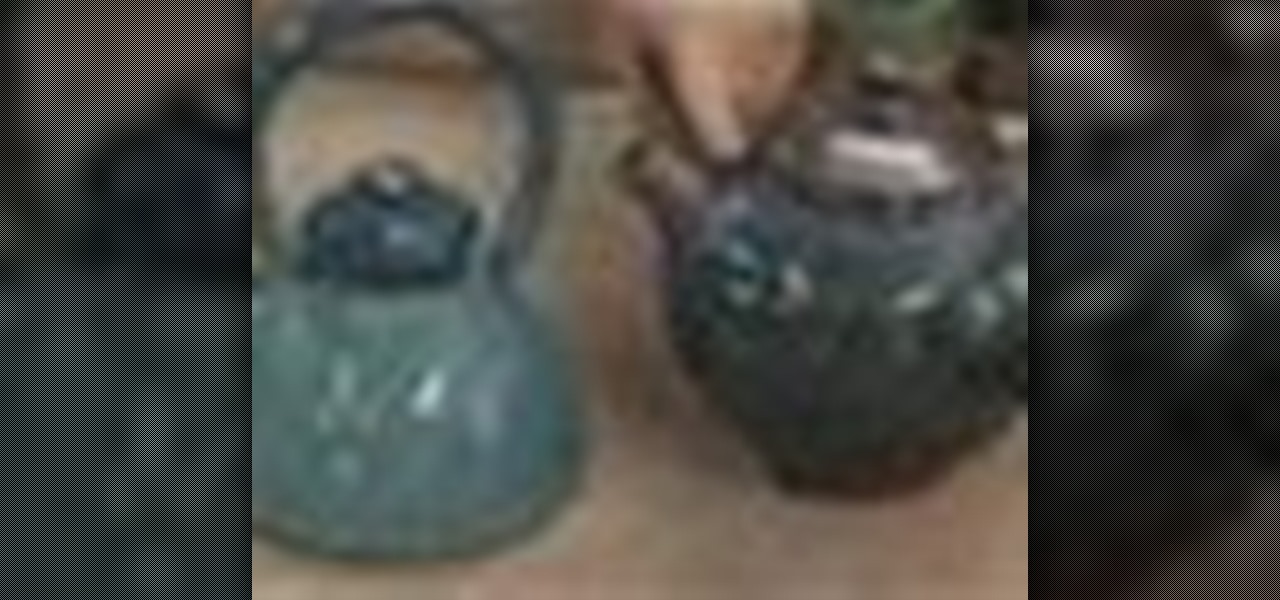
How To: Throw a clay teapot off the hump on a potter's wheel
This video pottery-making tutorial shows how to throw a clay teapot off the hump on a pottery wheel. Watch, follow along, and learn how to quickly sculpt a simple teapot. Get some clay and make your own little ceramic teapot today.

How To: Throw a ceramic teapot
Throwing a ceramic teapot consists of several small components combined into a finished product. Learn to throw a teapot with clay in this free ceramics video series.

How To: Make a ceramic lantern
A ceramic lantern is a great project for beginning potters. Learn how to make a lantern with tips from a master potter in this free ceramics video series.
How To: Make ceramic bottles with spouts
Ceramic bottles with spouts can hold cooking liquids such as oils and sauces. Learn how to create handmade spouted bottles with this free instructional ceramics video series.
How To: Make a pottery tea set
Pottery is the art of forming various objects out of clay. Learn how to make a pottery tea set with tips from a pottery expert in this free video series.
How To: Make a ceramic water bowl & candlestick holders
A ceramic water bowl with candlestick holders is a unique centerpiece that incorporates both water and fire. Learn how to make your own candlestick bowl combo with this free ceramics video series.

How To: Make a ceramic cylinder
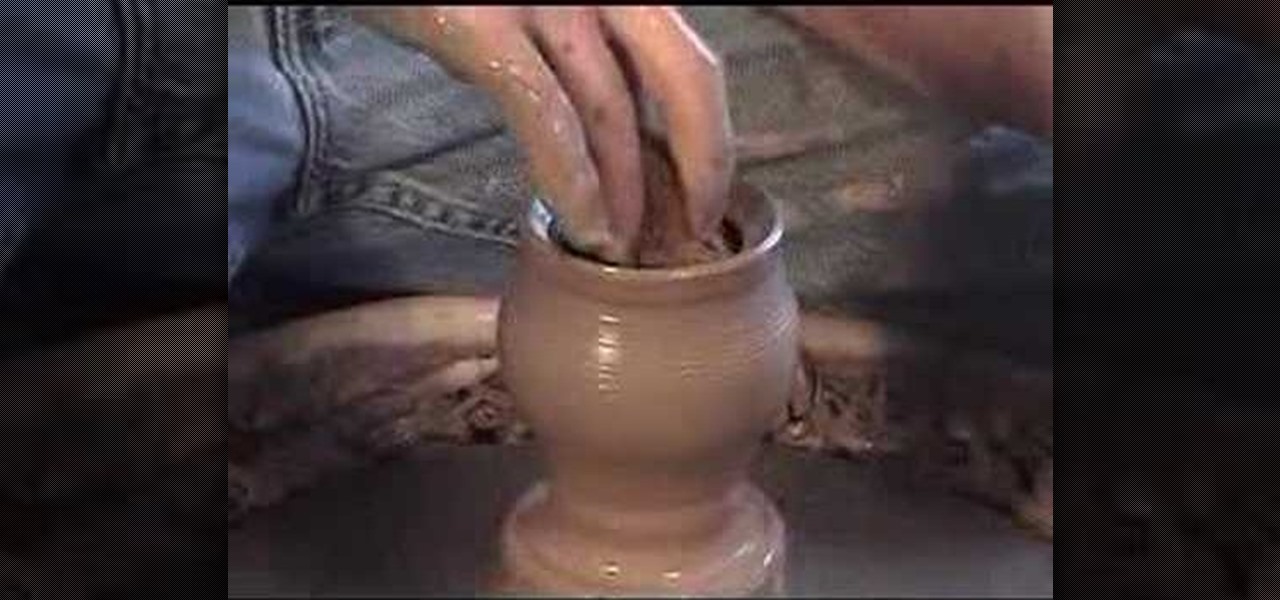
Ceramic cylinders make the foundation for many other pottery forms. Learn how to throw a cylinder shape on the potter's wheel with this free ceramics video series.