

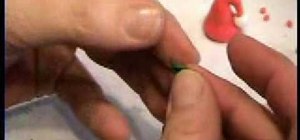
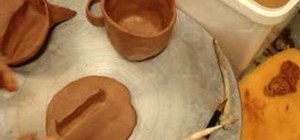
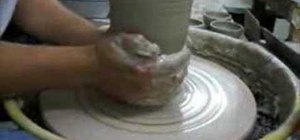
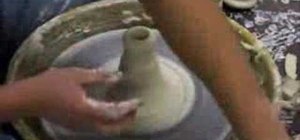
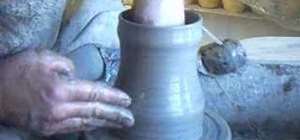
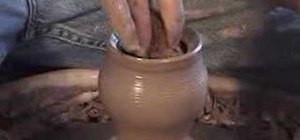
To make a Santa hat bead, begin with red clay and condition it by kneading it with your fingertips. Form the clay into a thick worm shape, with it being the thickest at one end then tapering off. Use your fingertip to make a shallow indentation on the thicker end, and remove any excess clay from the thinner end (total length should only be an inch or two). Curve the thin end over slightly to create a hook shape at the top of the hat. Take a small ball of white clay and make a small hole in it in which you will insert the tip of the Santa hat. After baked, use super glue to ensure the ball is attached. If you are concerned that it will still not stay attached, you can lean it against the side of the Santa hat for support before baking. To add the white trim around the base of the hat, make a thin snake out of white clay, flatten it out, and attach Next leaves are added to the Santa hat by taking rolled out green clay and punching two heart shapes out of it. Fold the rounded ends of the heart together gently to shape the leaves, and use a needle tool to draw leaf lines on them. Attach them right about the white base, one leaf facing right, one left, and attach three tiny balls of red at the point where they meet for the berries. If using as a bead, make a hole through it before baking and covering with gallery glass.
Just updated your iPhone? You'll find new emoji, enhanced security, podcast transcripts, Apple Cash virtual numbers, and other useful features. There are even new additions hidden within Safari. Find out what's new and changed on your iPhone with the iOS 17.4 update.


Be the First to Comment
Share Your Thoughts